Onboarding typically completes within 24–48 hours. You’ll work alongside the FlexyPe team throughout — most steps below happen in your Shopify admin or the FlexyPe app.
At a glance
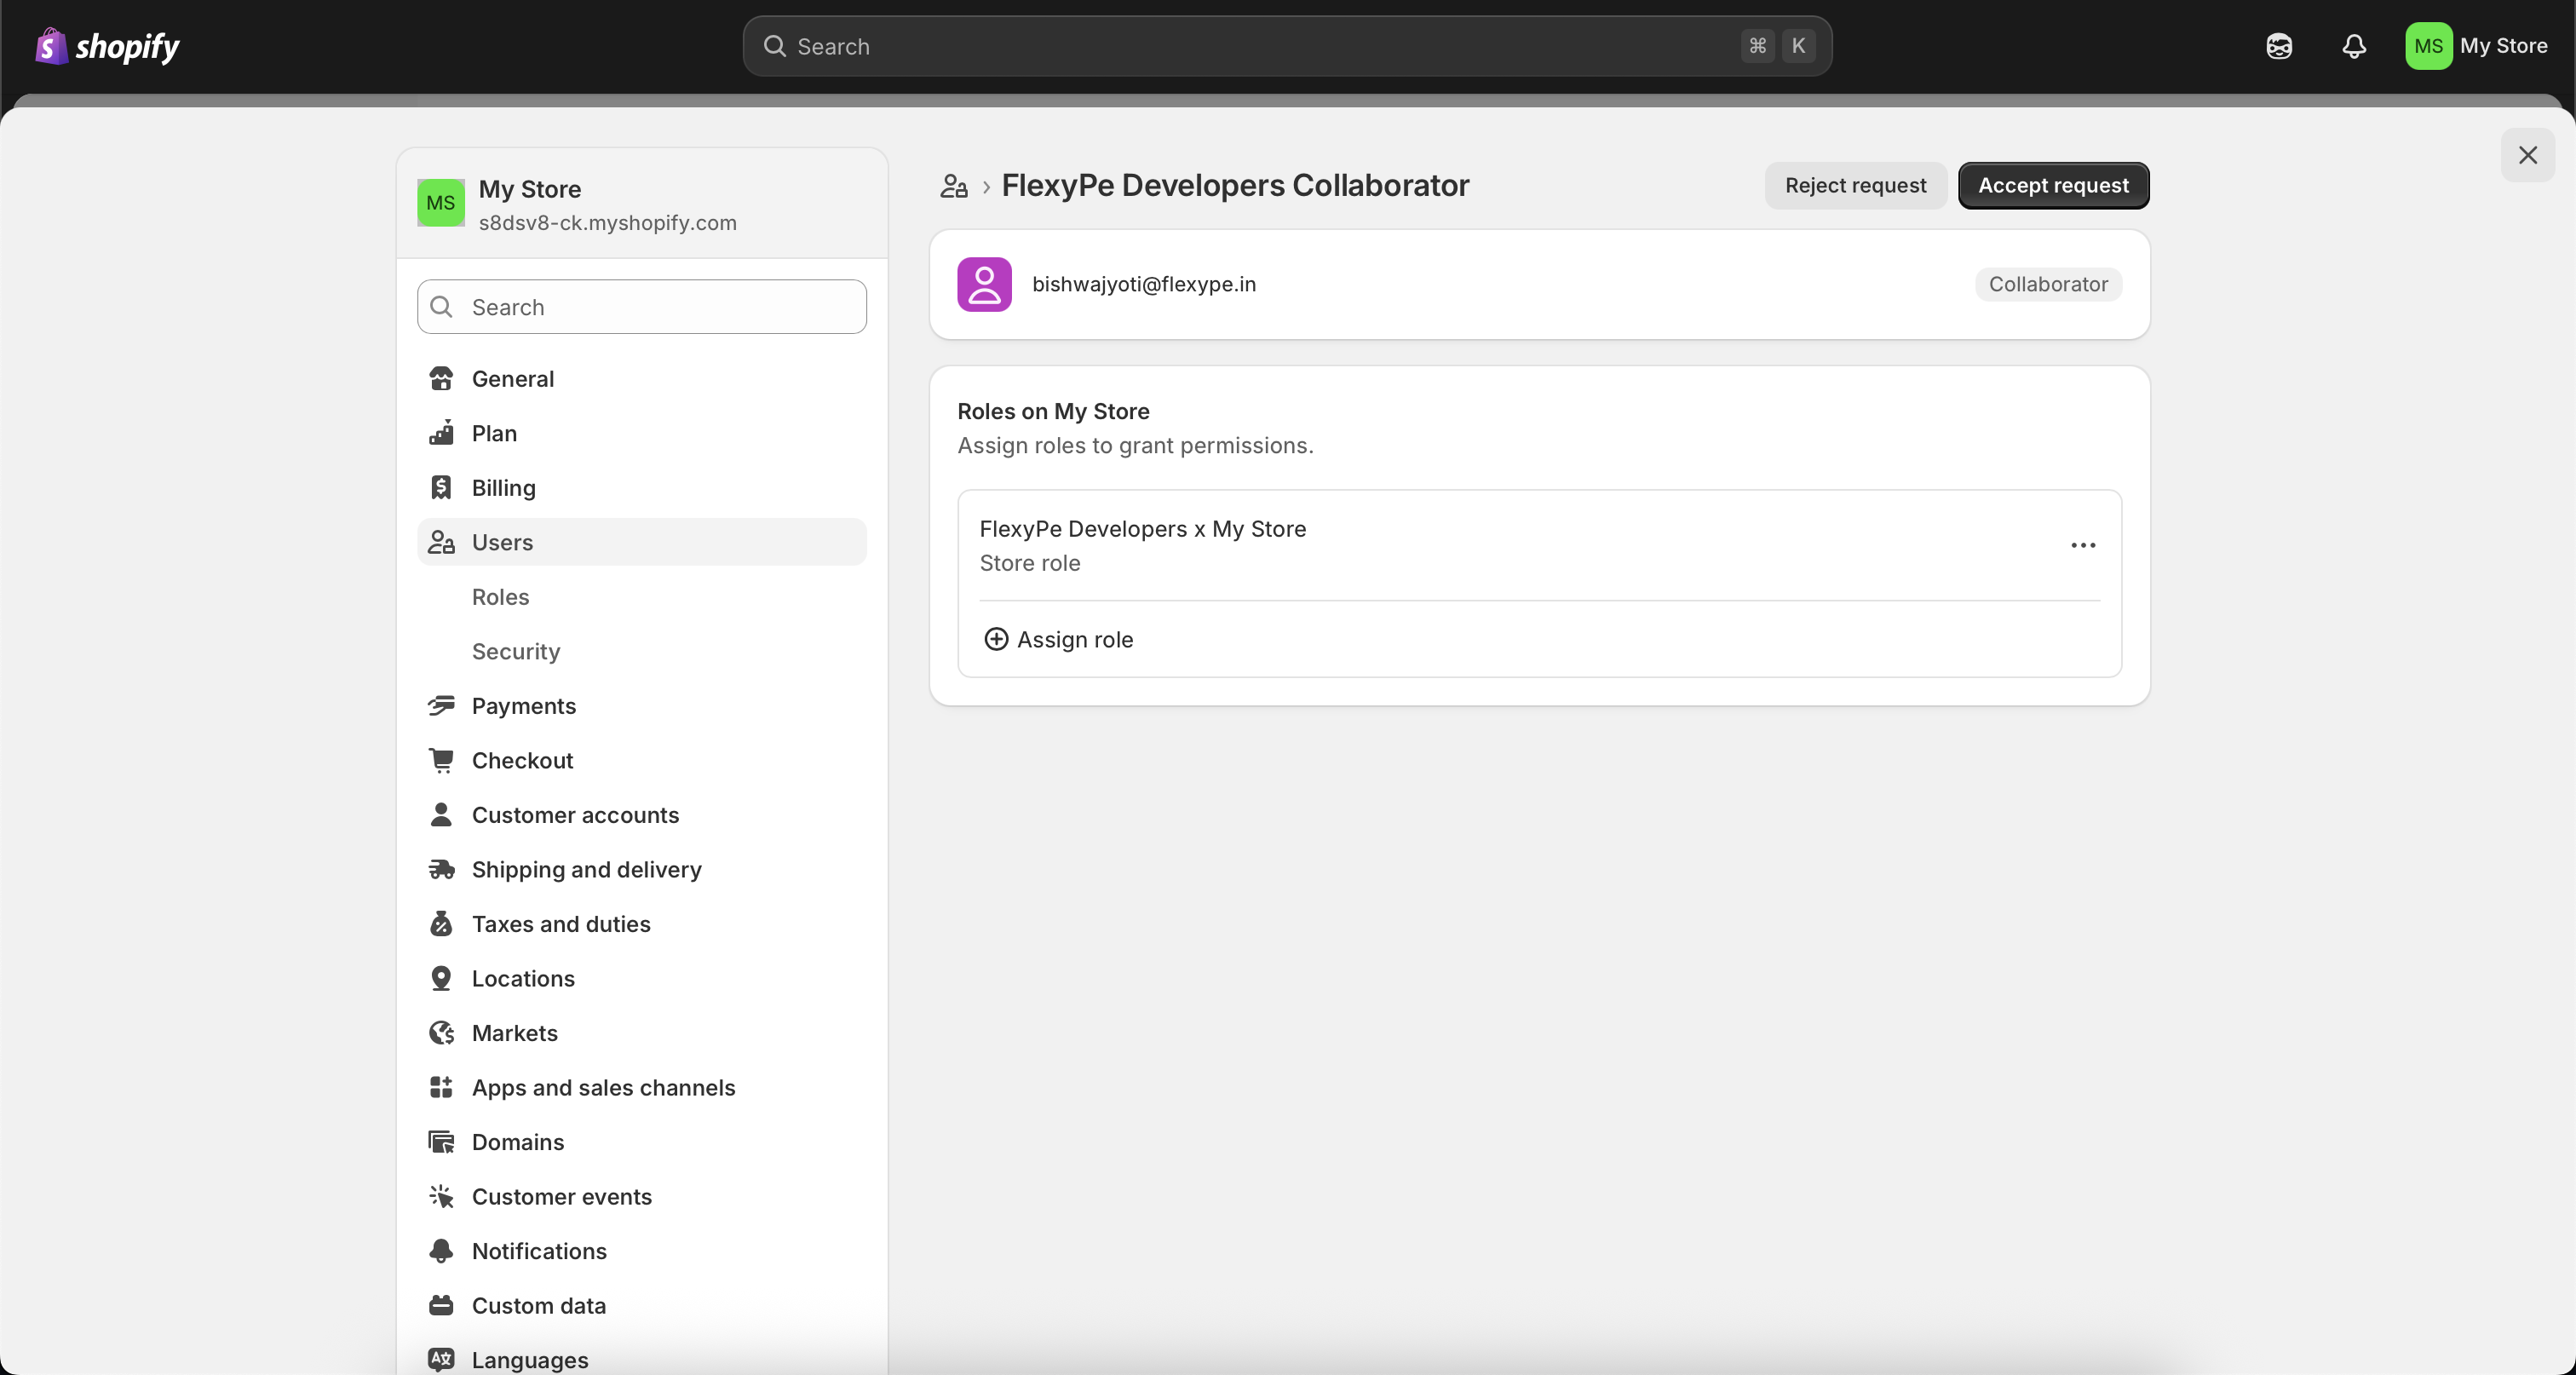
1. Collaborate
Share a Shopify collaboration code so we can access your store.
2. Install the app
Grant permissions and install the FlexyPe app.
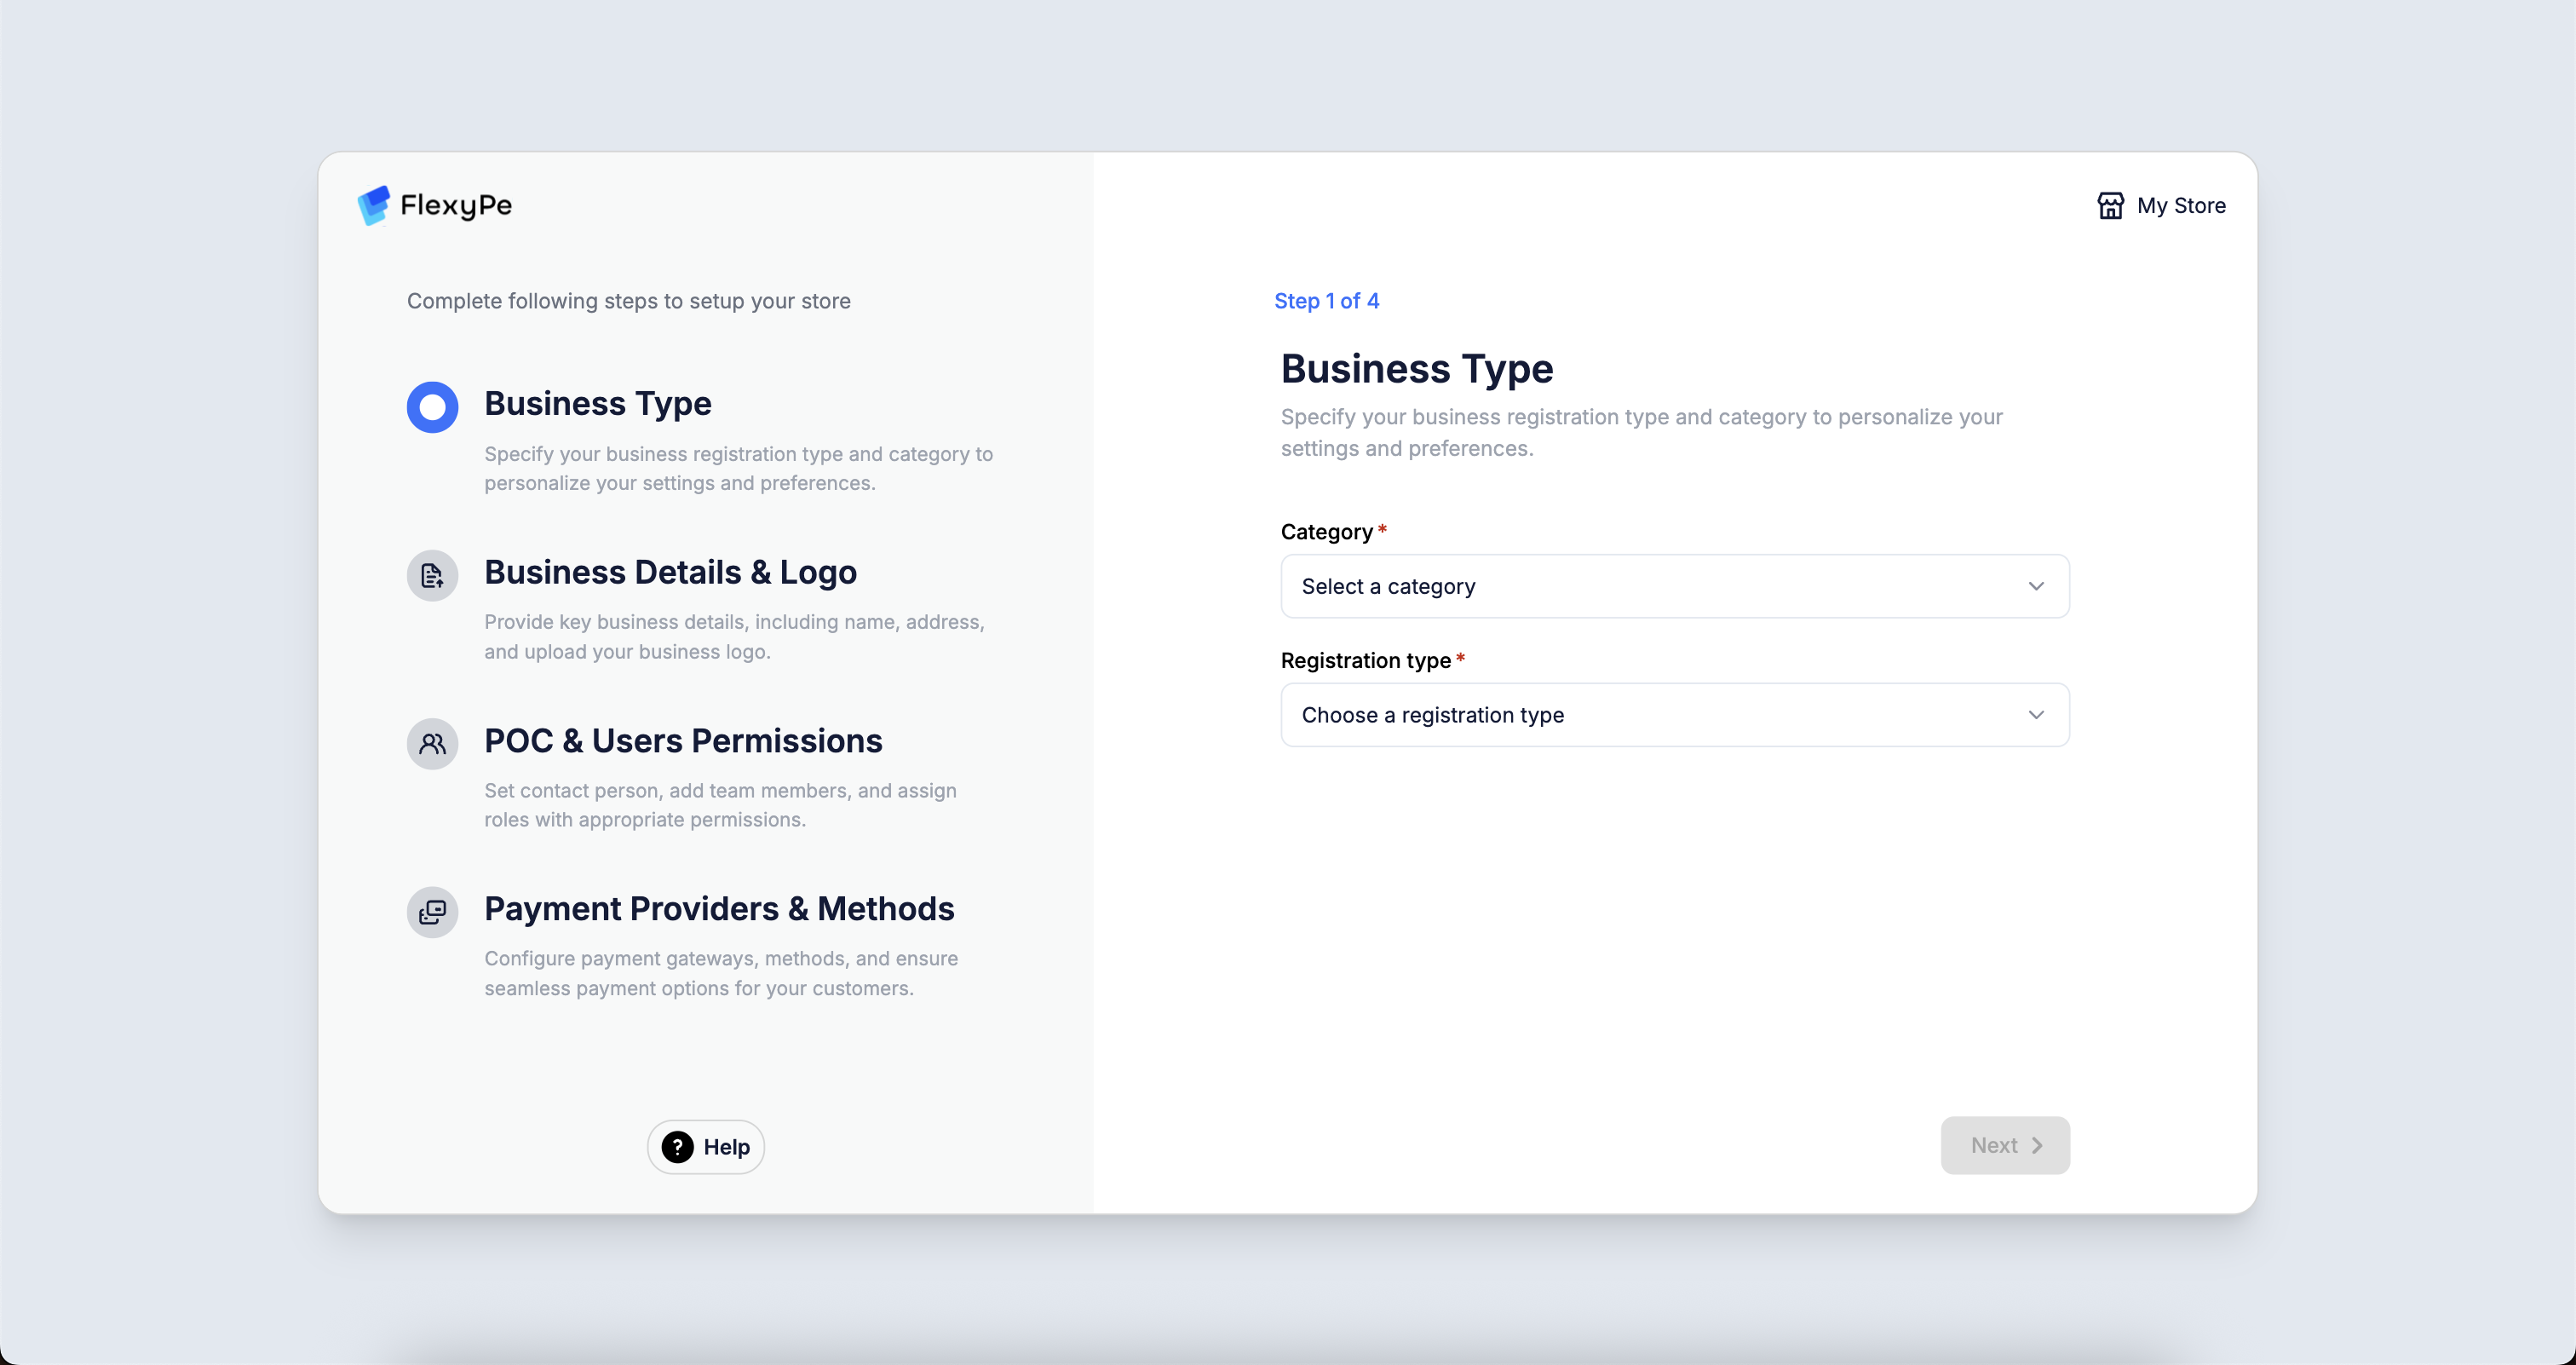
3. Set up your store
Complete business, team, and payment details.
4. Pre-integration setup
Connect payment gateways and advertising tools.
5. Go live
Review the preview and we make your checkout live.
Need help?
Reach the FlexyPe team any time during setup.
Collaborate Store with FlexyPe
Access your collaboration settings in Shopify
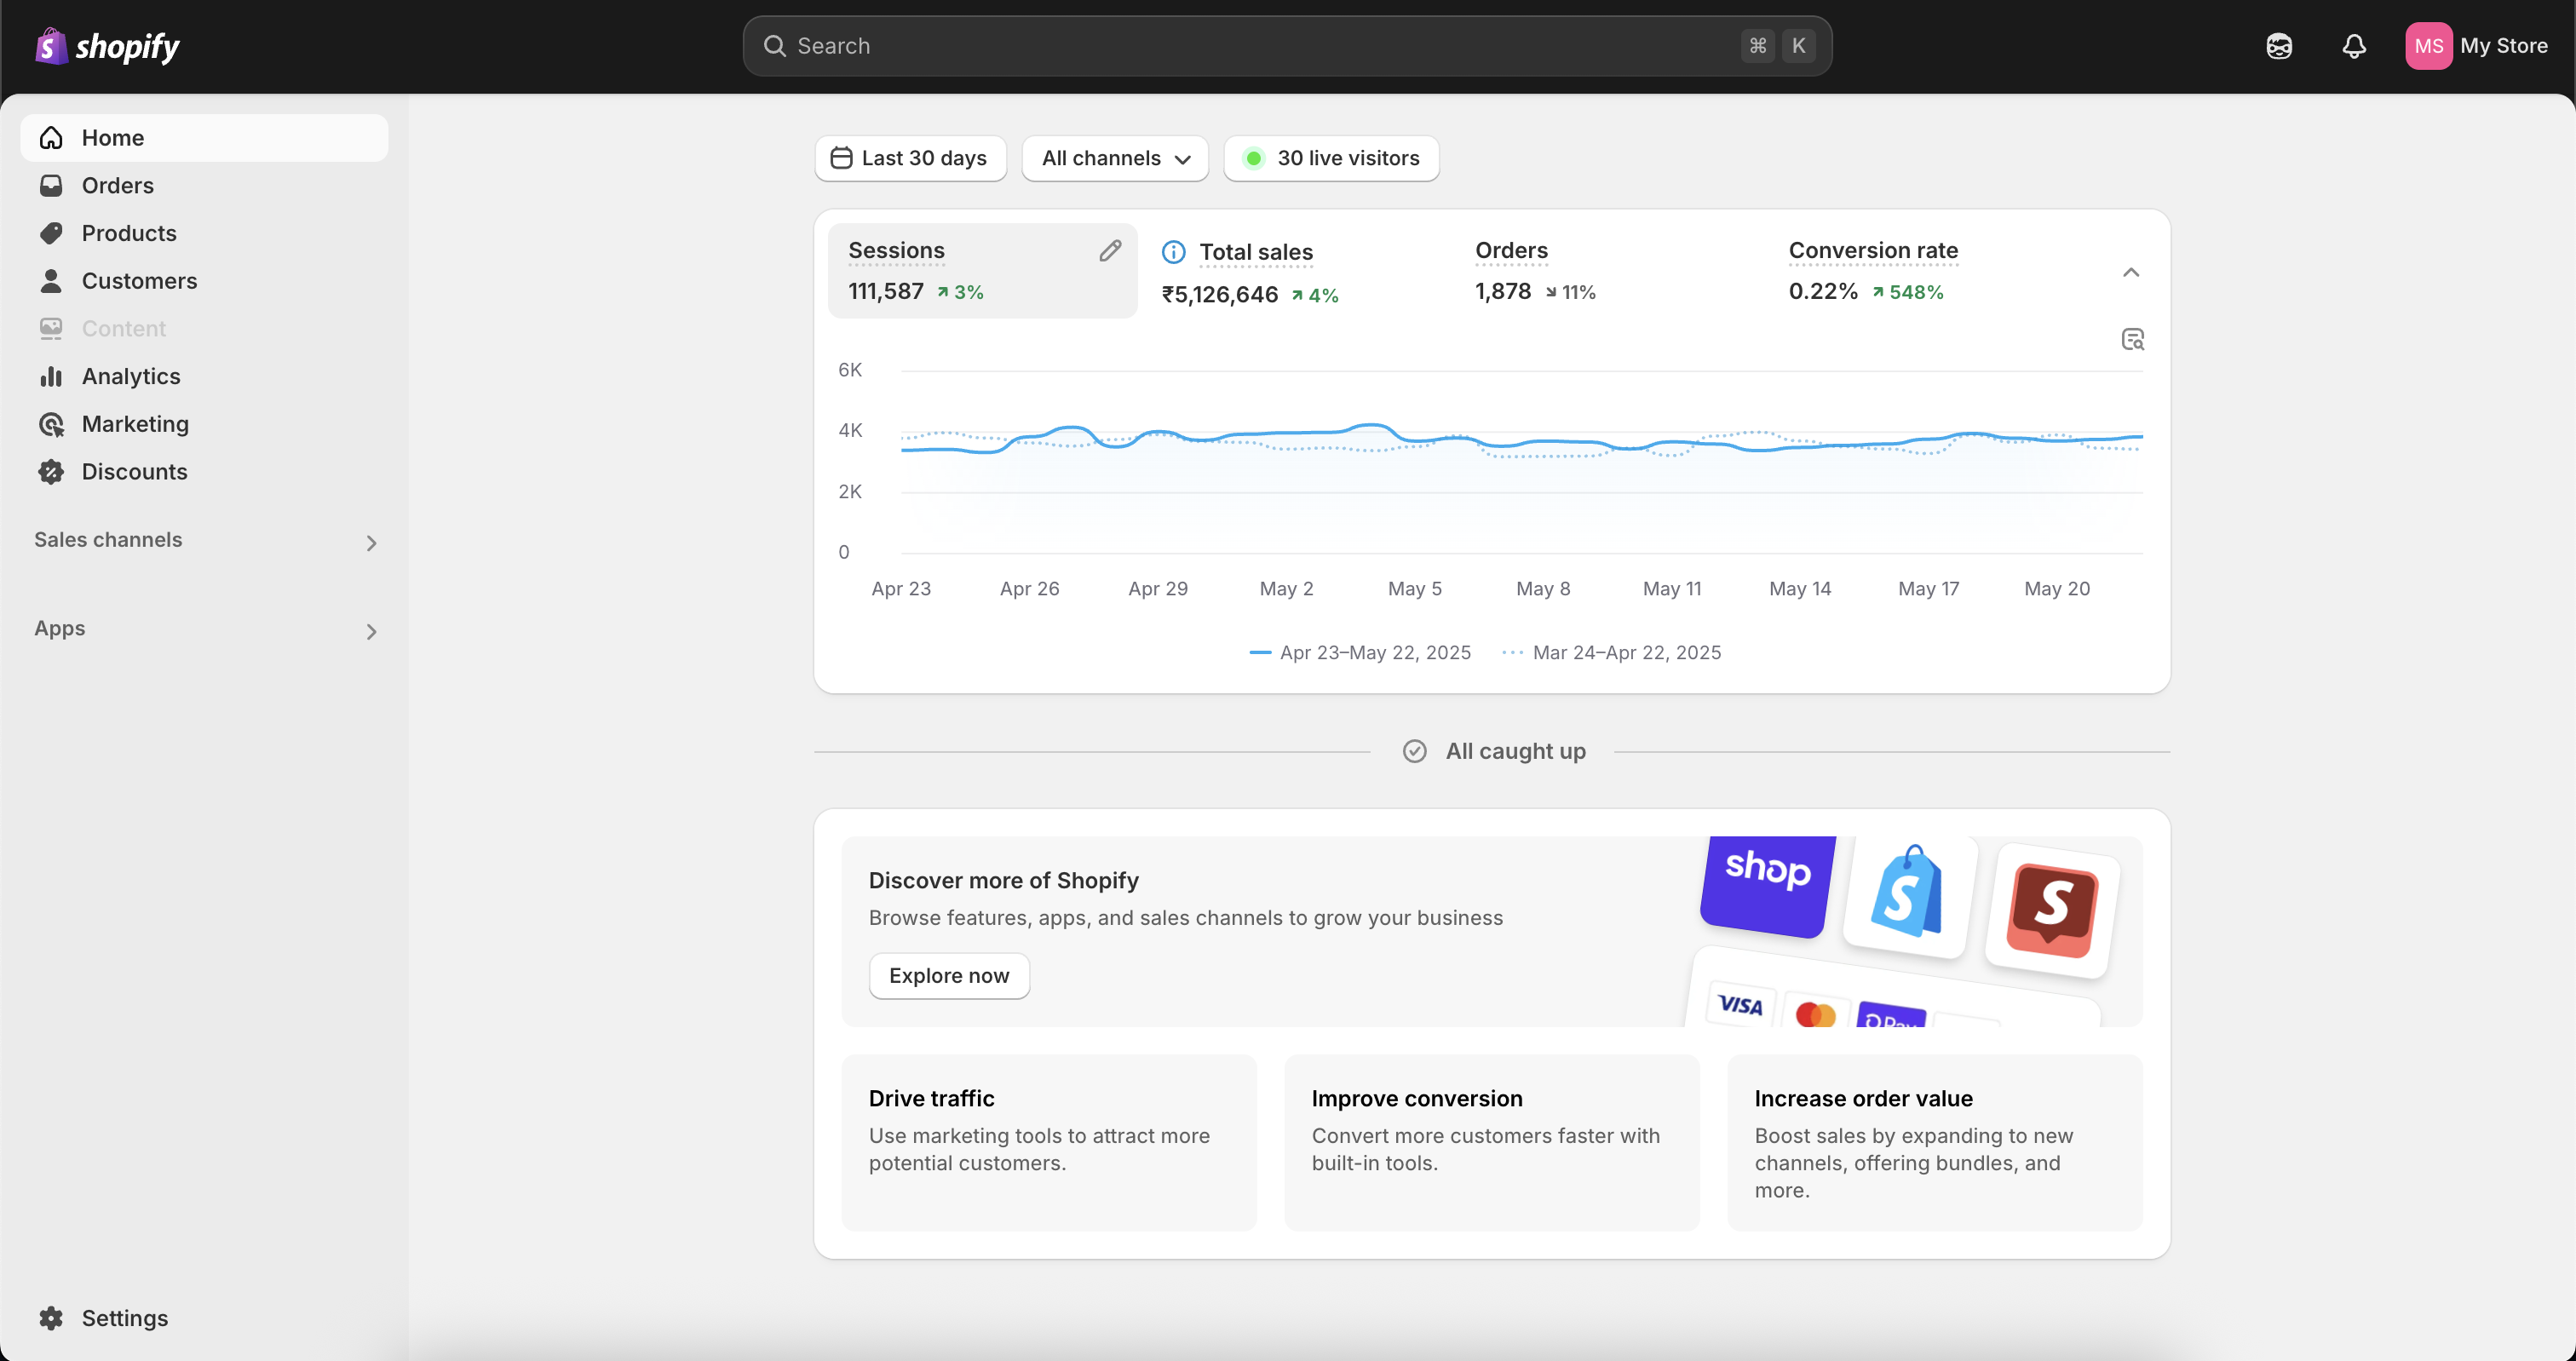
- Log in to your Shopify Admin account.
- Click Settings in the bottom-left panel.
Get your collaboration code
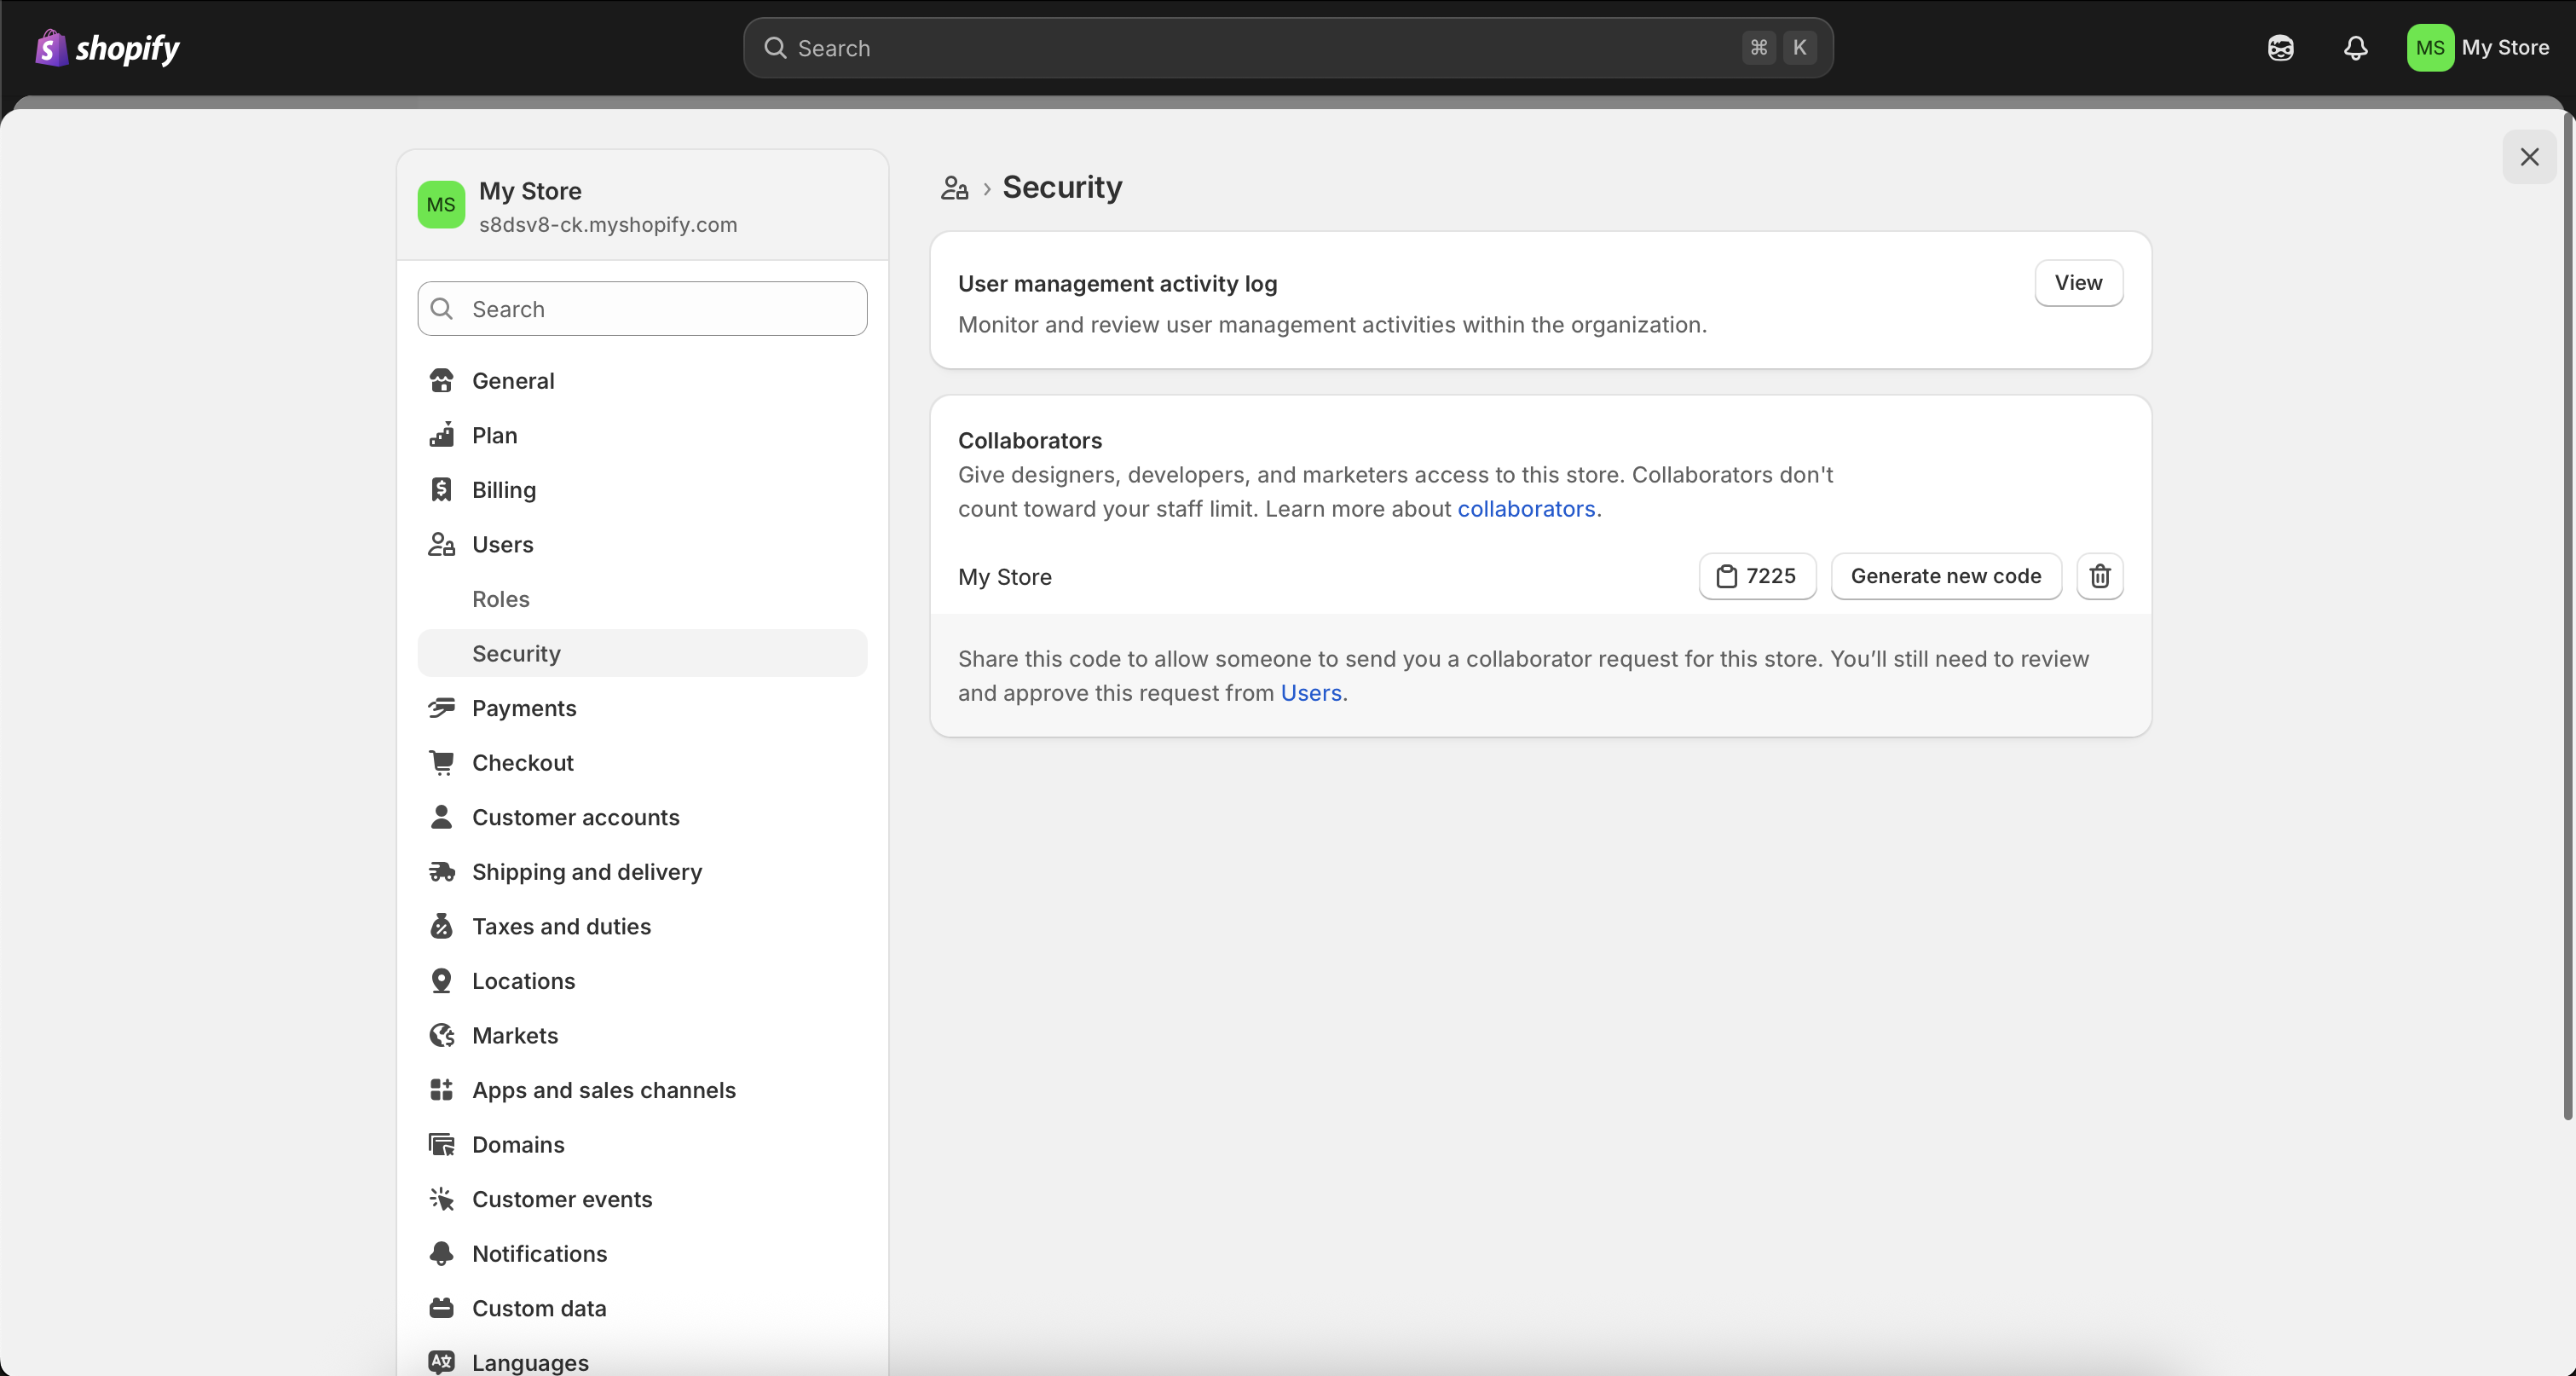
- Go to Users → Security and scroll down to the Collaborators section.
- Copy the Collaboration Code and share it along with your Store URL so we can send a collaboration request.
Installation of FlexyPe app
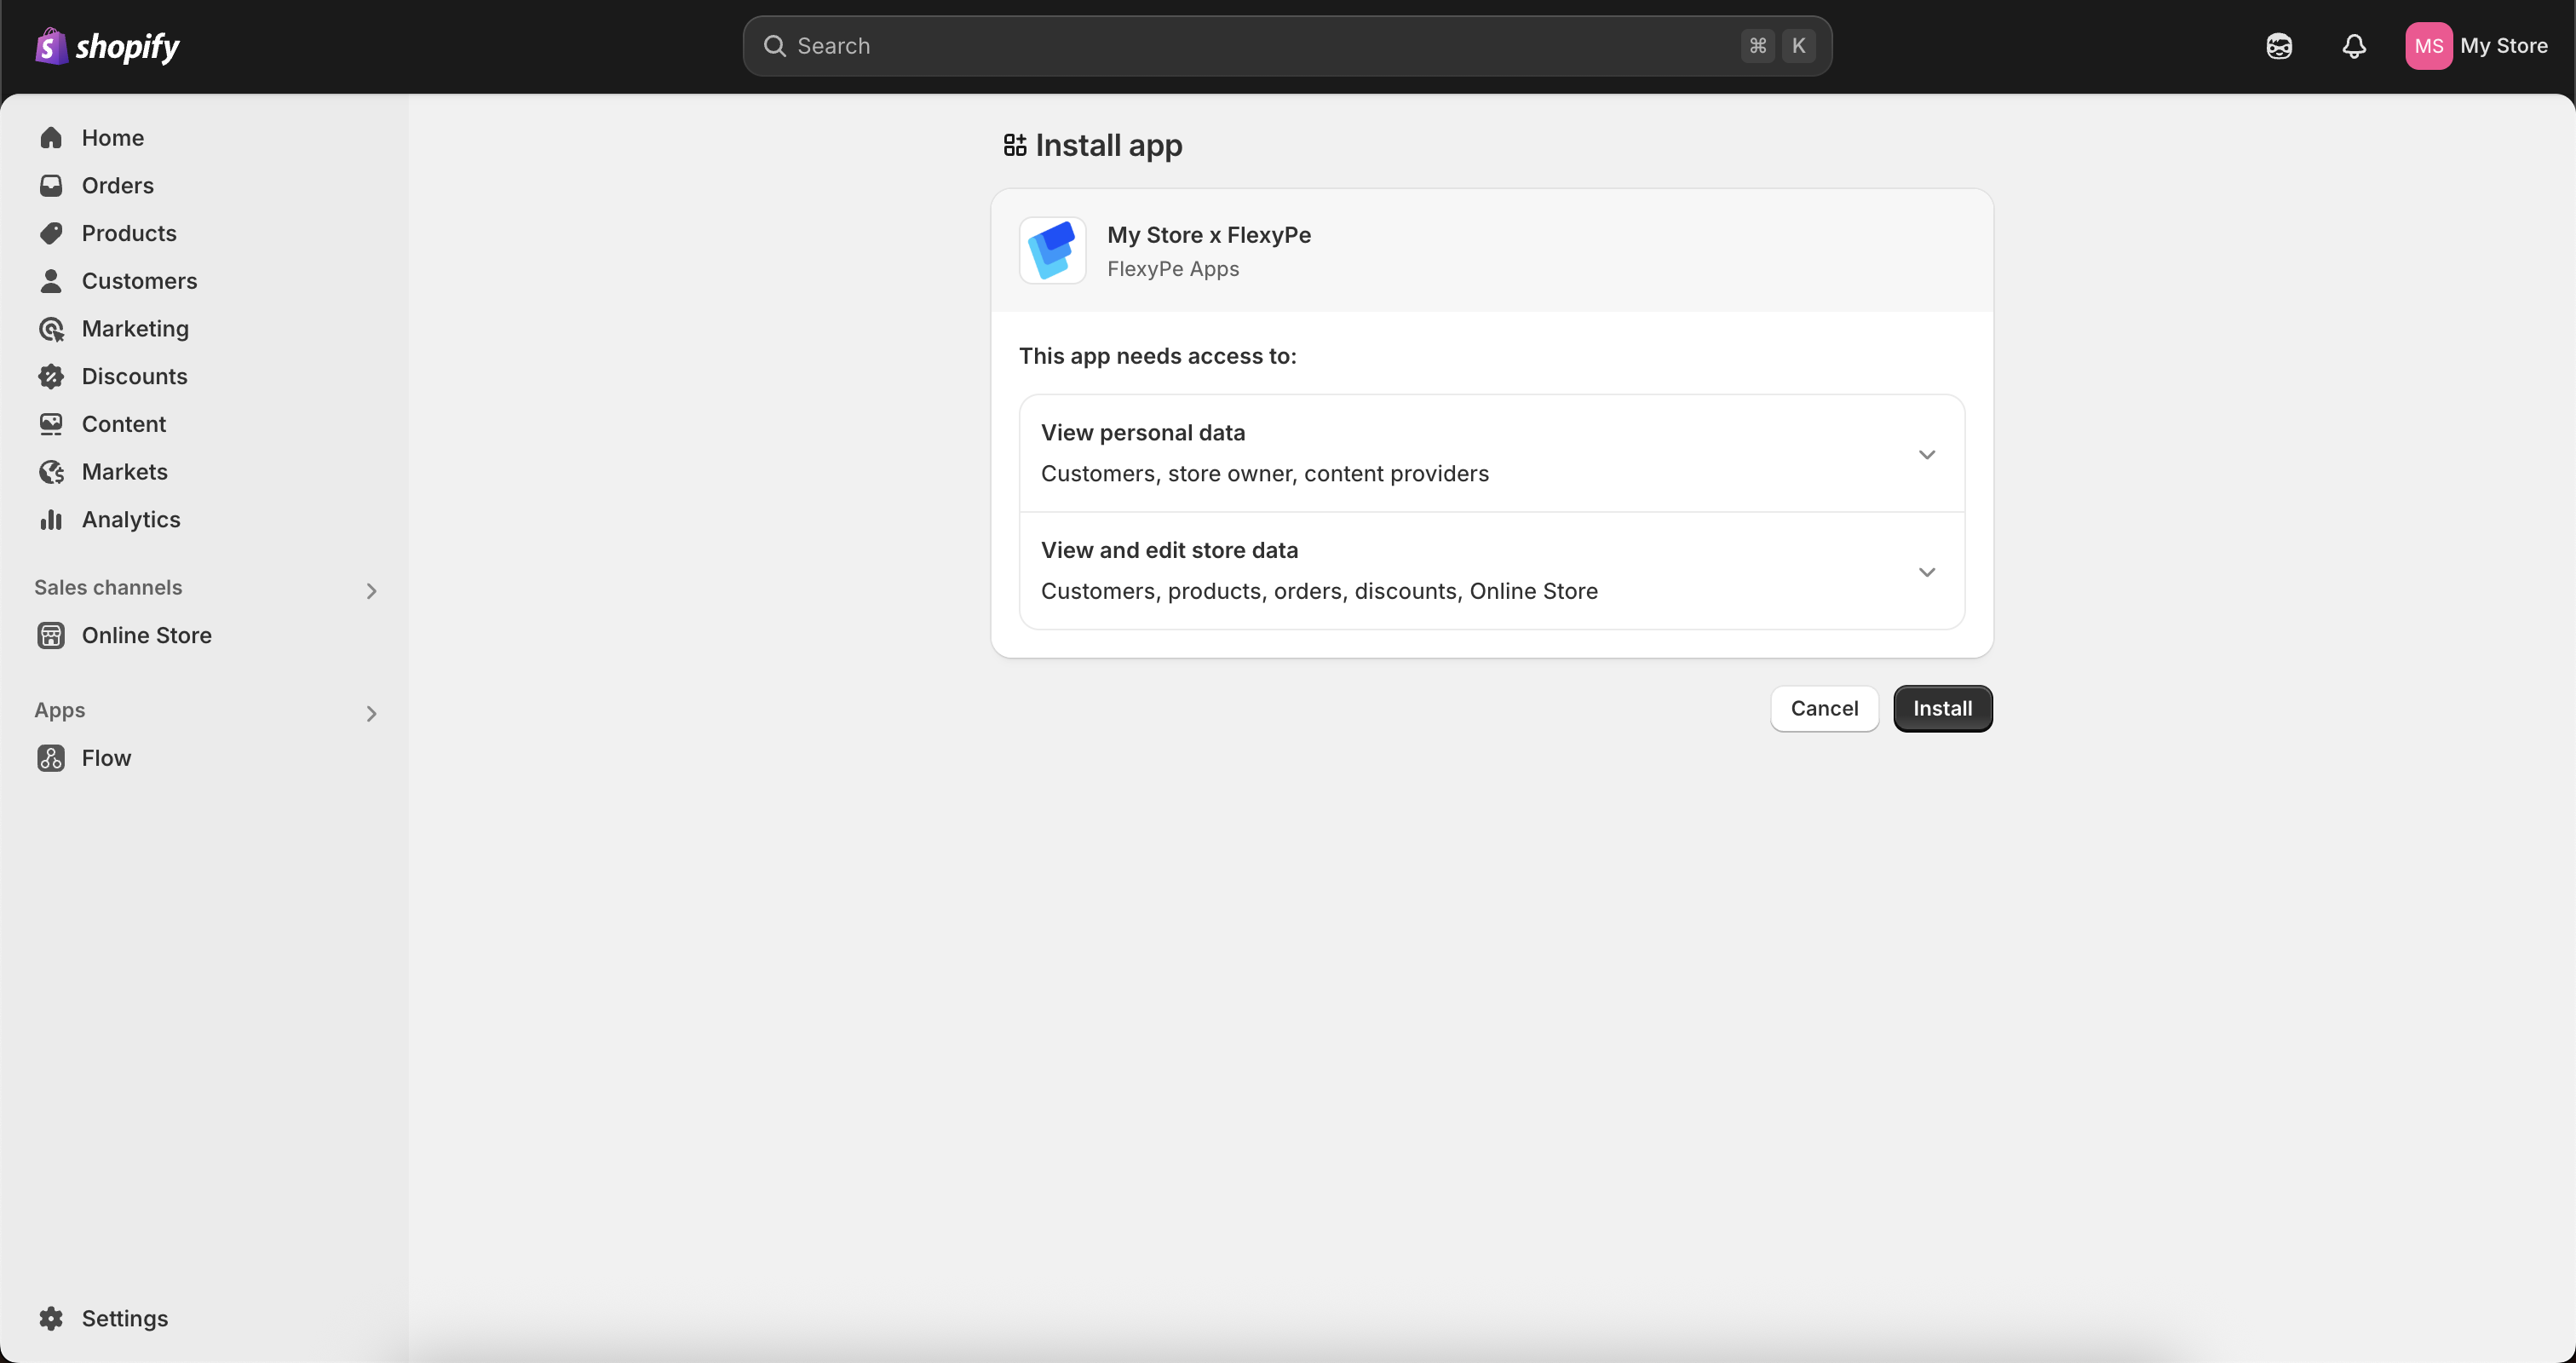
Get Started with FlexyPe app
Open the FlexyPe app
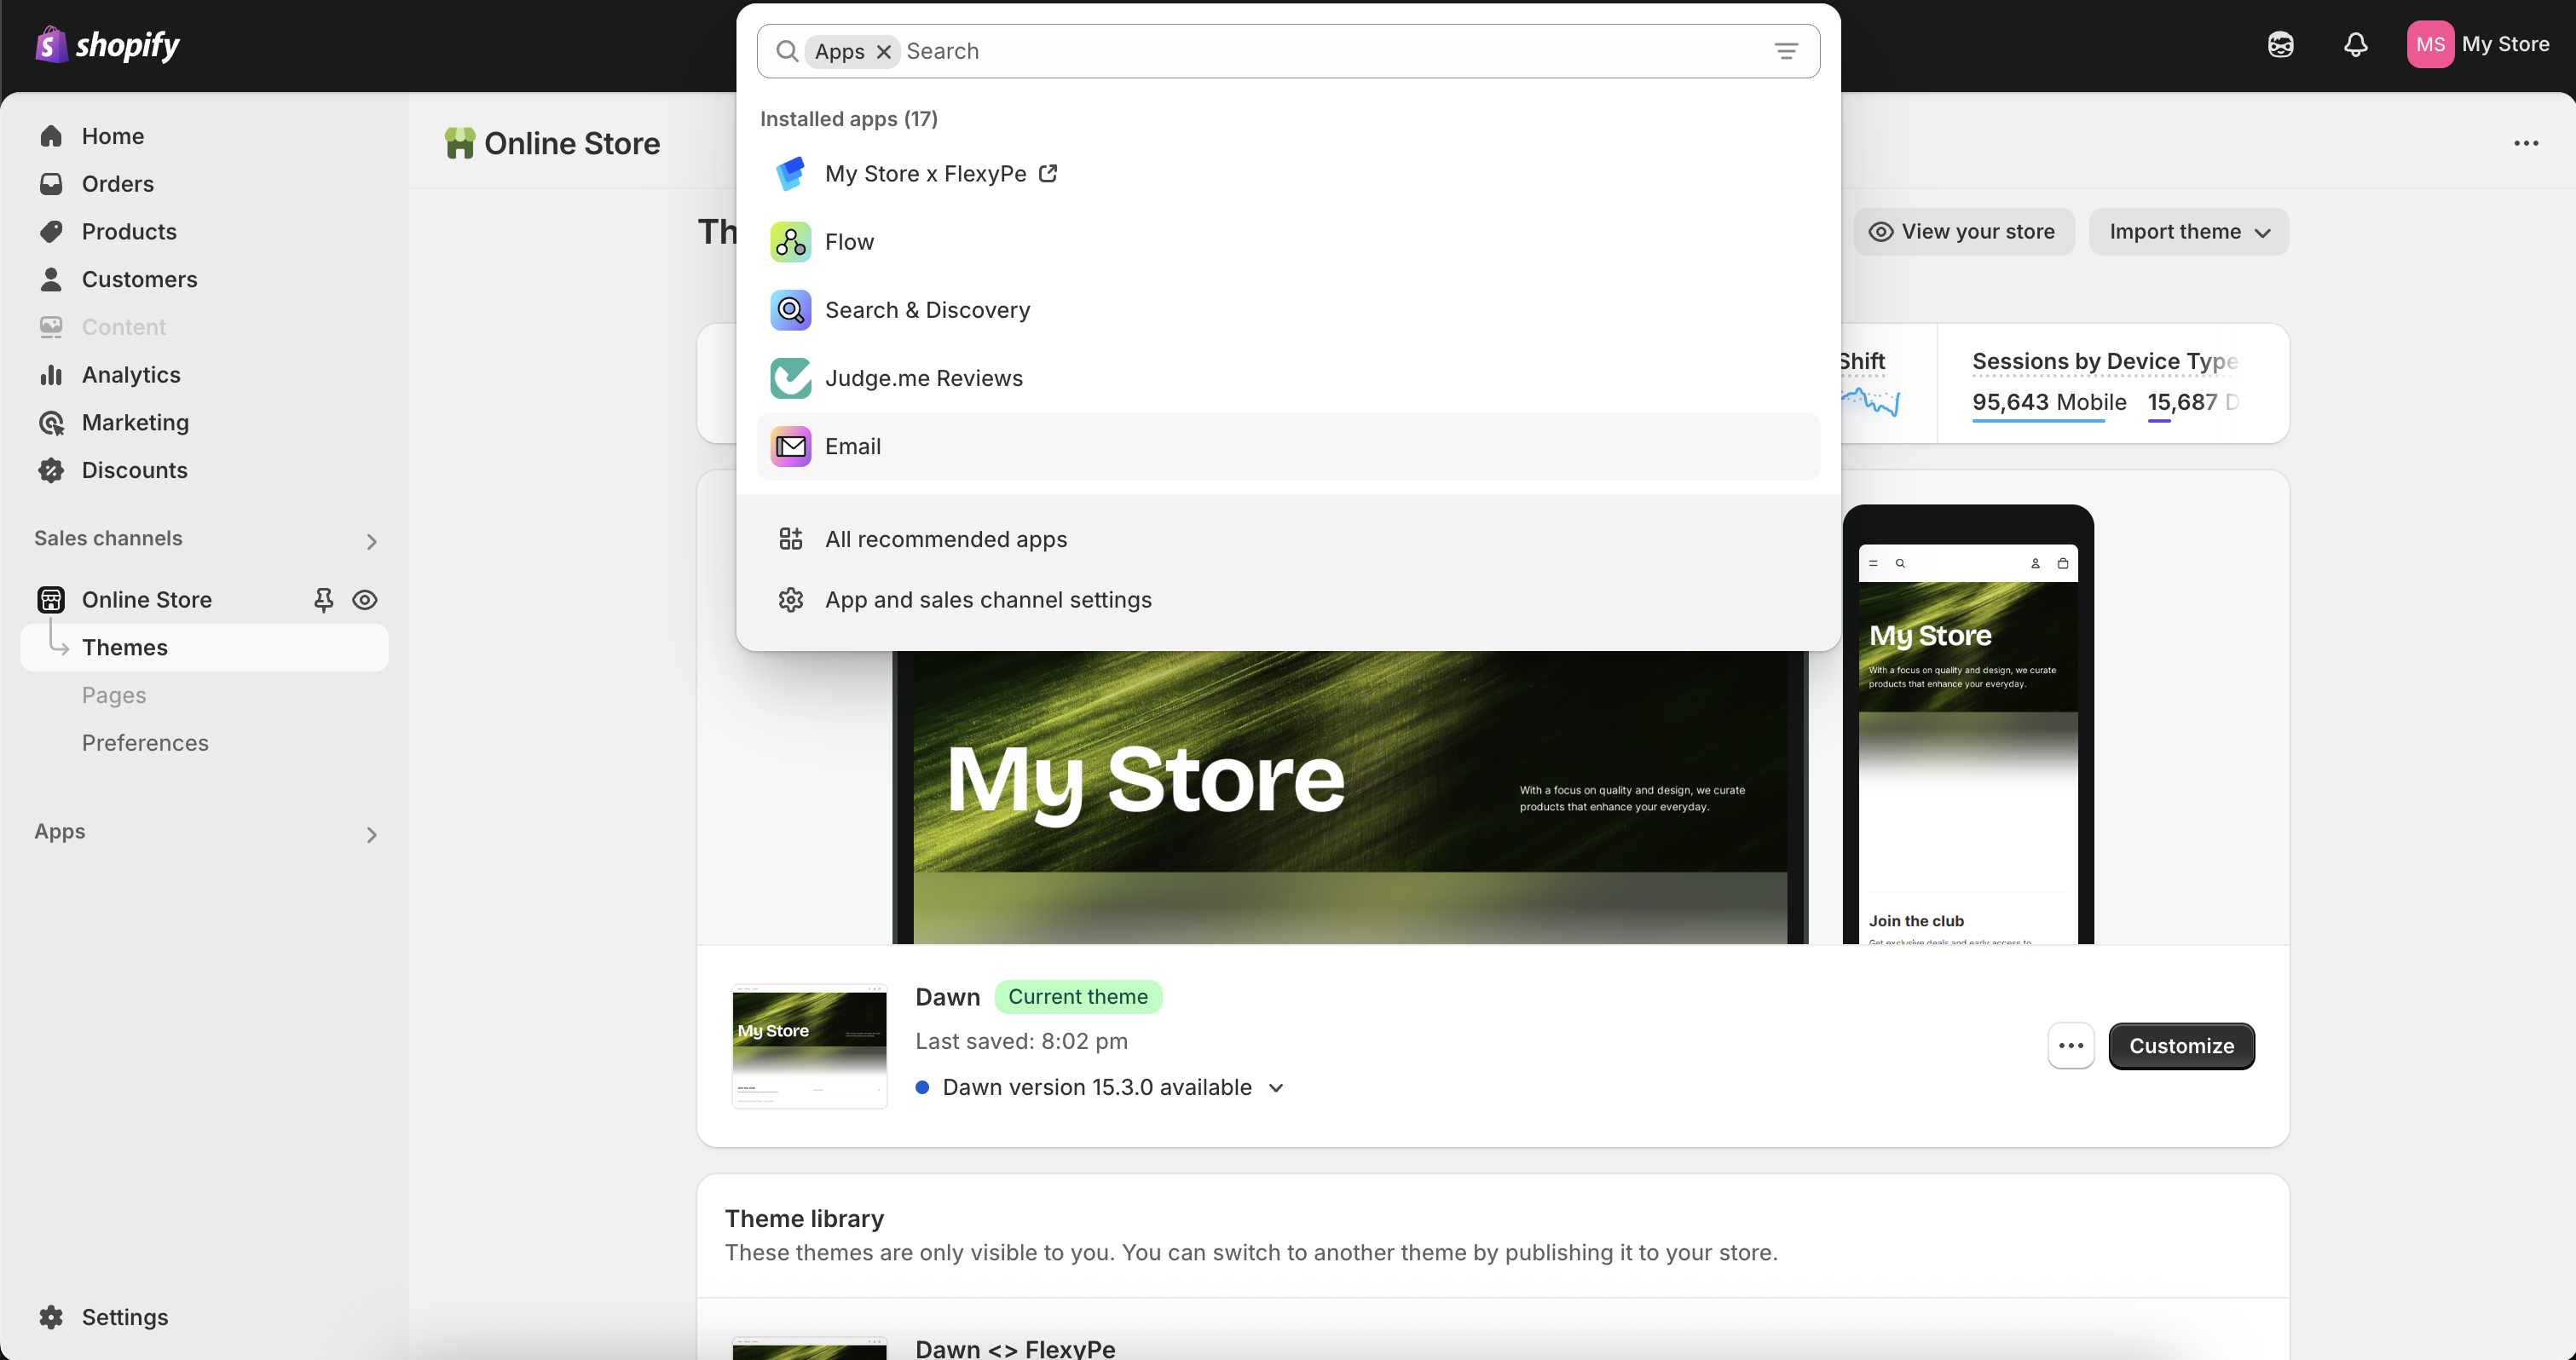
- Open your Shopify Admin account.
- Click Apps in the left panel and open the FlexyPe app.
Complete Pre-Integration Setup
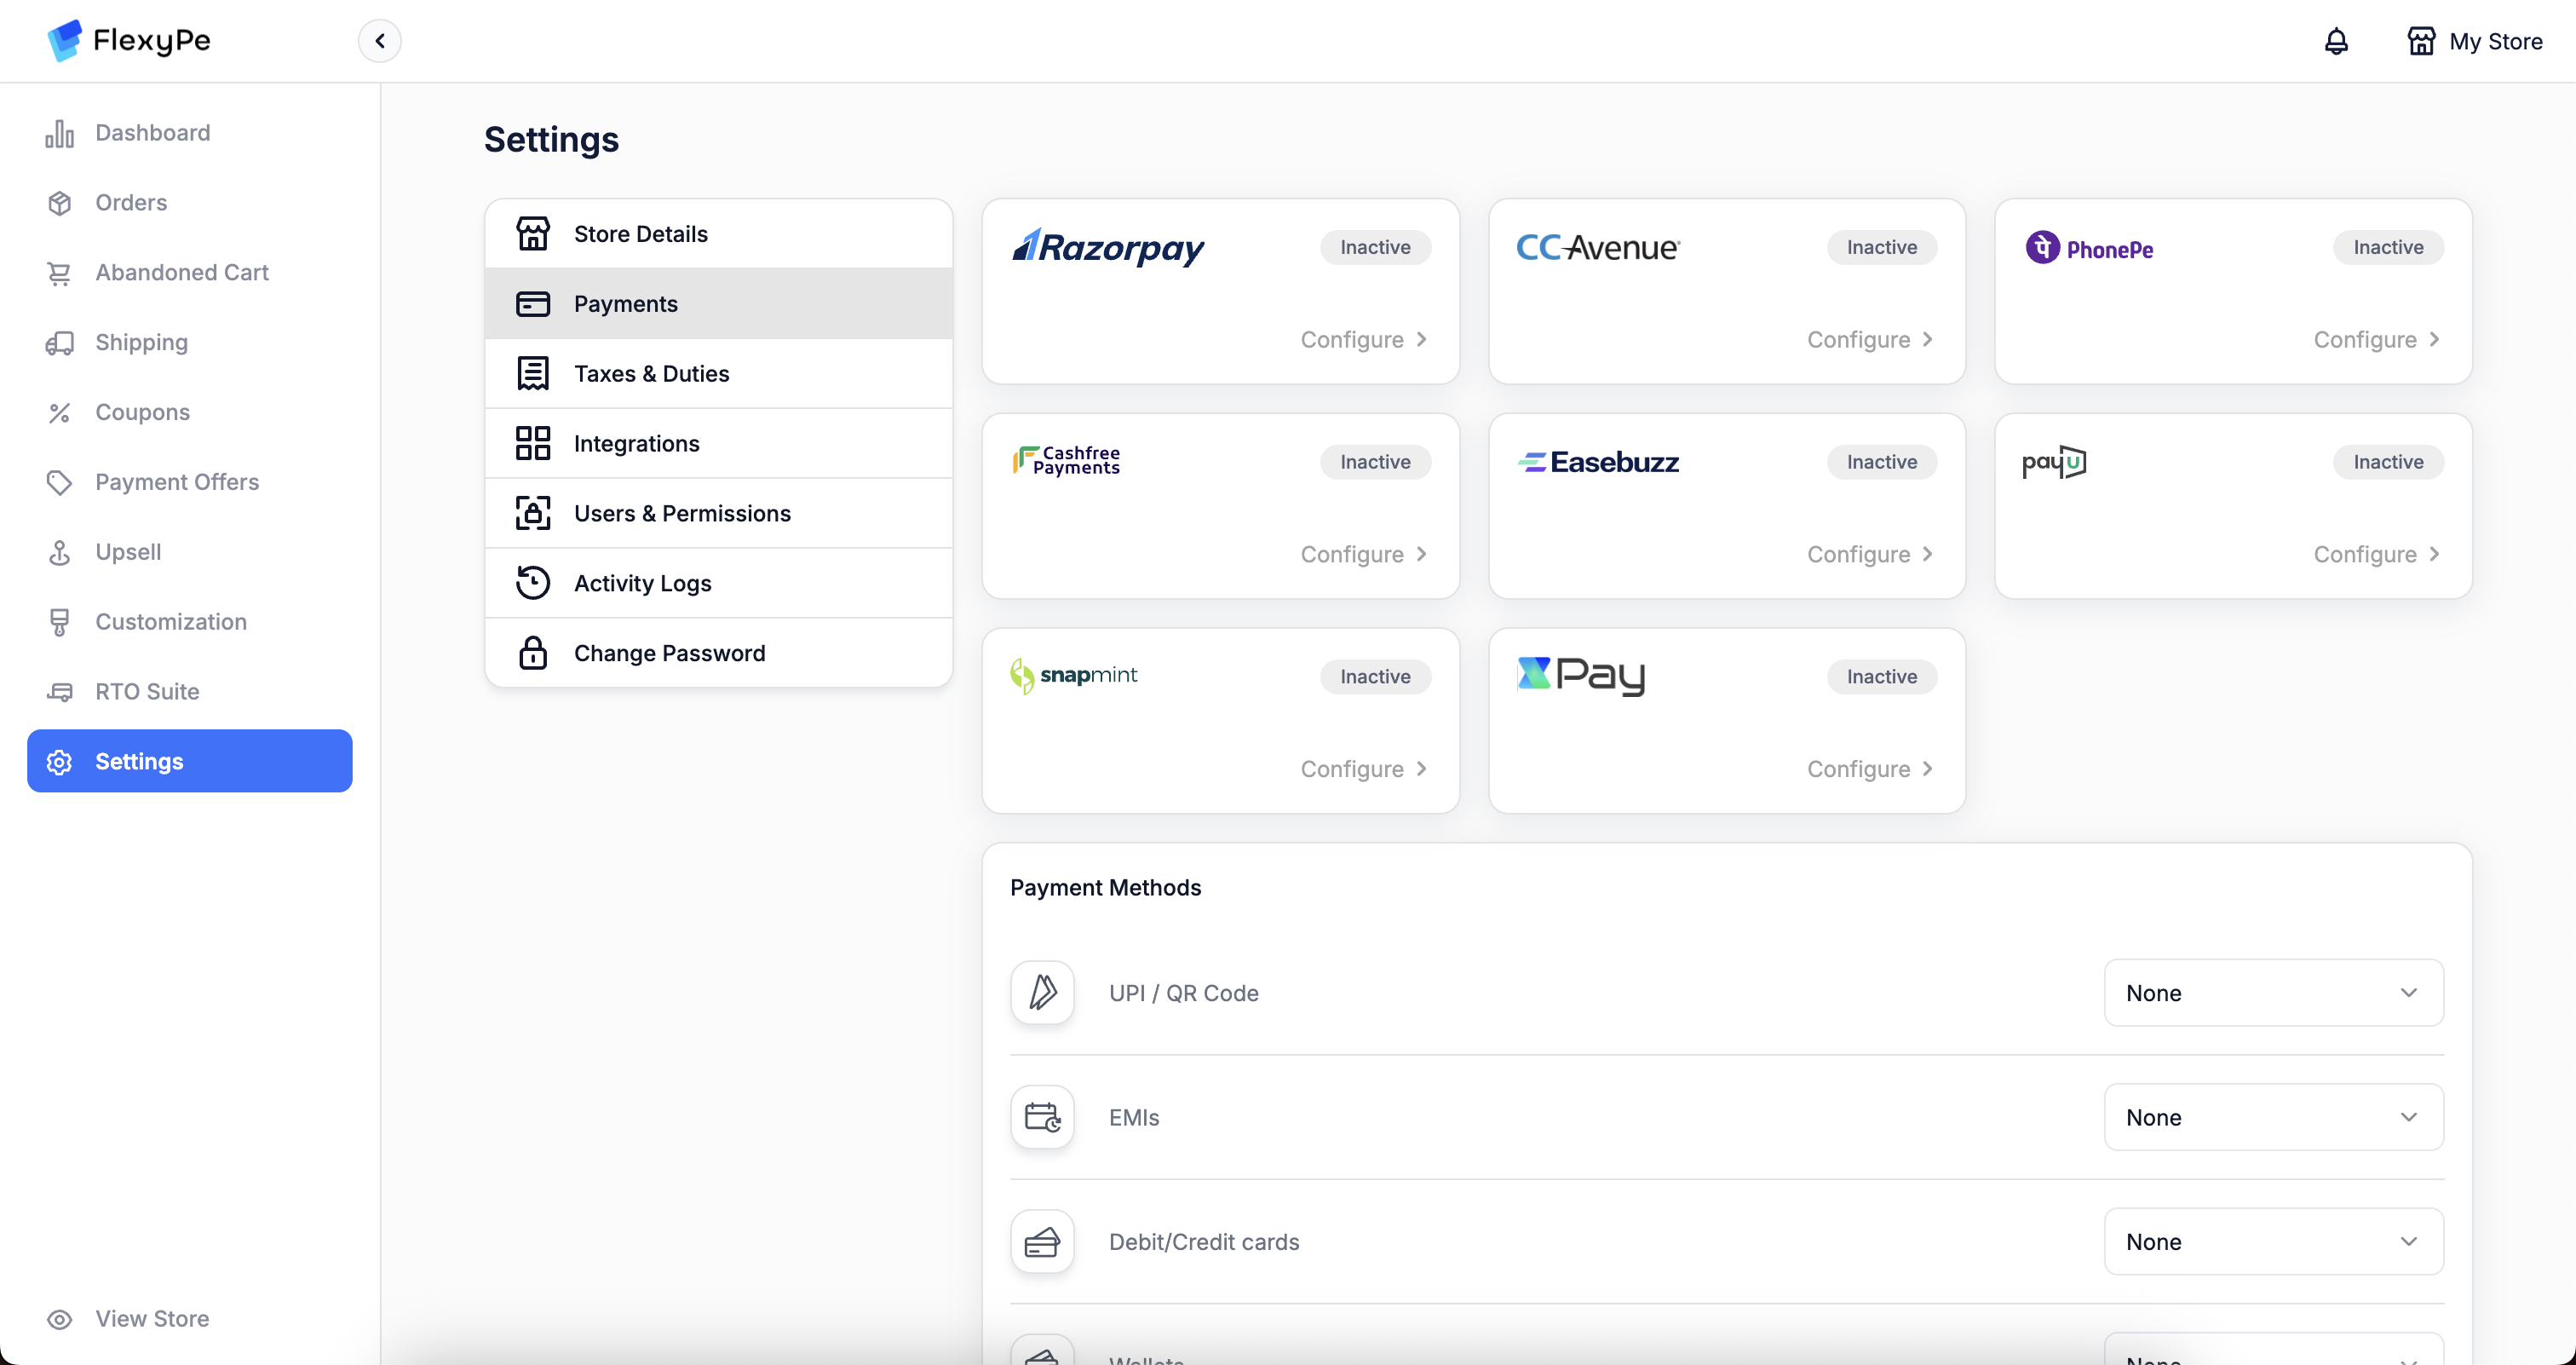
Complete payment gateway setup
Select the gateways you want to enable for each Payment Method. If you already have active accounts with any of the gateways below, here’s what each needs:
PayU
PayU
Credentials are available in the PayU dashboard. Webhook setup is mandatory. Configuration completes instantly once done. View setup →
Cashfree
Cashfree
Credentials are available in the Cashfree dashboard. Webhook setup is required. Configuration completes instantly thereafter. View setup →
XPay
XPay
Credentials are available in the XPay dashboard. Webhook configuration is required. Setup completes instantly after this. View setup →
Easebuzz
Easebuzz
Credentials are shared by the Easebuzz team. Webhook configuration is required. Once credentials are received, configuration completes instantly. View setup →
Razorpay
Razorpay
Requires account authorization; no webhook setup needed. Setup completes instantly. View setup →
PhonePe
PhonePe
Share your MID with the FlexyPe team. Mapping is handled manually and typically takes up to a week. View setup →
If you didn’t configure payment gateways right after installing the app, you can still do it later from your FlexyPe dashboard. Haven’t completed setup yet? Visit Payment Providers.
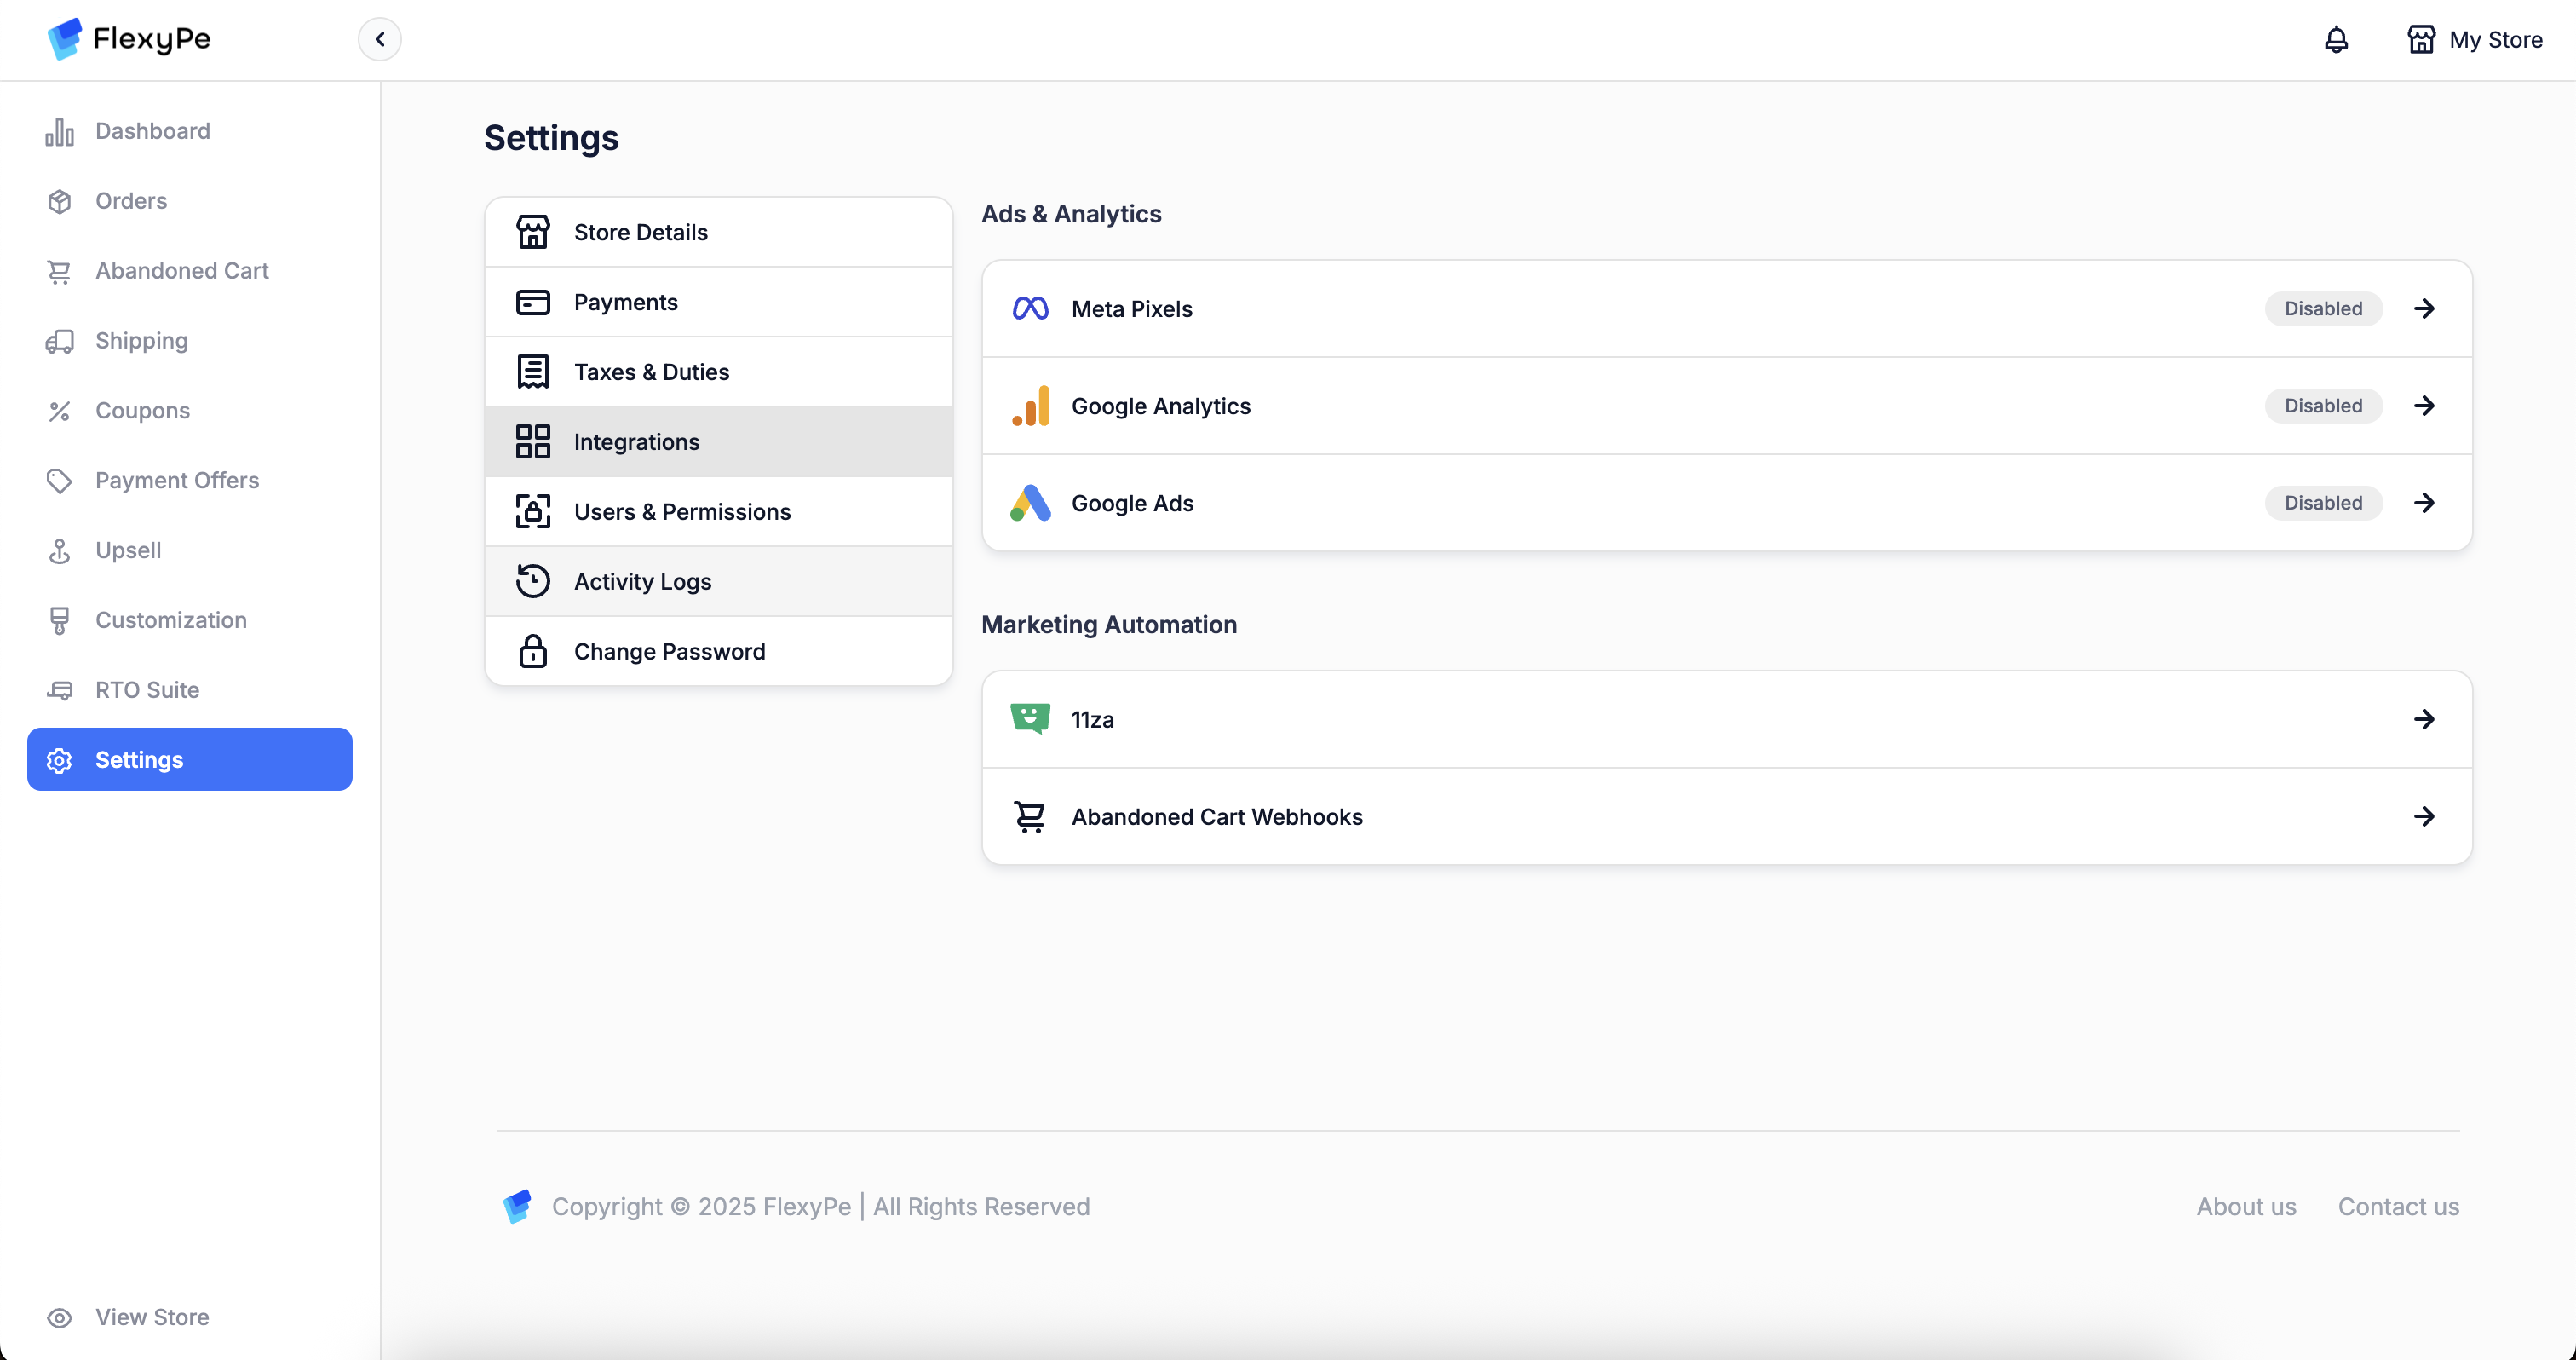
Connect advertising tools
Explore app features and settings
- Review the key features available within the app.
- Adjust settings to tailor the app to your business requirements.
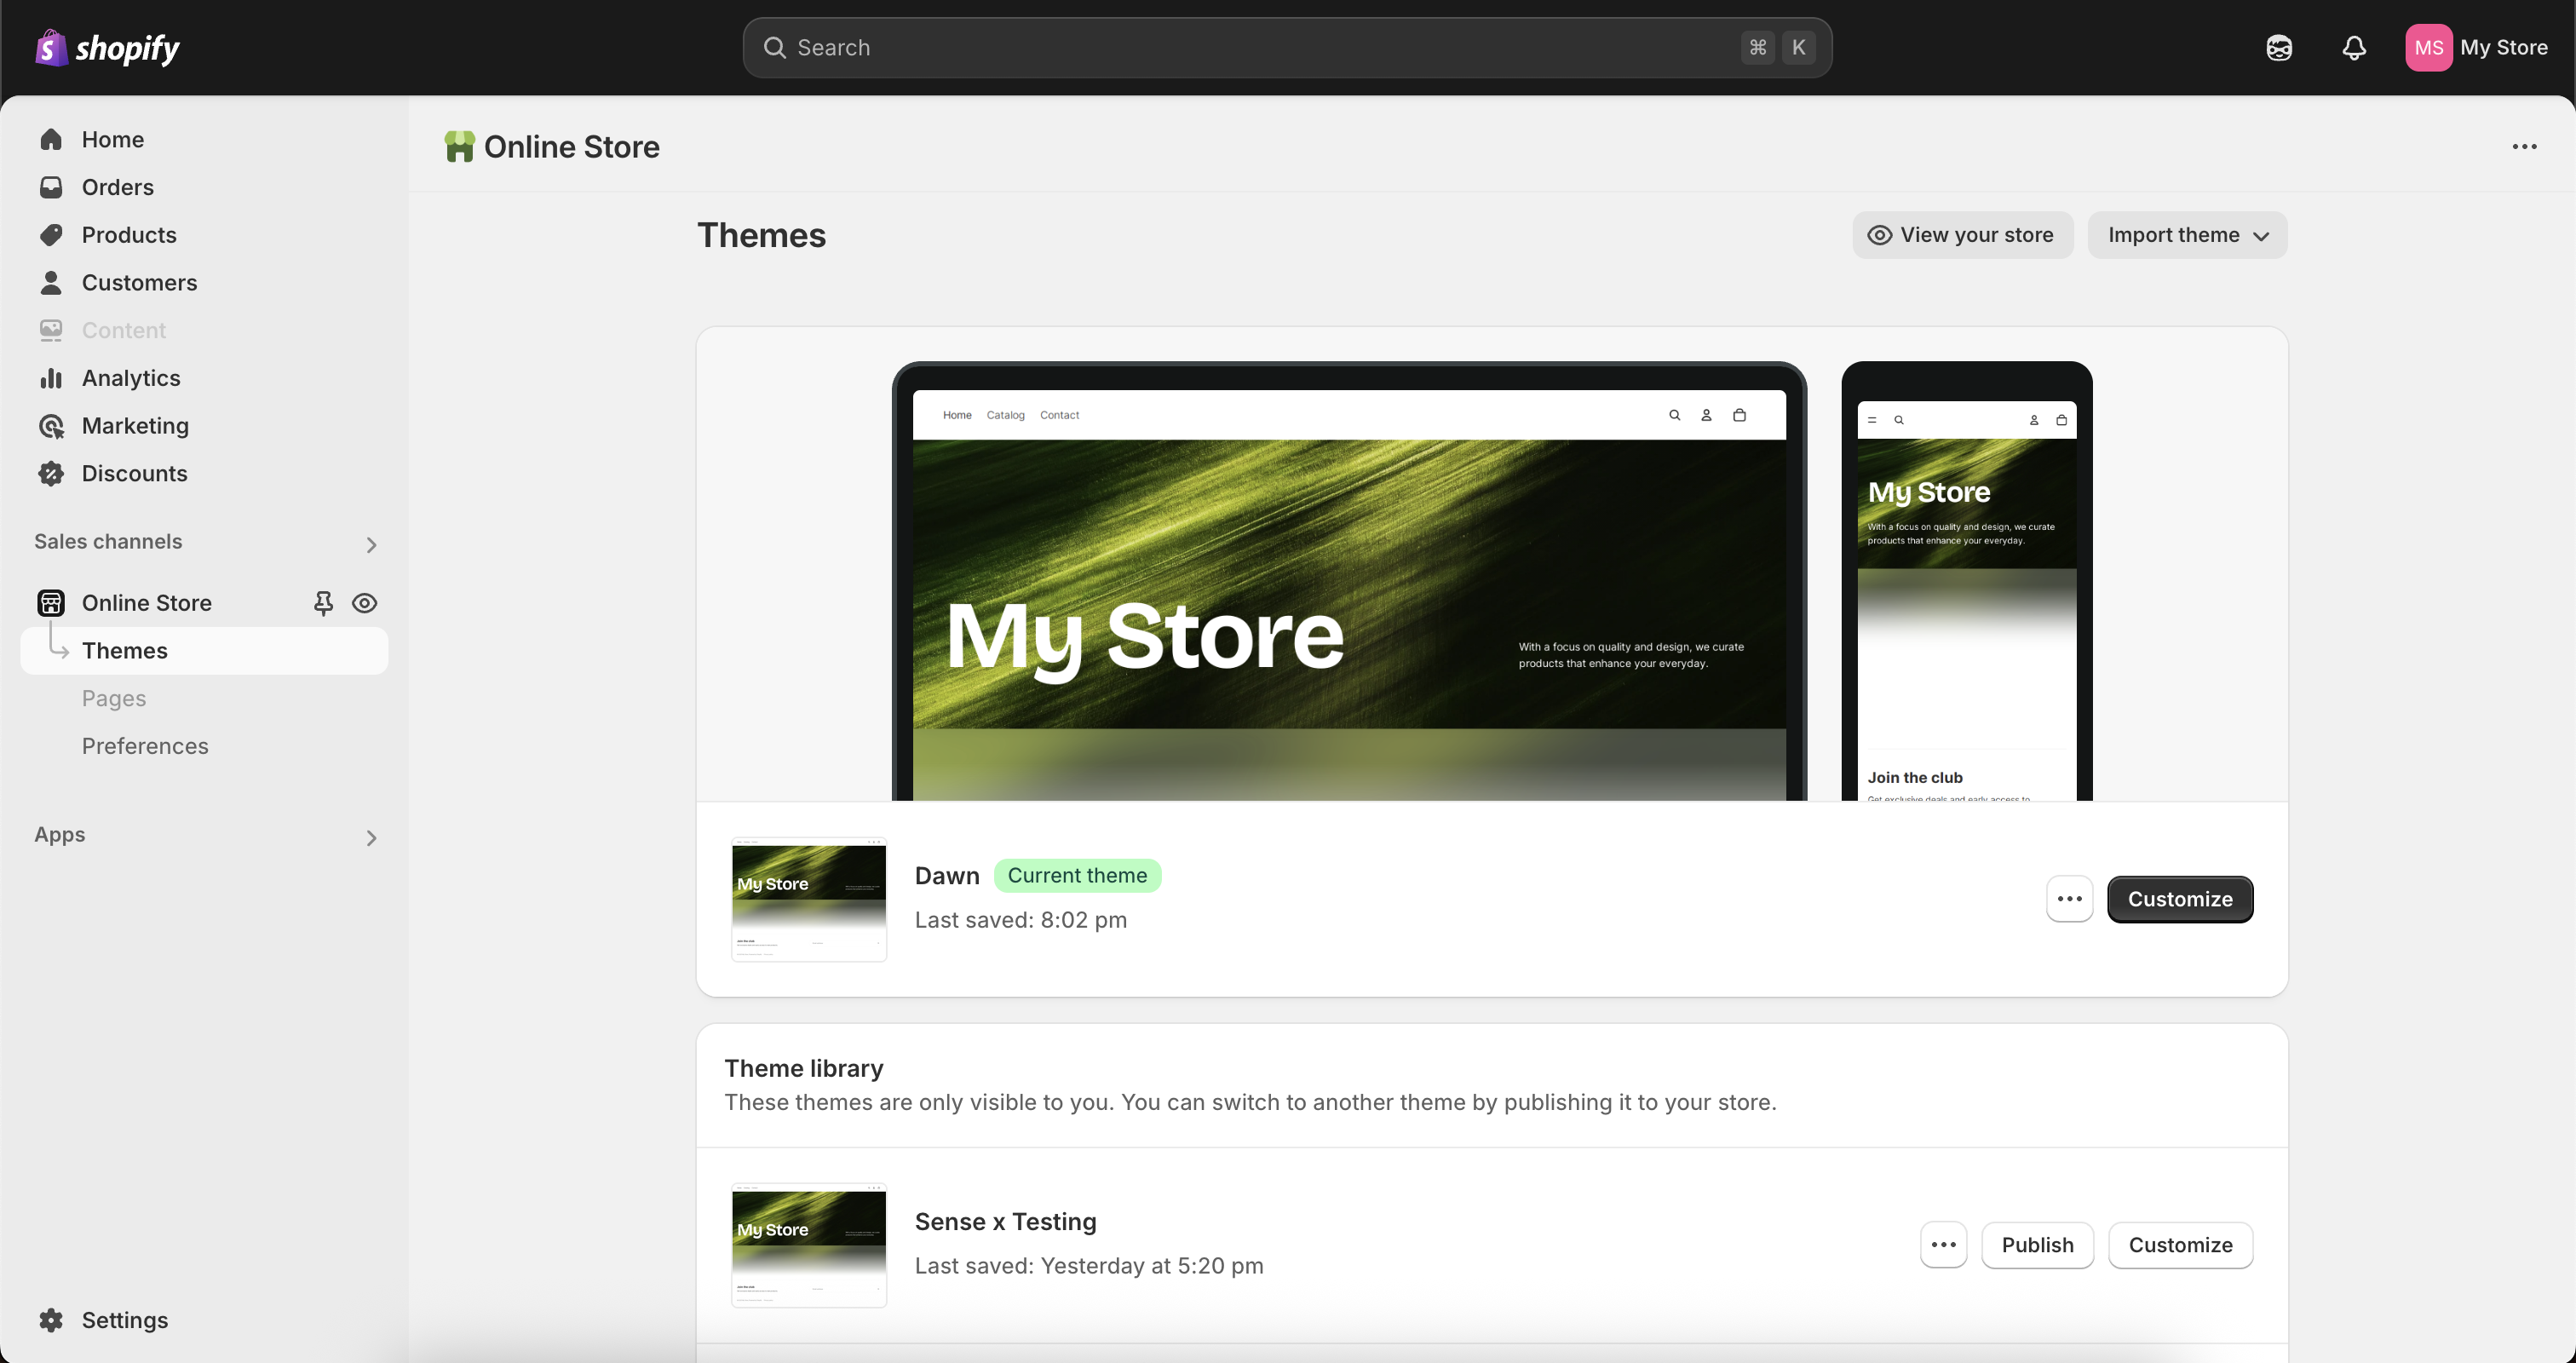
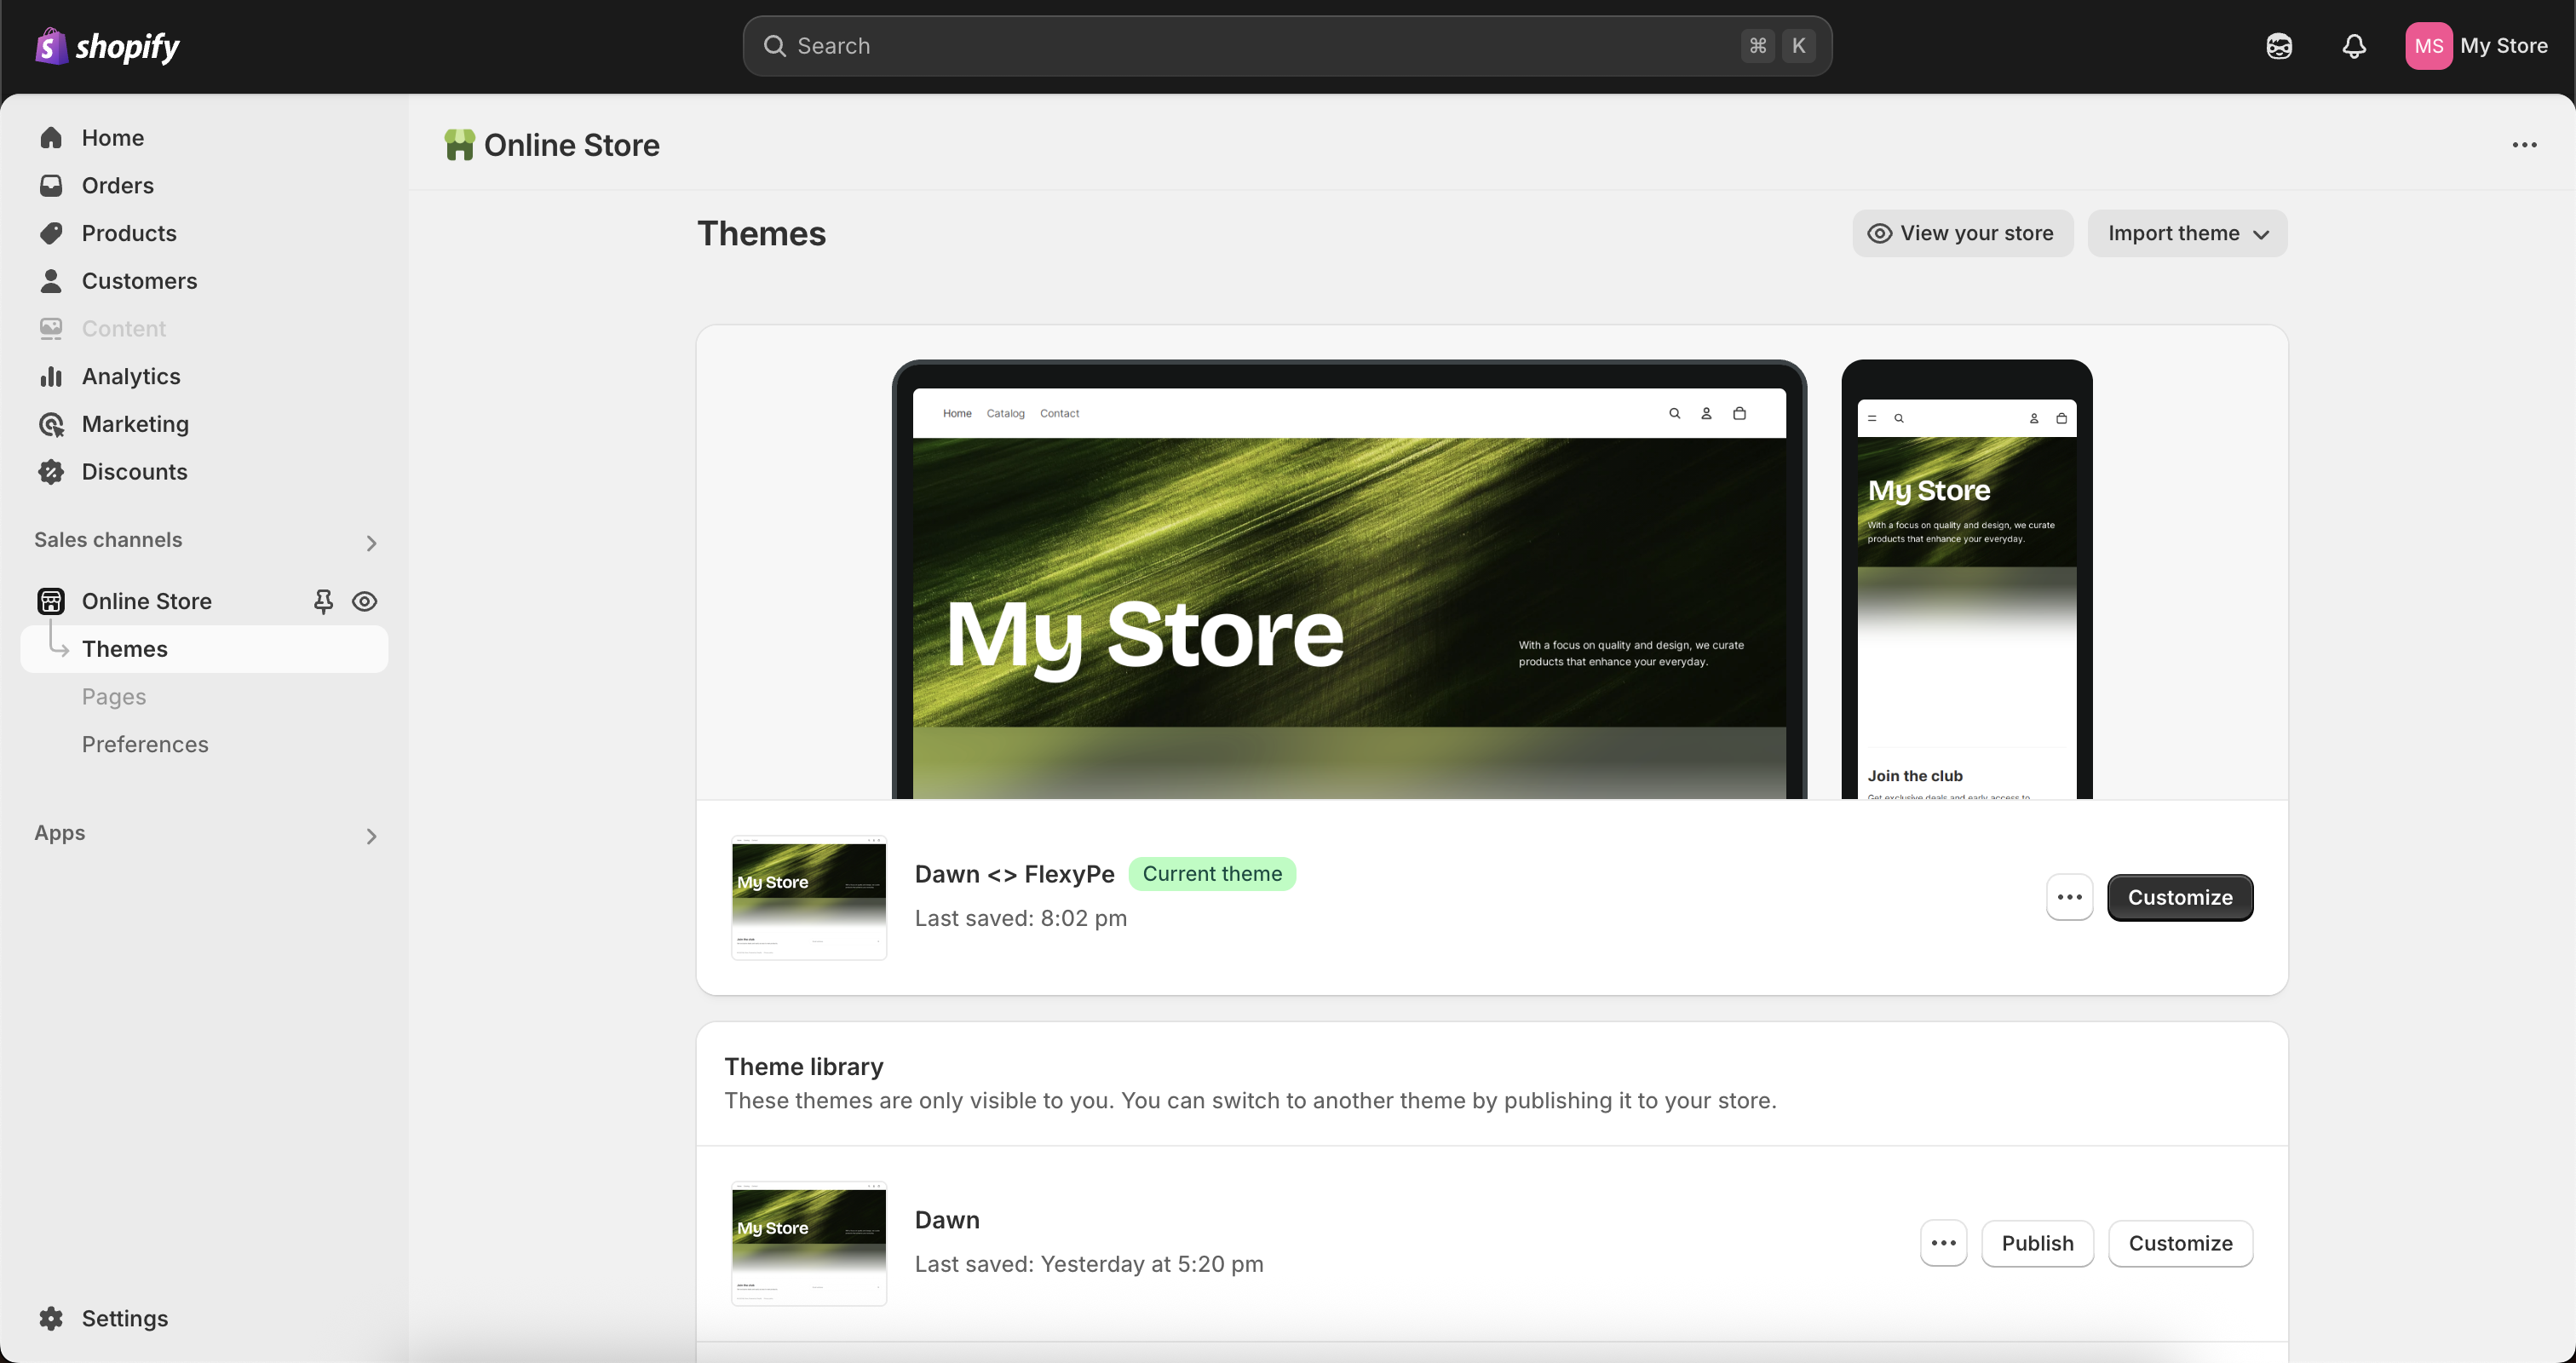
Theme Setup to Go Live
Preview and verify the integration
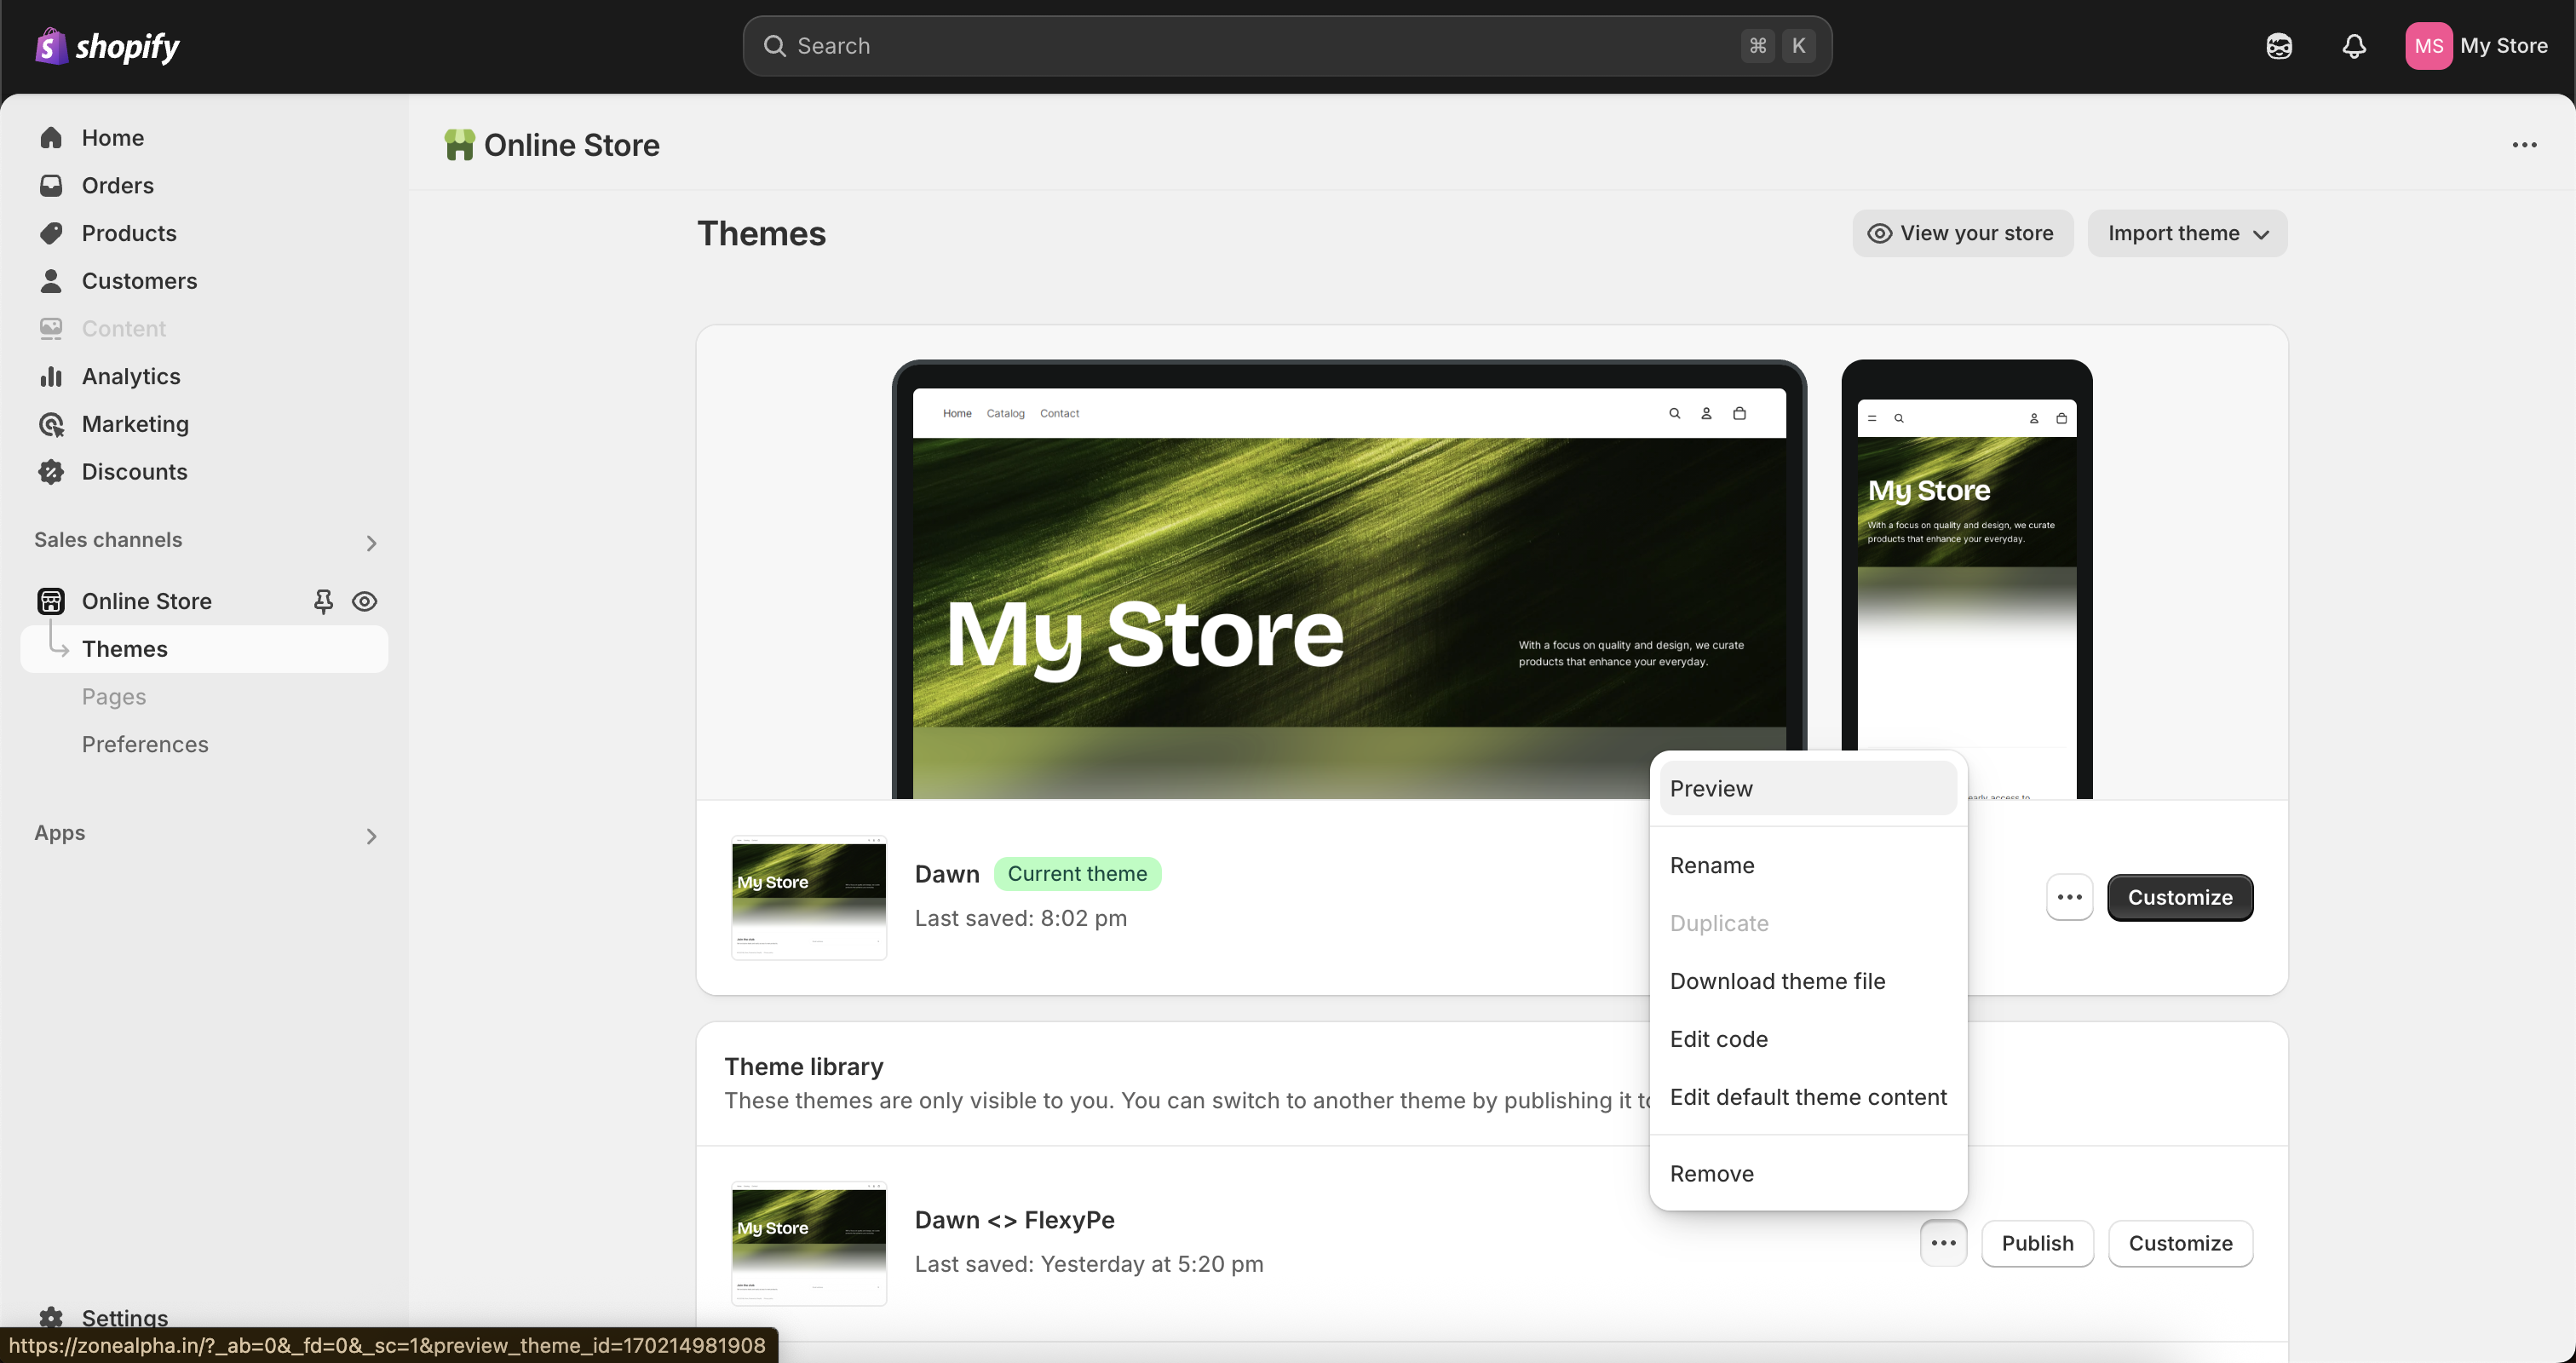
- Within 12 hours of confirming your theme, we’ll provide a preview / testing link.
- Use it to review and verify the integration before final approval.
Keep Growing with FlexyPe
We typically complete onboarding within 24–48 hours, and we’re here to support you during and after setup.Join our WhatsApp community
Stay updated on new features, get expert tips, and connect with other merchants.
While we’re happy to refer you to a payment provider, all technical support or queries about the gateway should go to their dedicated support team for the best assistance.