Getting the Key and Salt
Integrate Easebuzz with FlexyPe
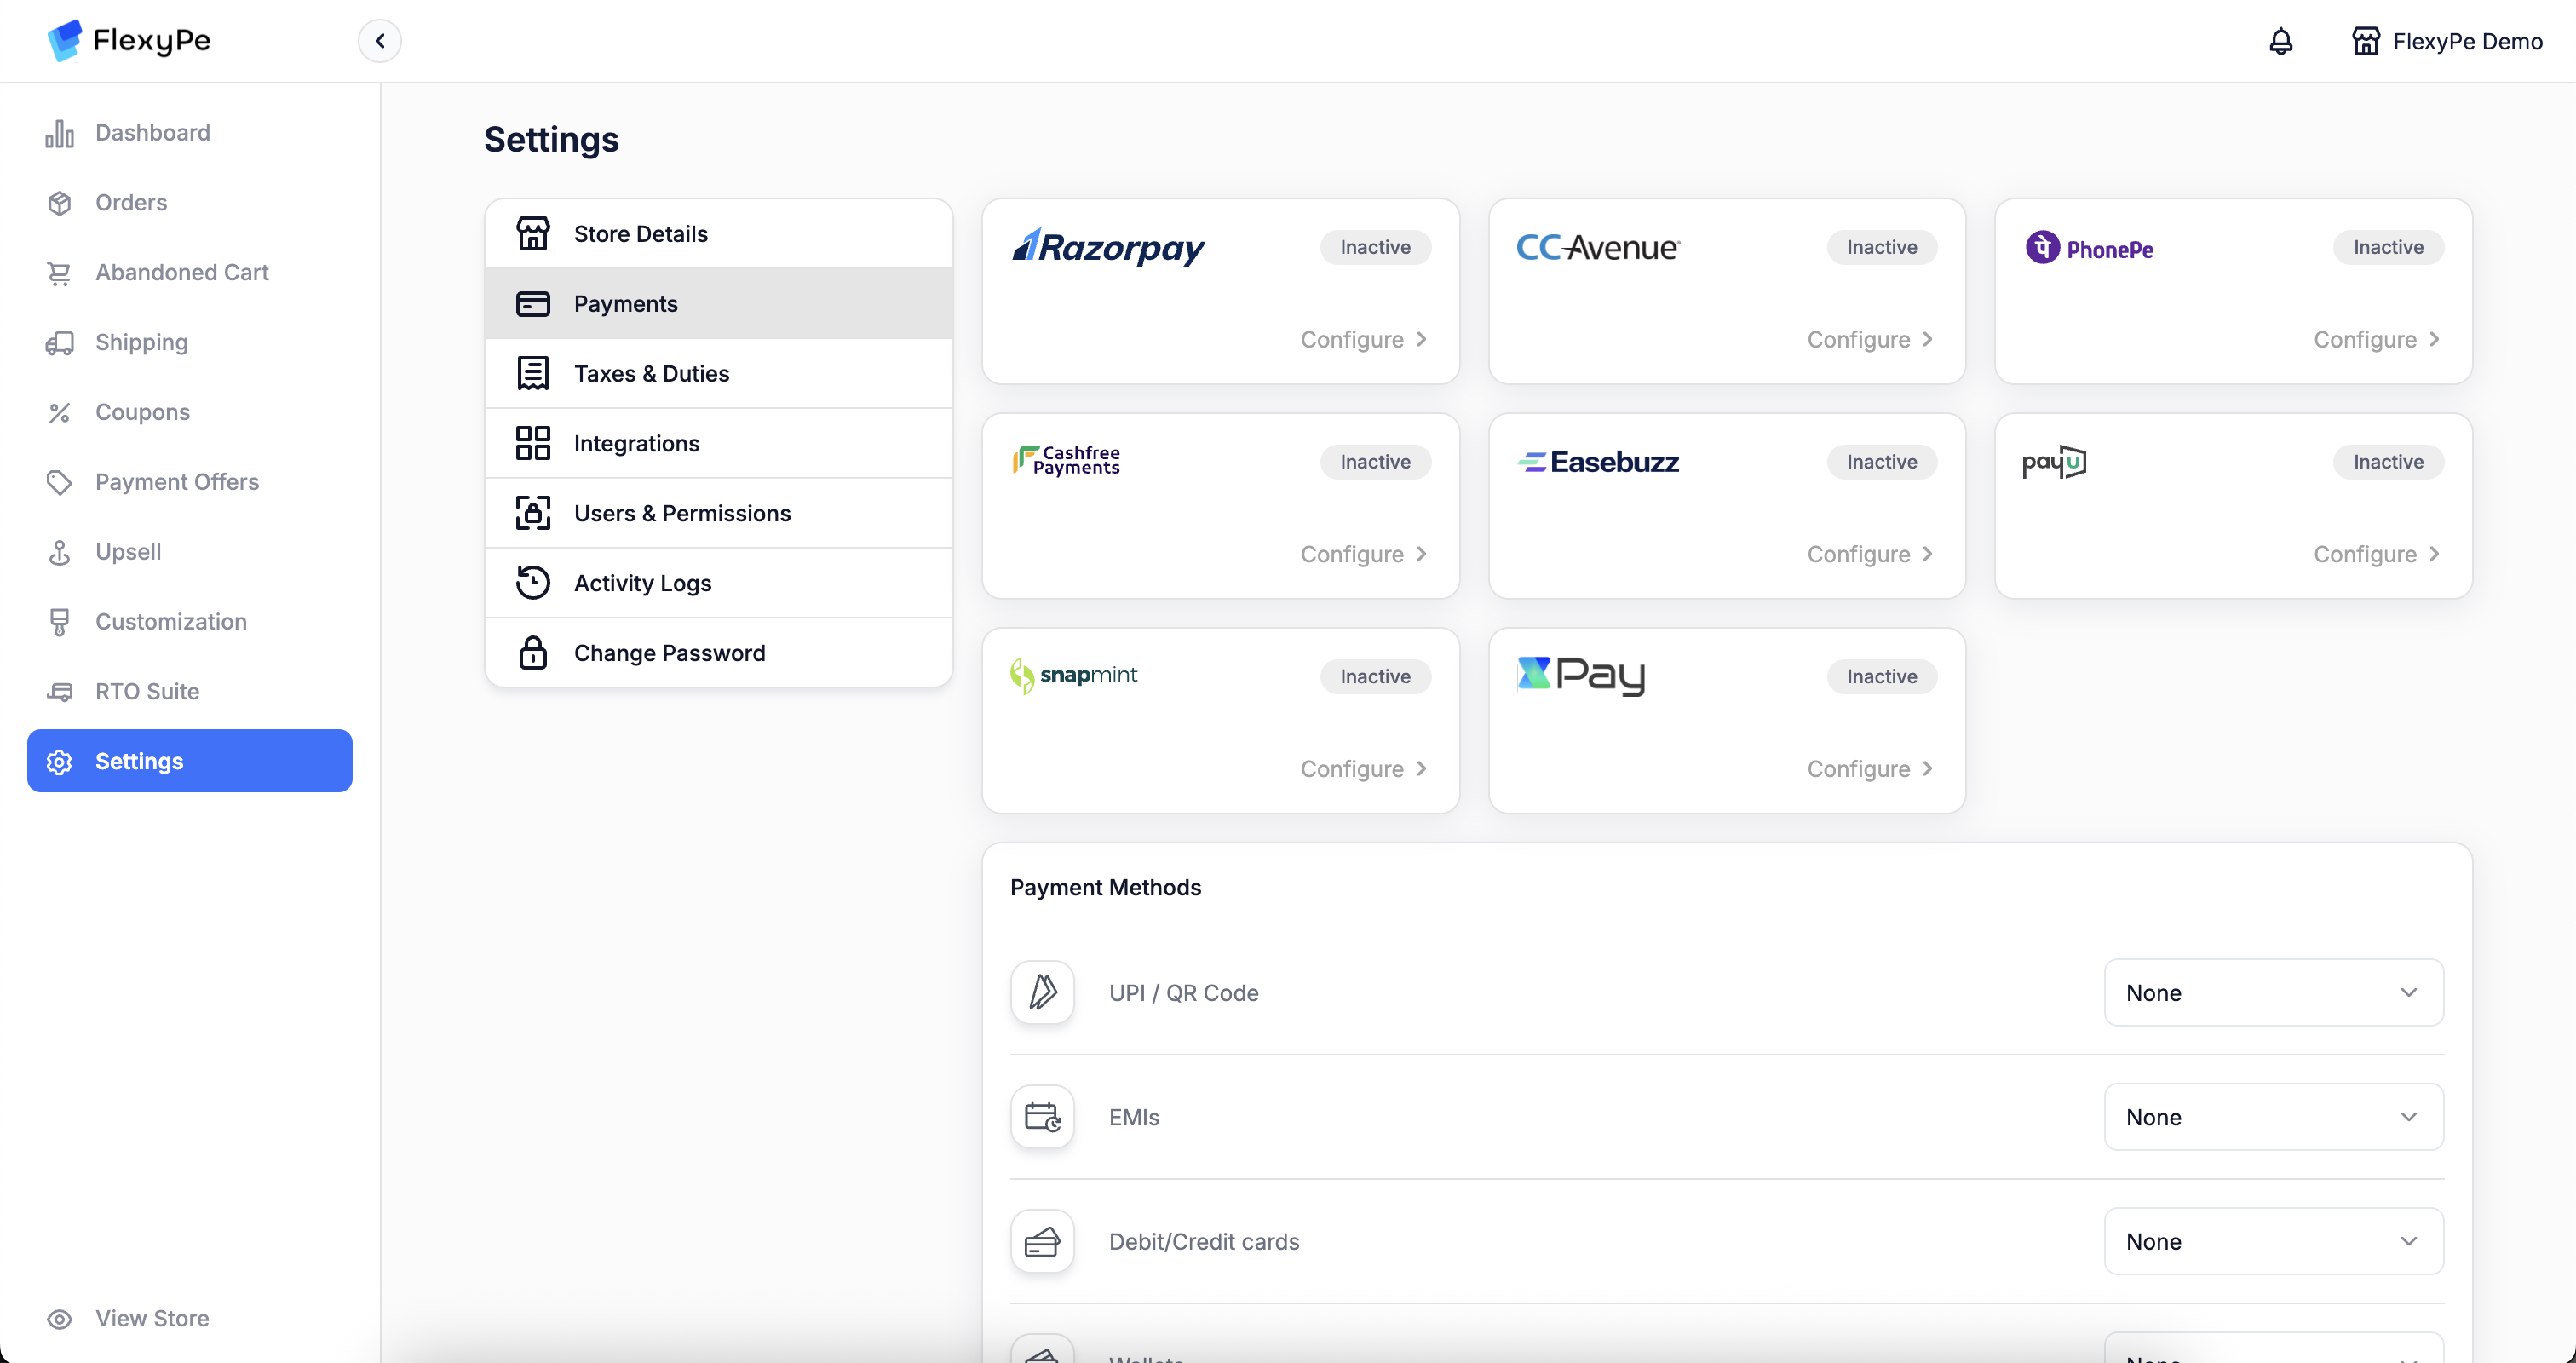
Access Easebuzz in FlexyPe Dashboard
- Log in to Easebuzz Dashboard.
- Click on Developer on the top right corner.
Configure Easebuzz
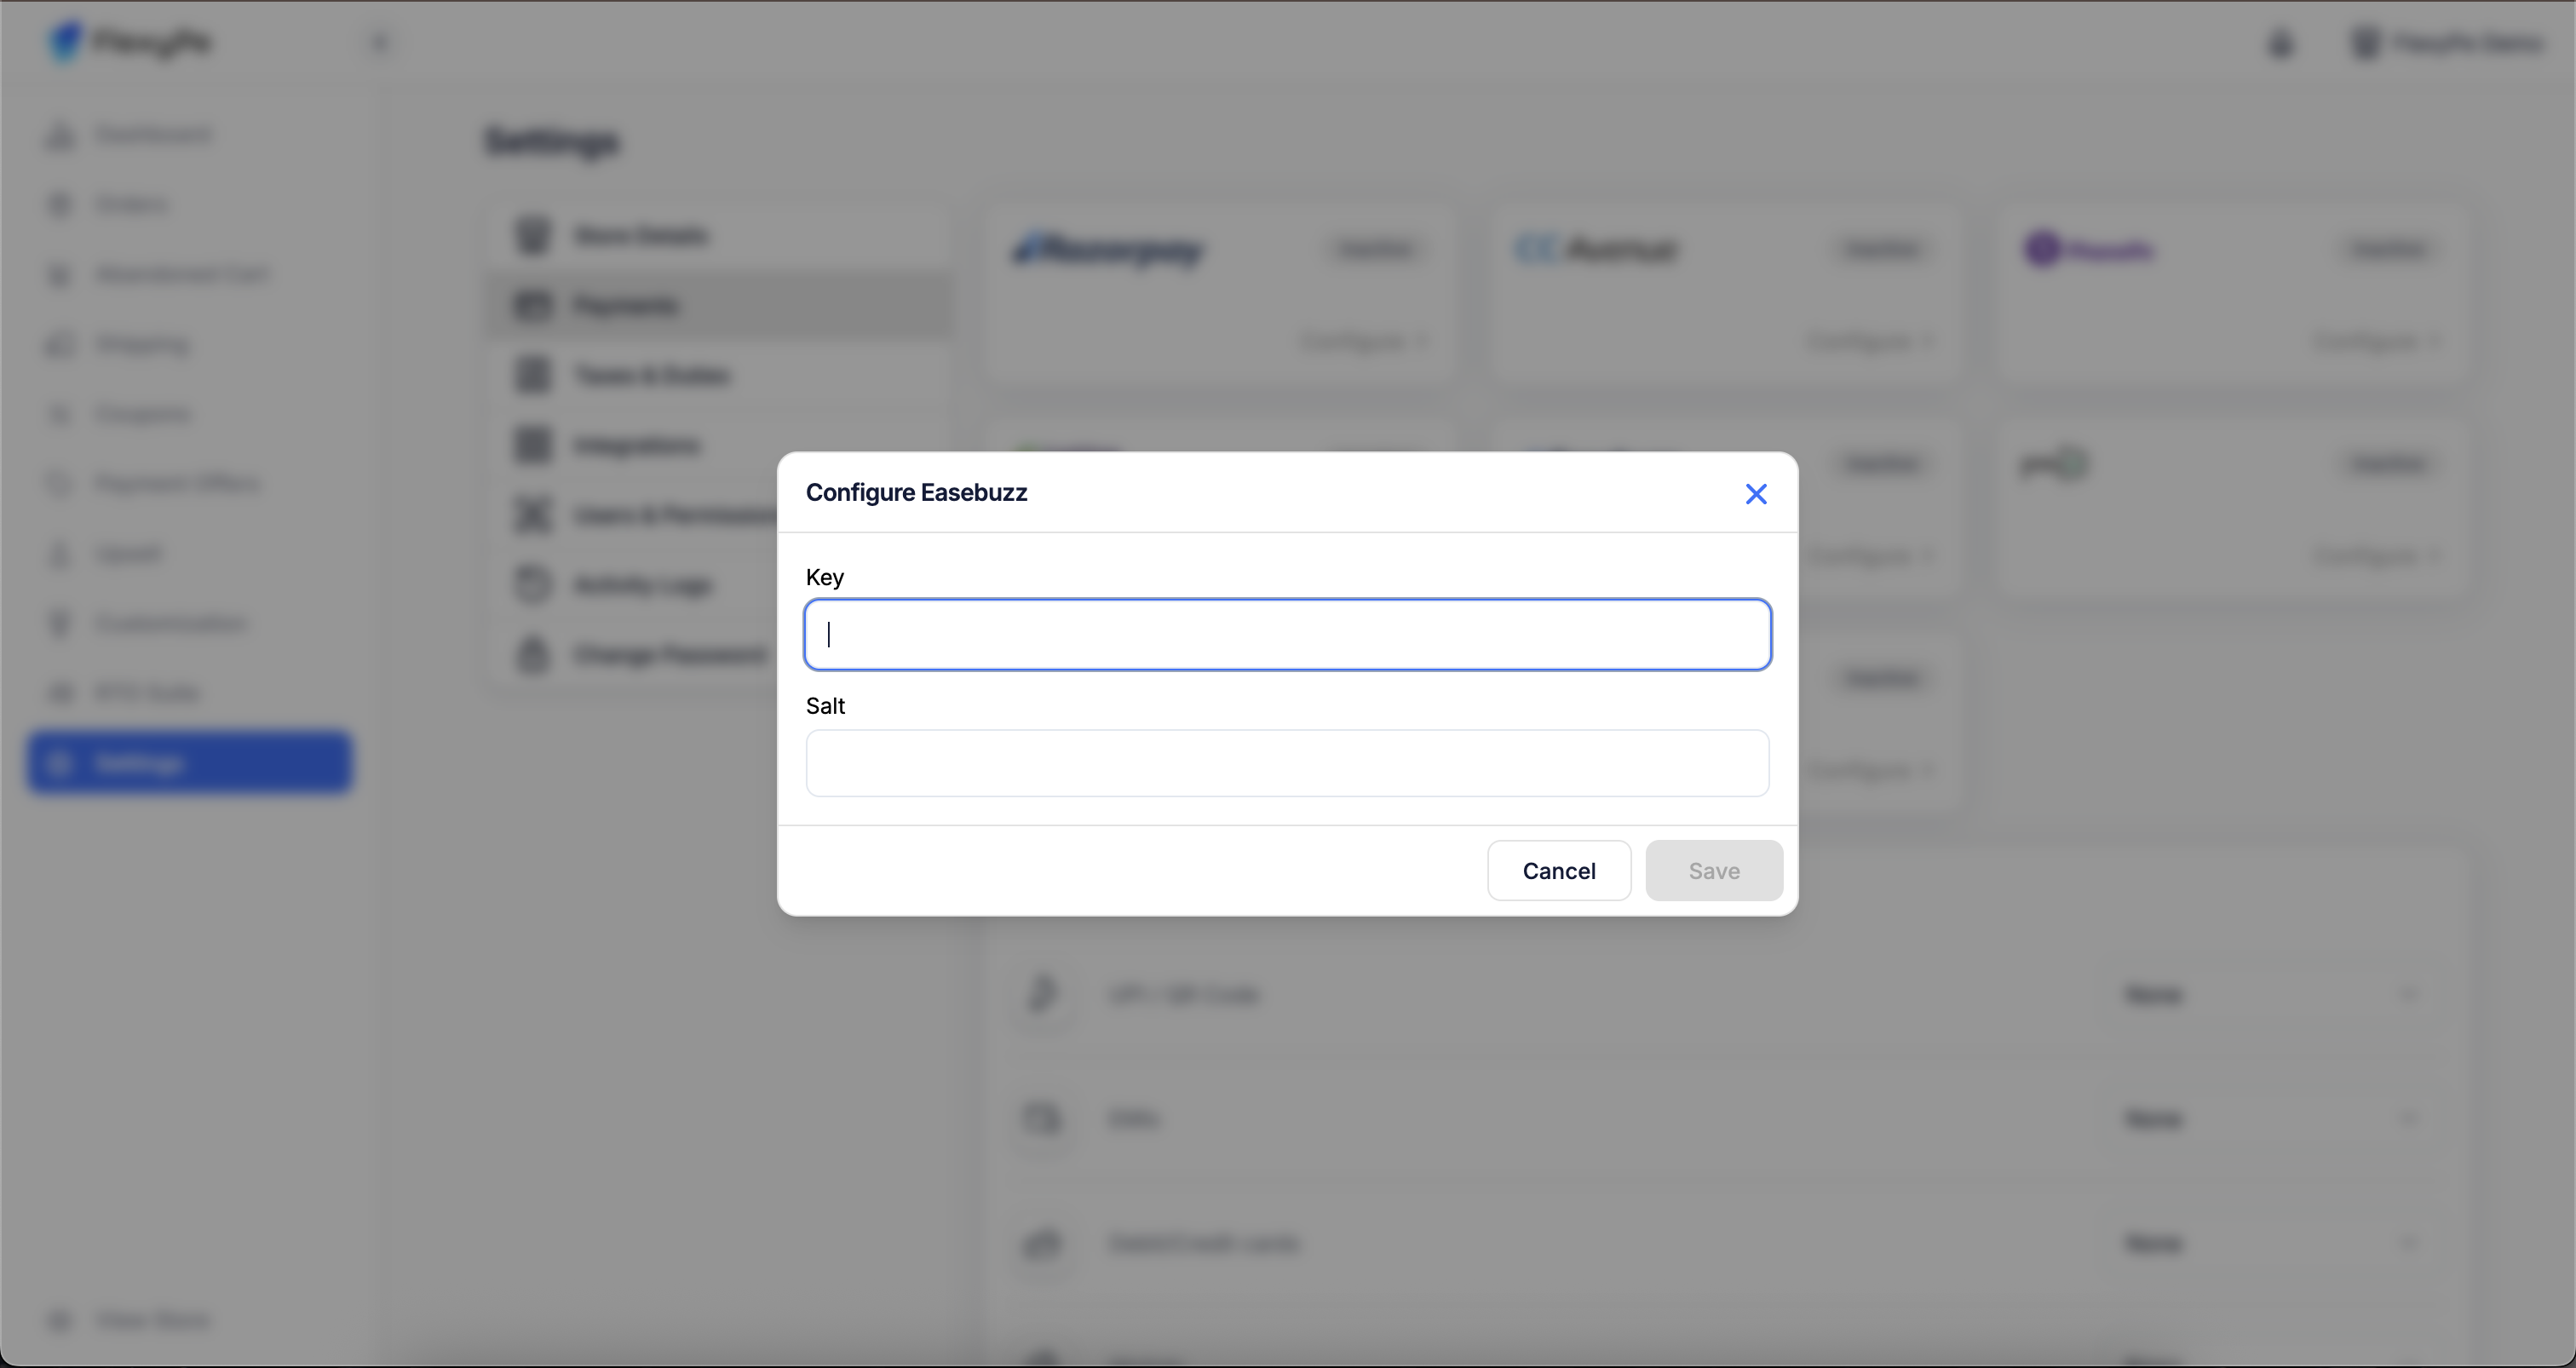
- Click the Configure button located within the Easebuzz card to proceed with setup.
- Paste the copied Key into the designated field.
- Paste the copied Salt into the designated field.
- Click Save to complete the configuration.

SetUp Easebuzz Webhooks
Access Easebuzz Dashboard
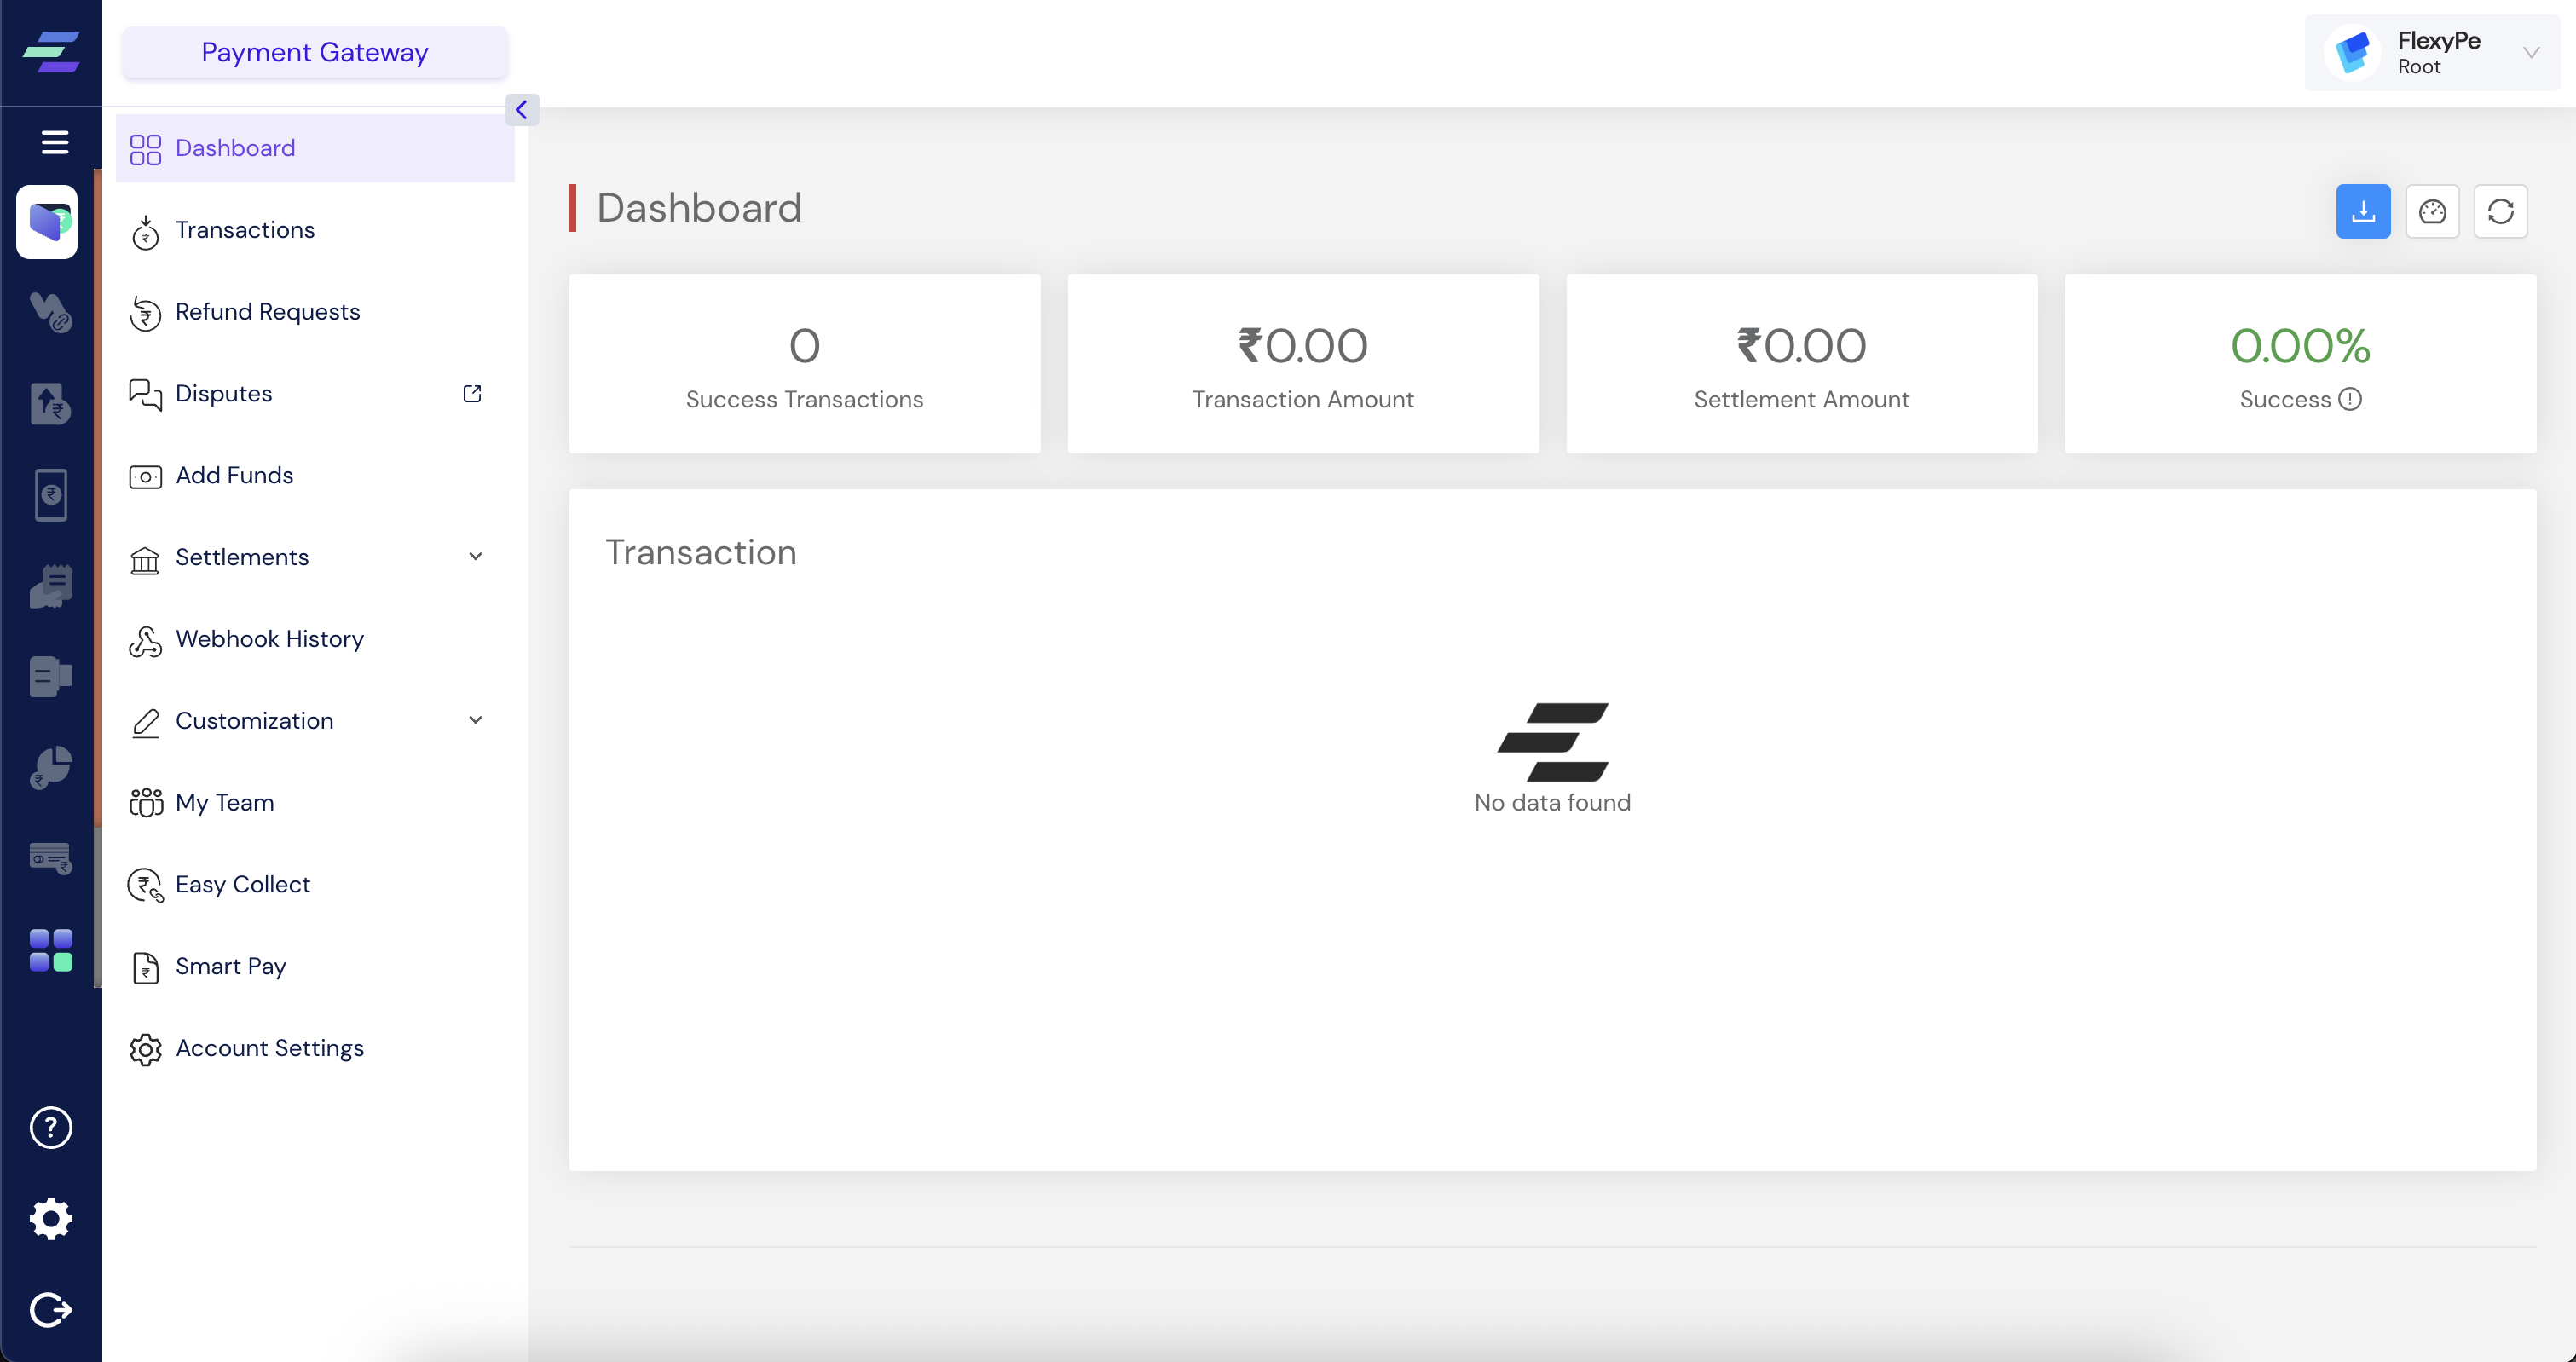
- Return to your Easebuzz Dashboard, where you are already logged in.
- Click on Payment Gateway on the left sidebar.
- Select on Account Settings under Payment Gateway and then switch to Webhooks.
Add Webhook for Payments
Webhooks set-up is a mandatory step as it confirms the order creation on your store
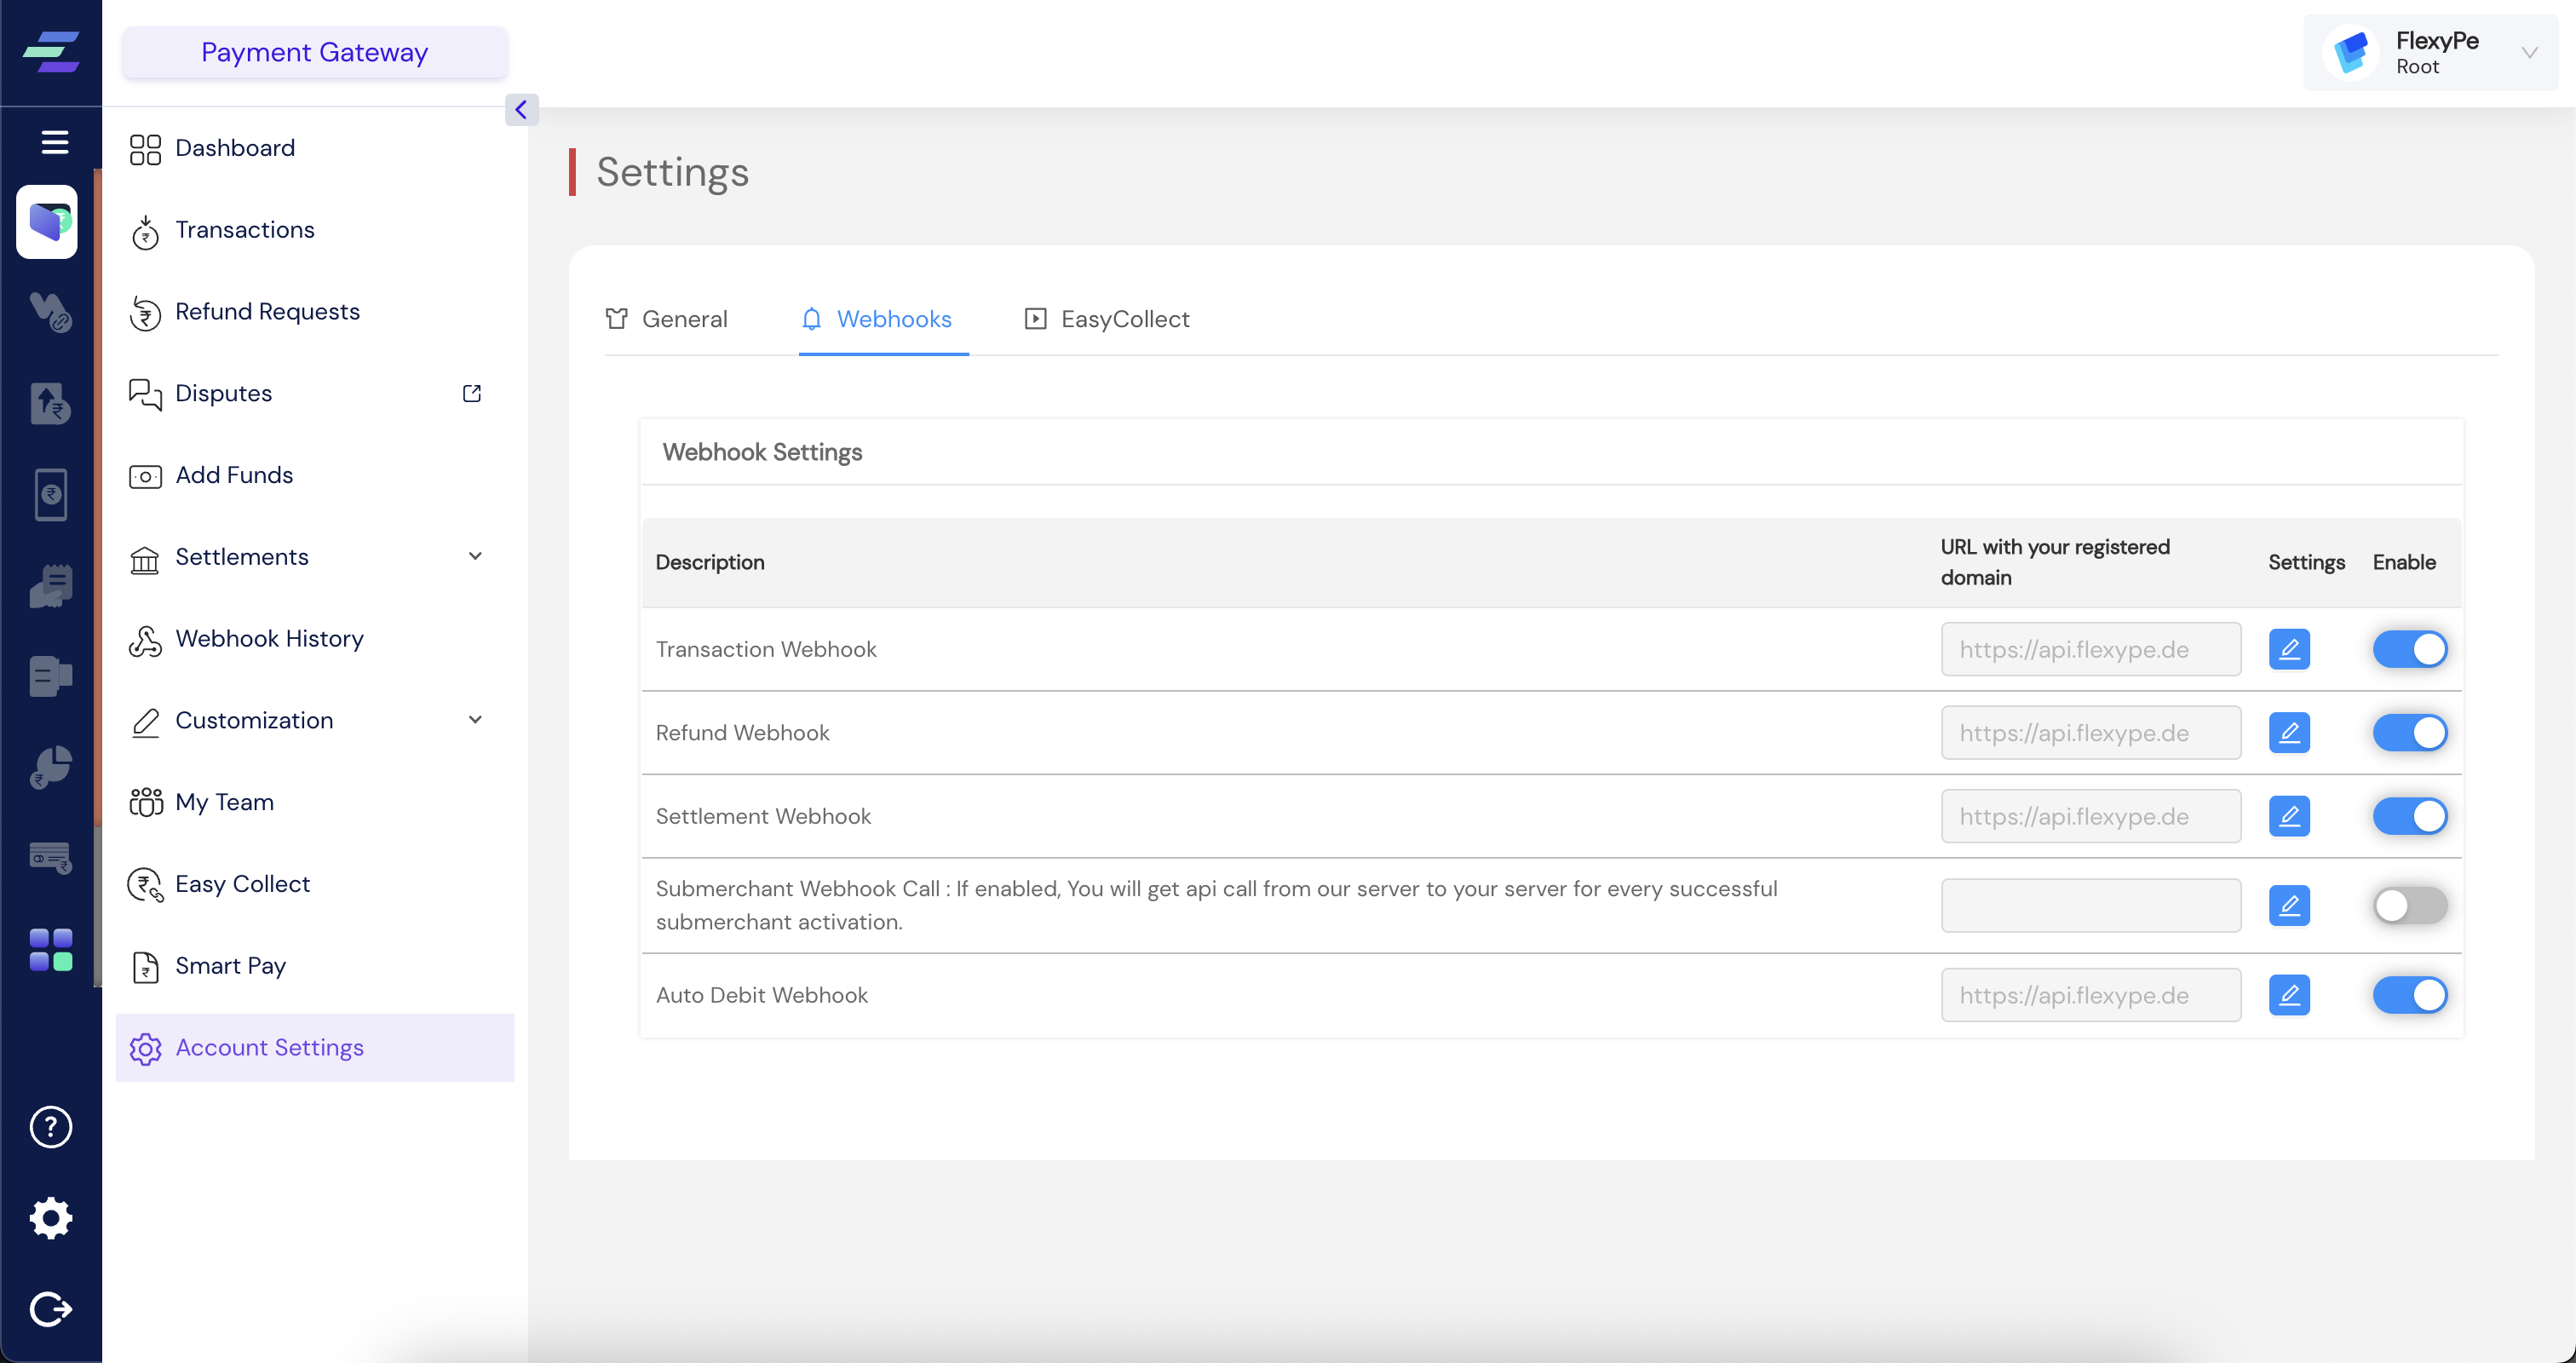
- Add the above URL and enable the settings for
- Transaction Webhook
- Refund Webhook
- Settlement Webhook
- Auto Debit Webhook