Getting the Conversion ID and Label
Accessing the Google Ads dashboard.
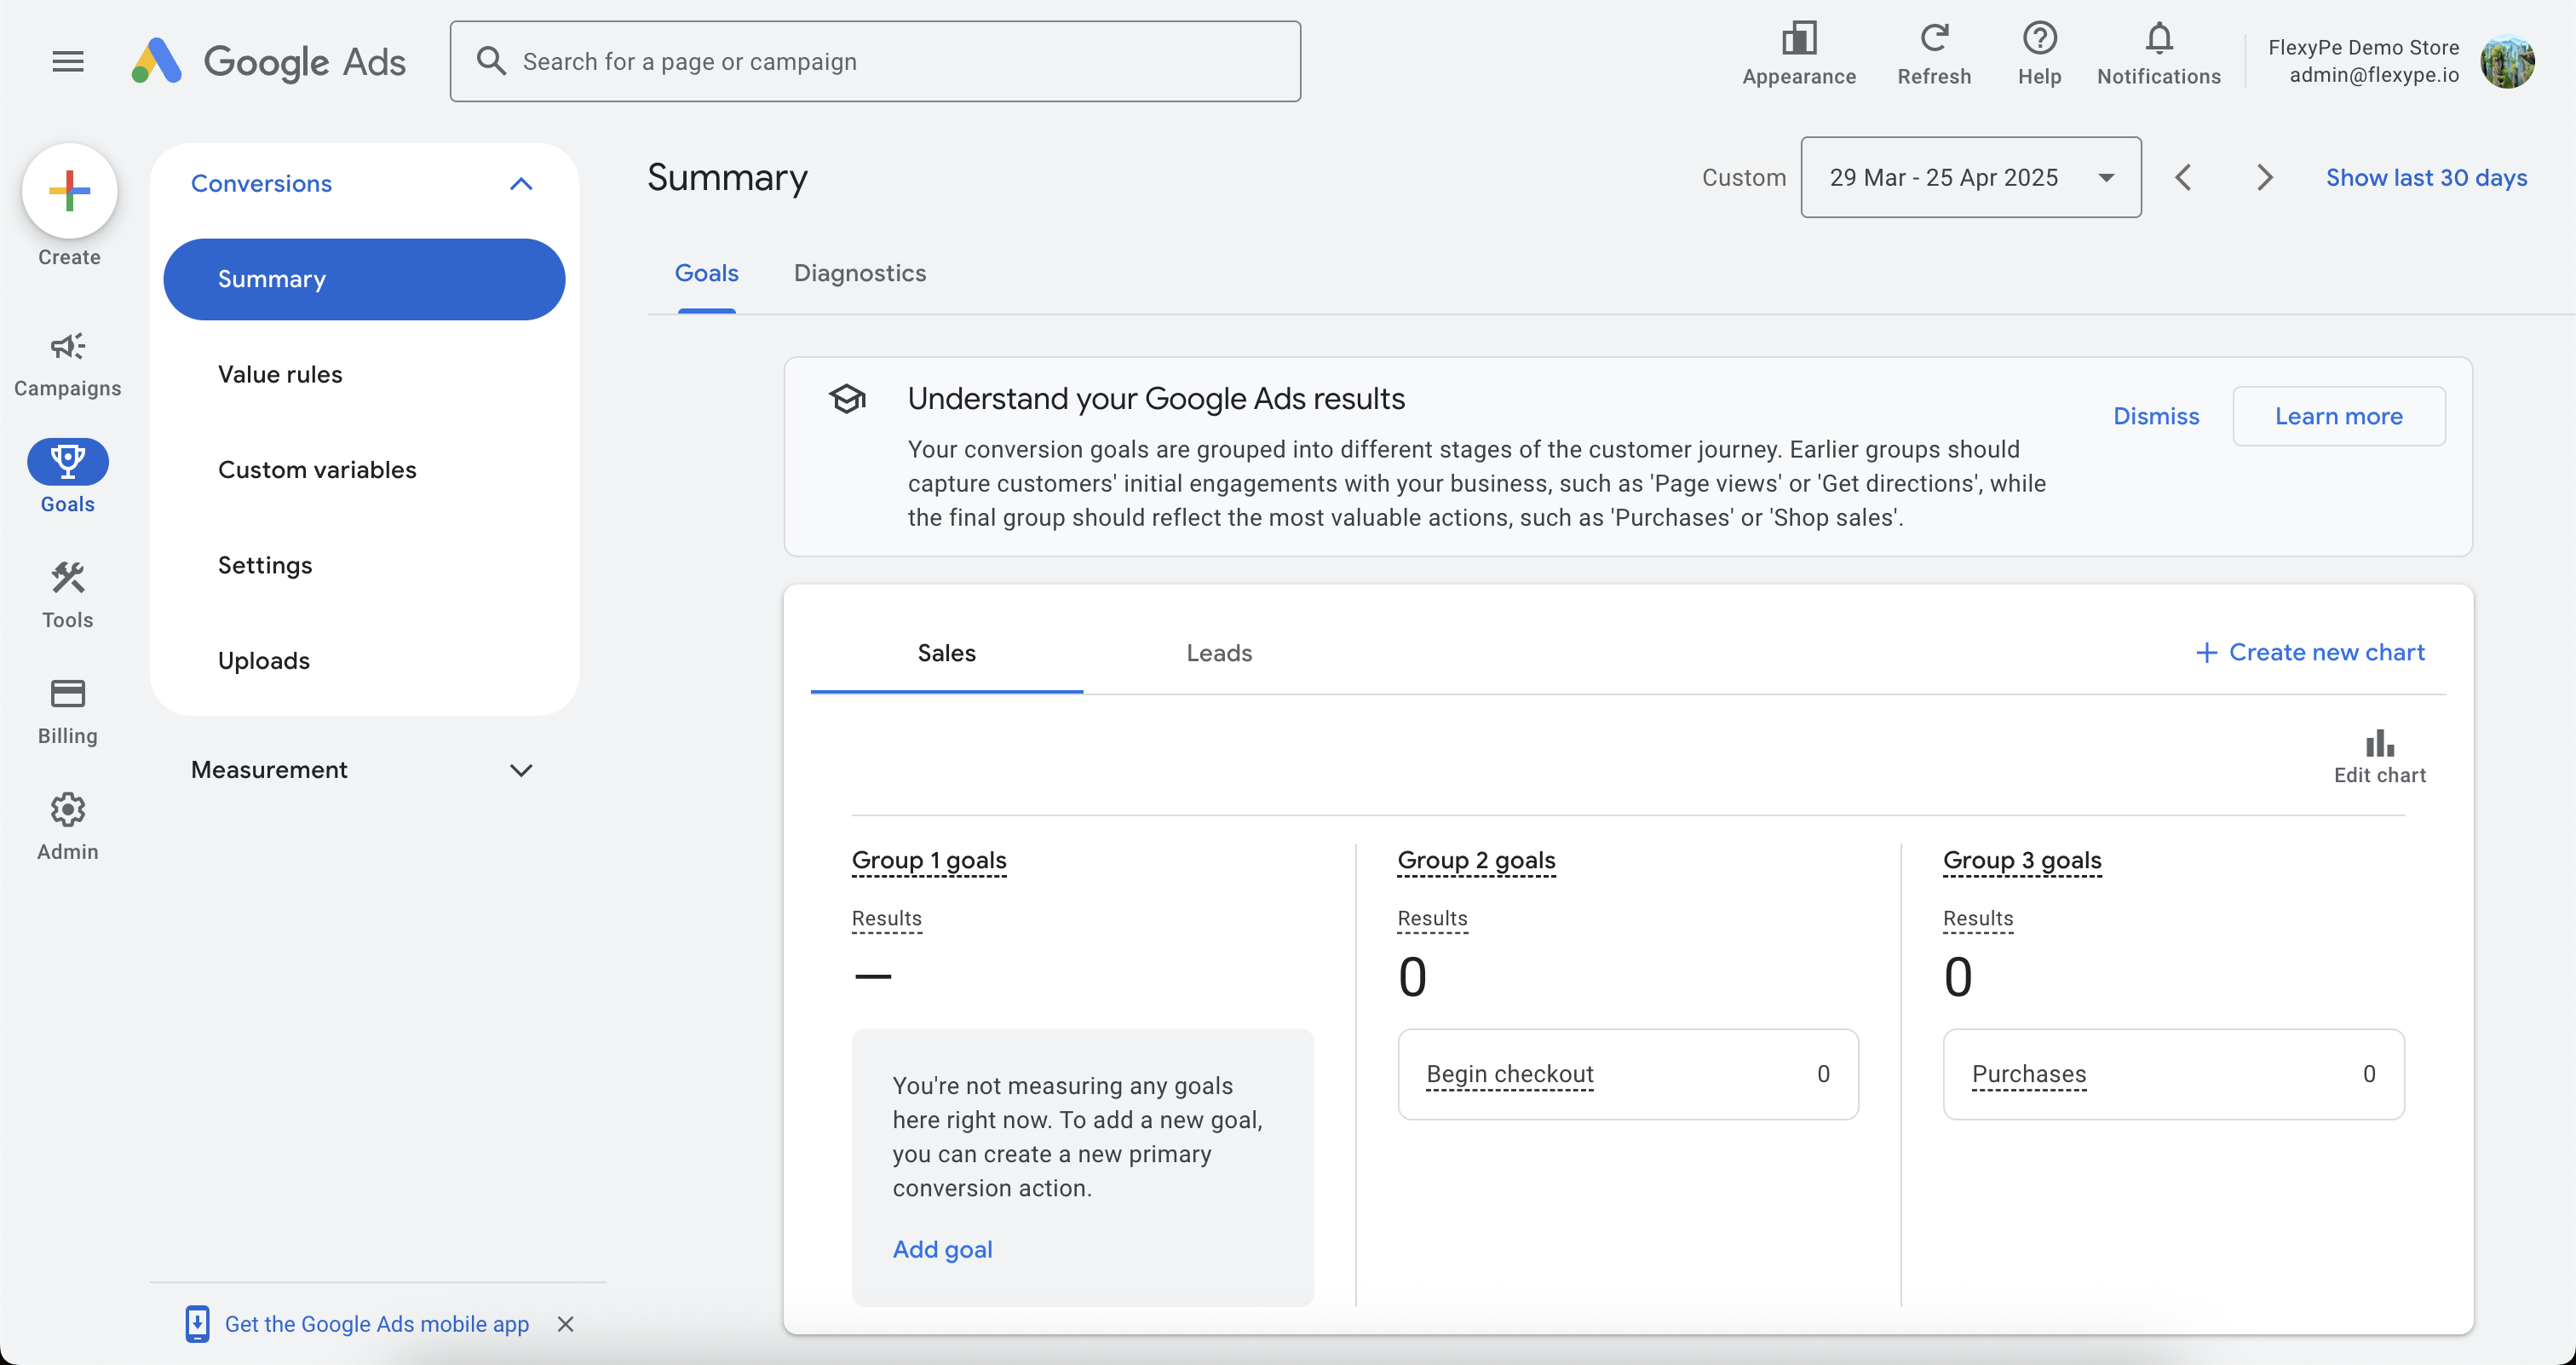
- Log in to Google Ads.
- Click on Goals on the left panel and select Events Manager.
- Navigate to Summary under Conversion.
Select your conversion event
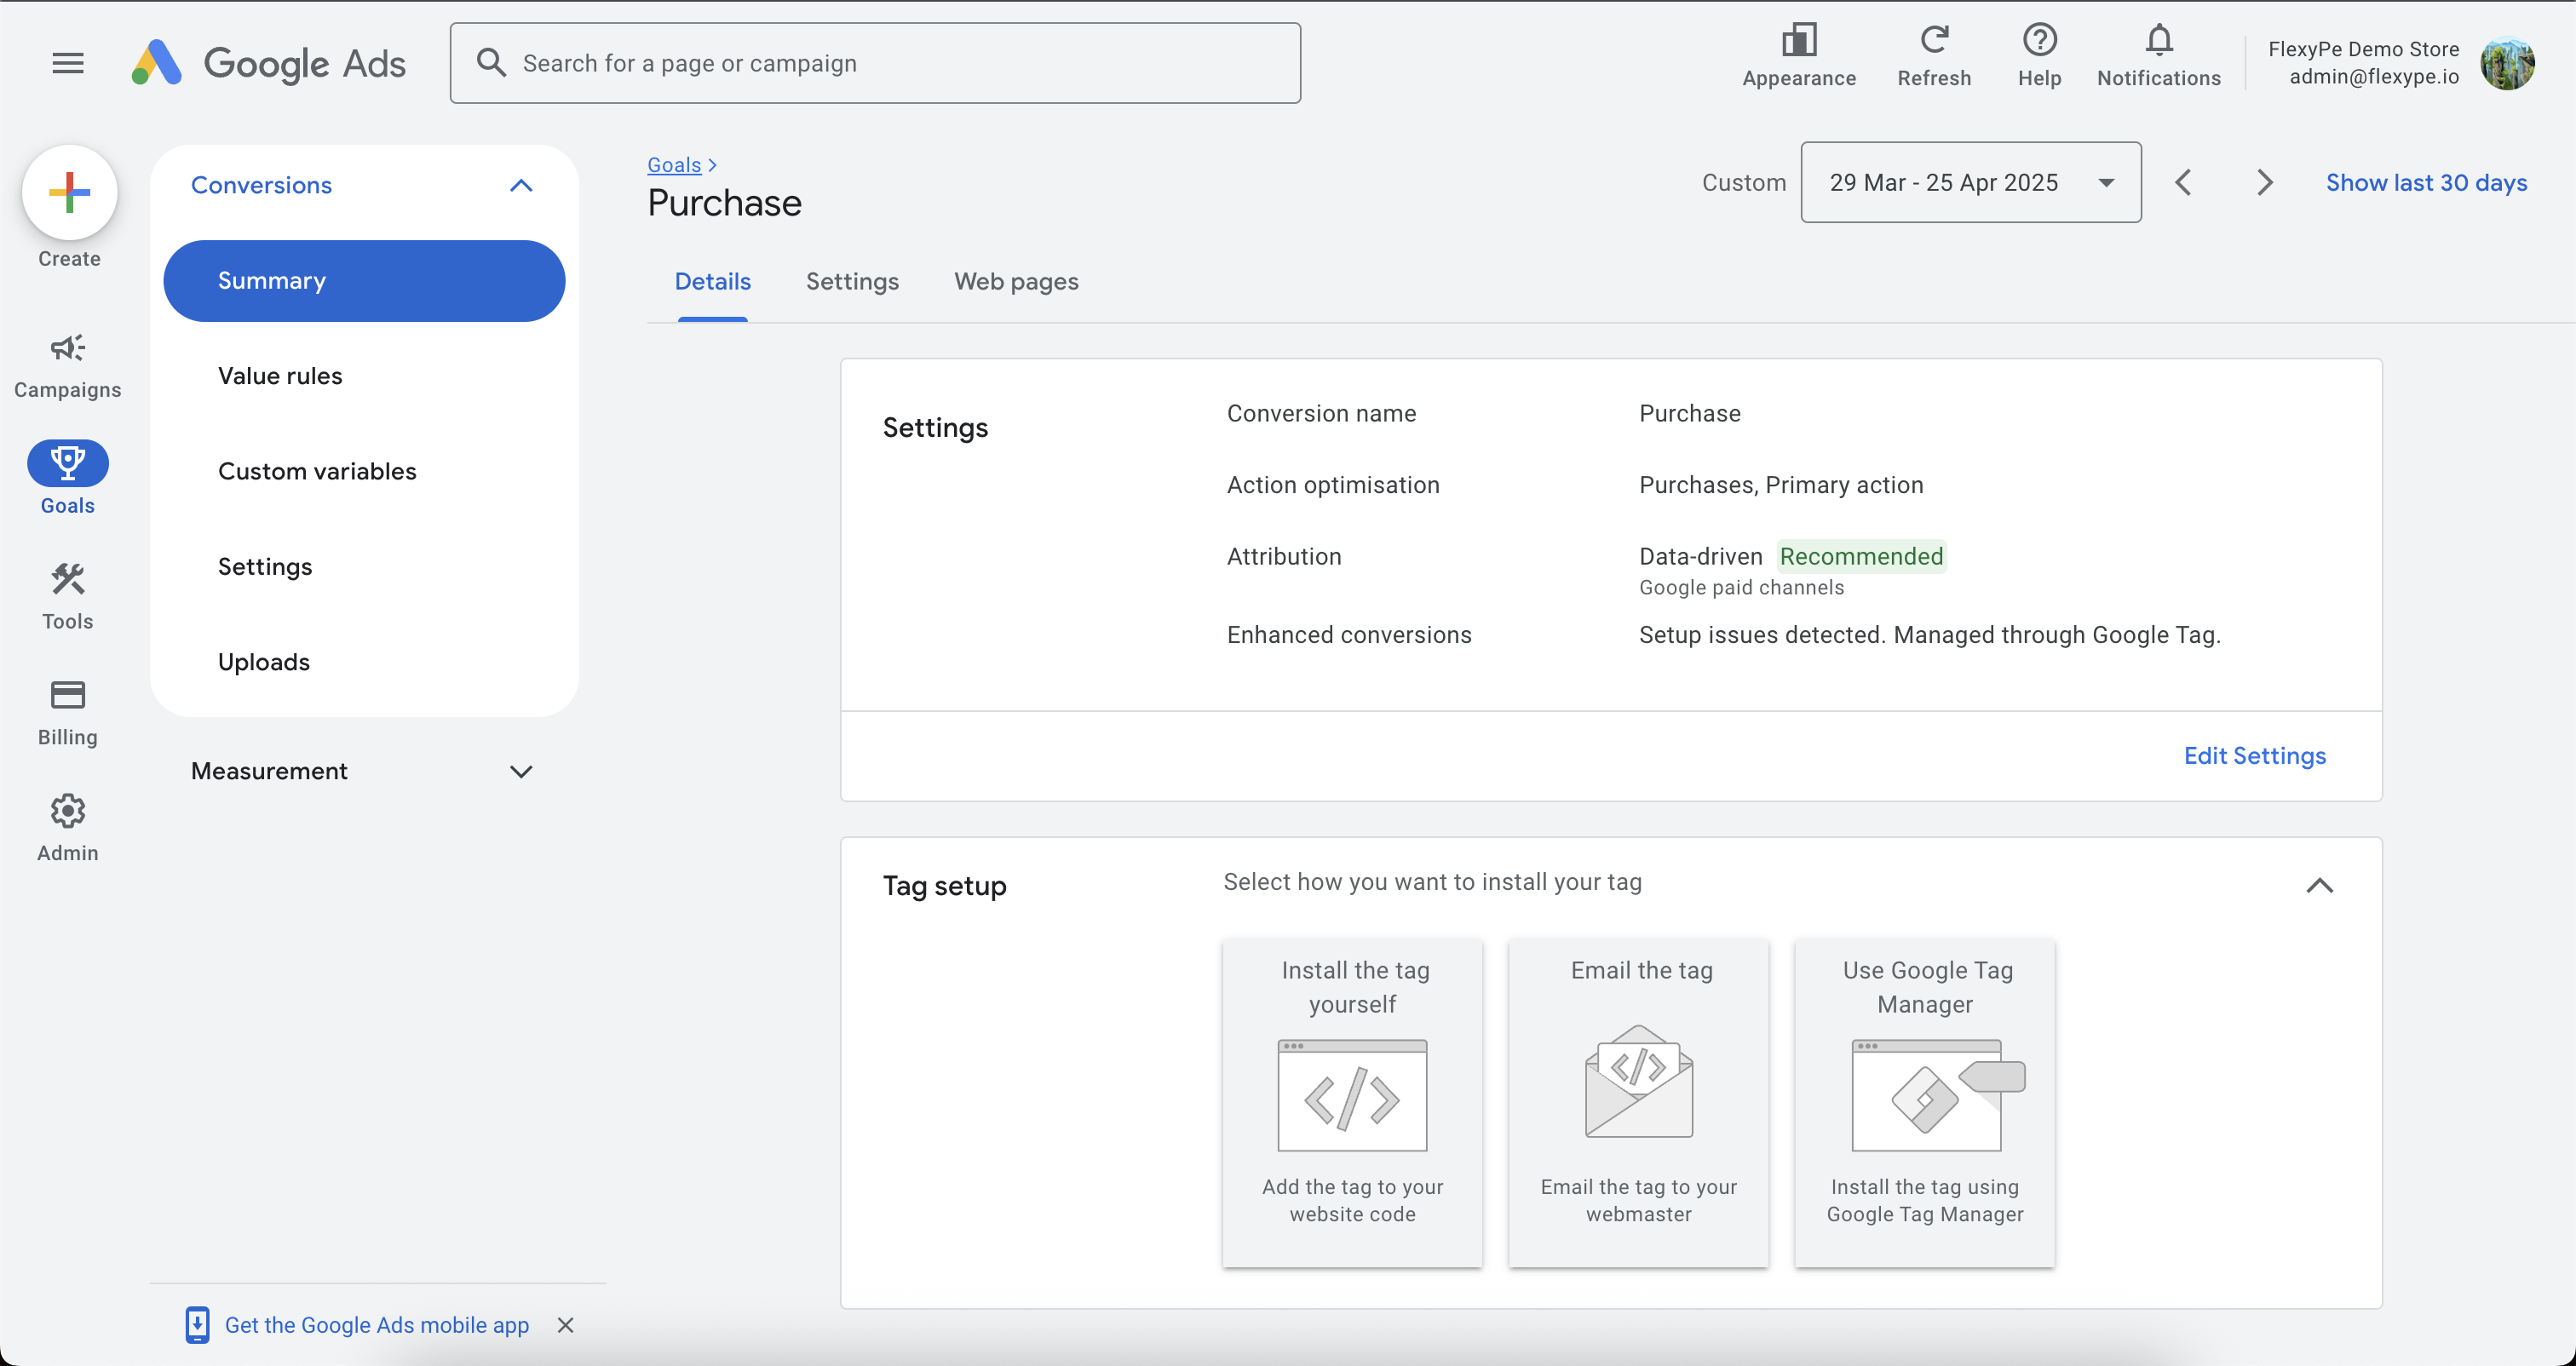
- Select your Purchase conversion event.
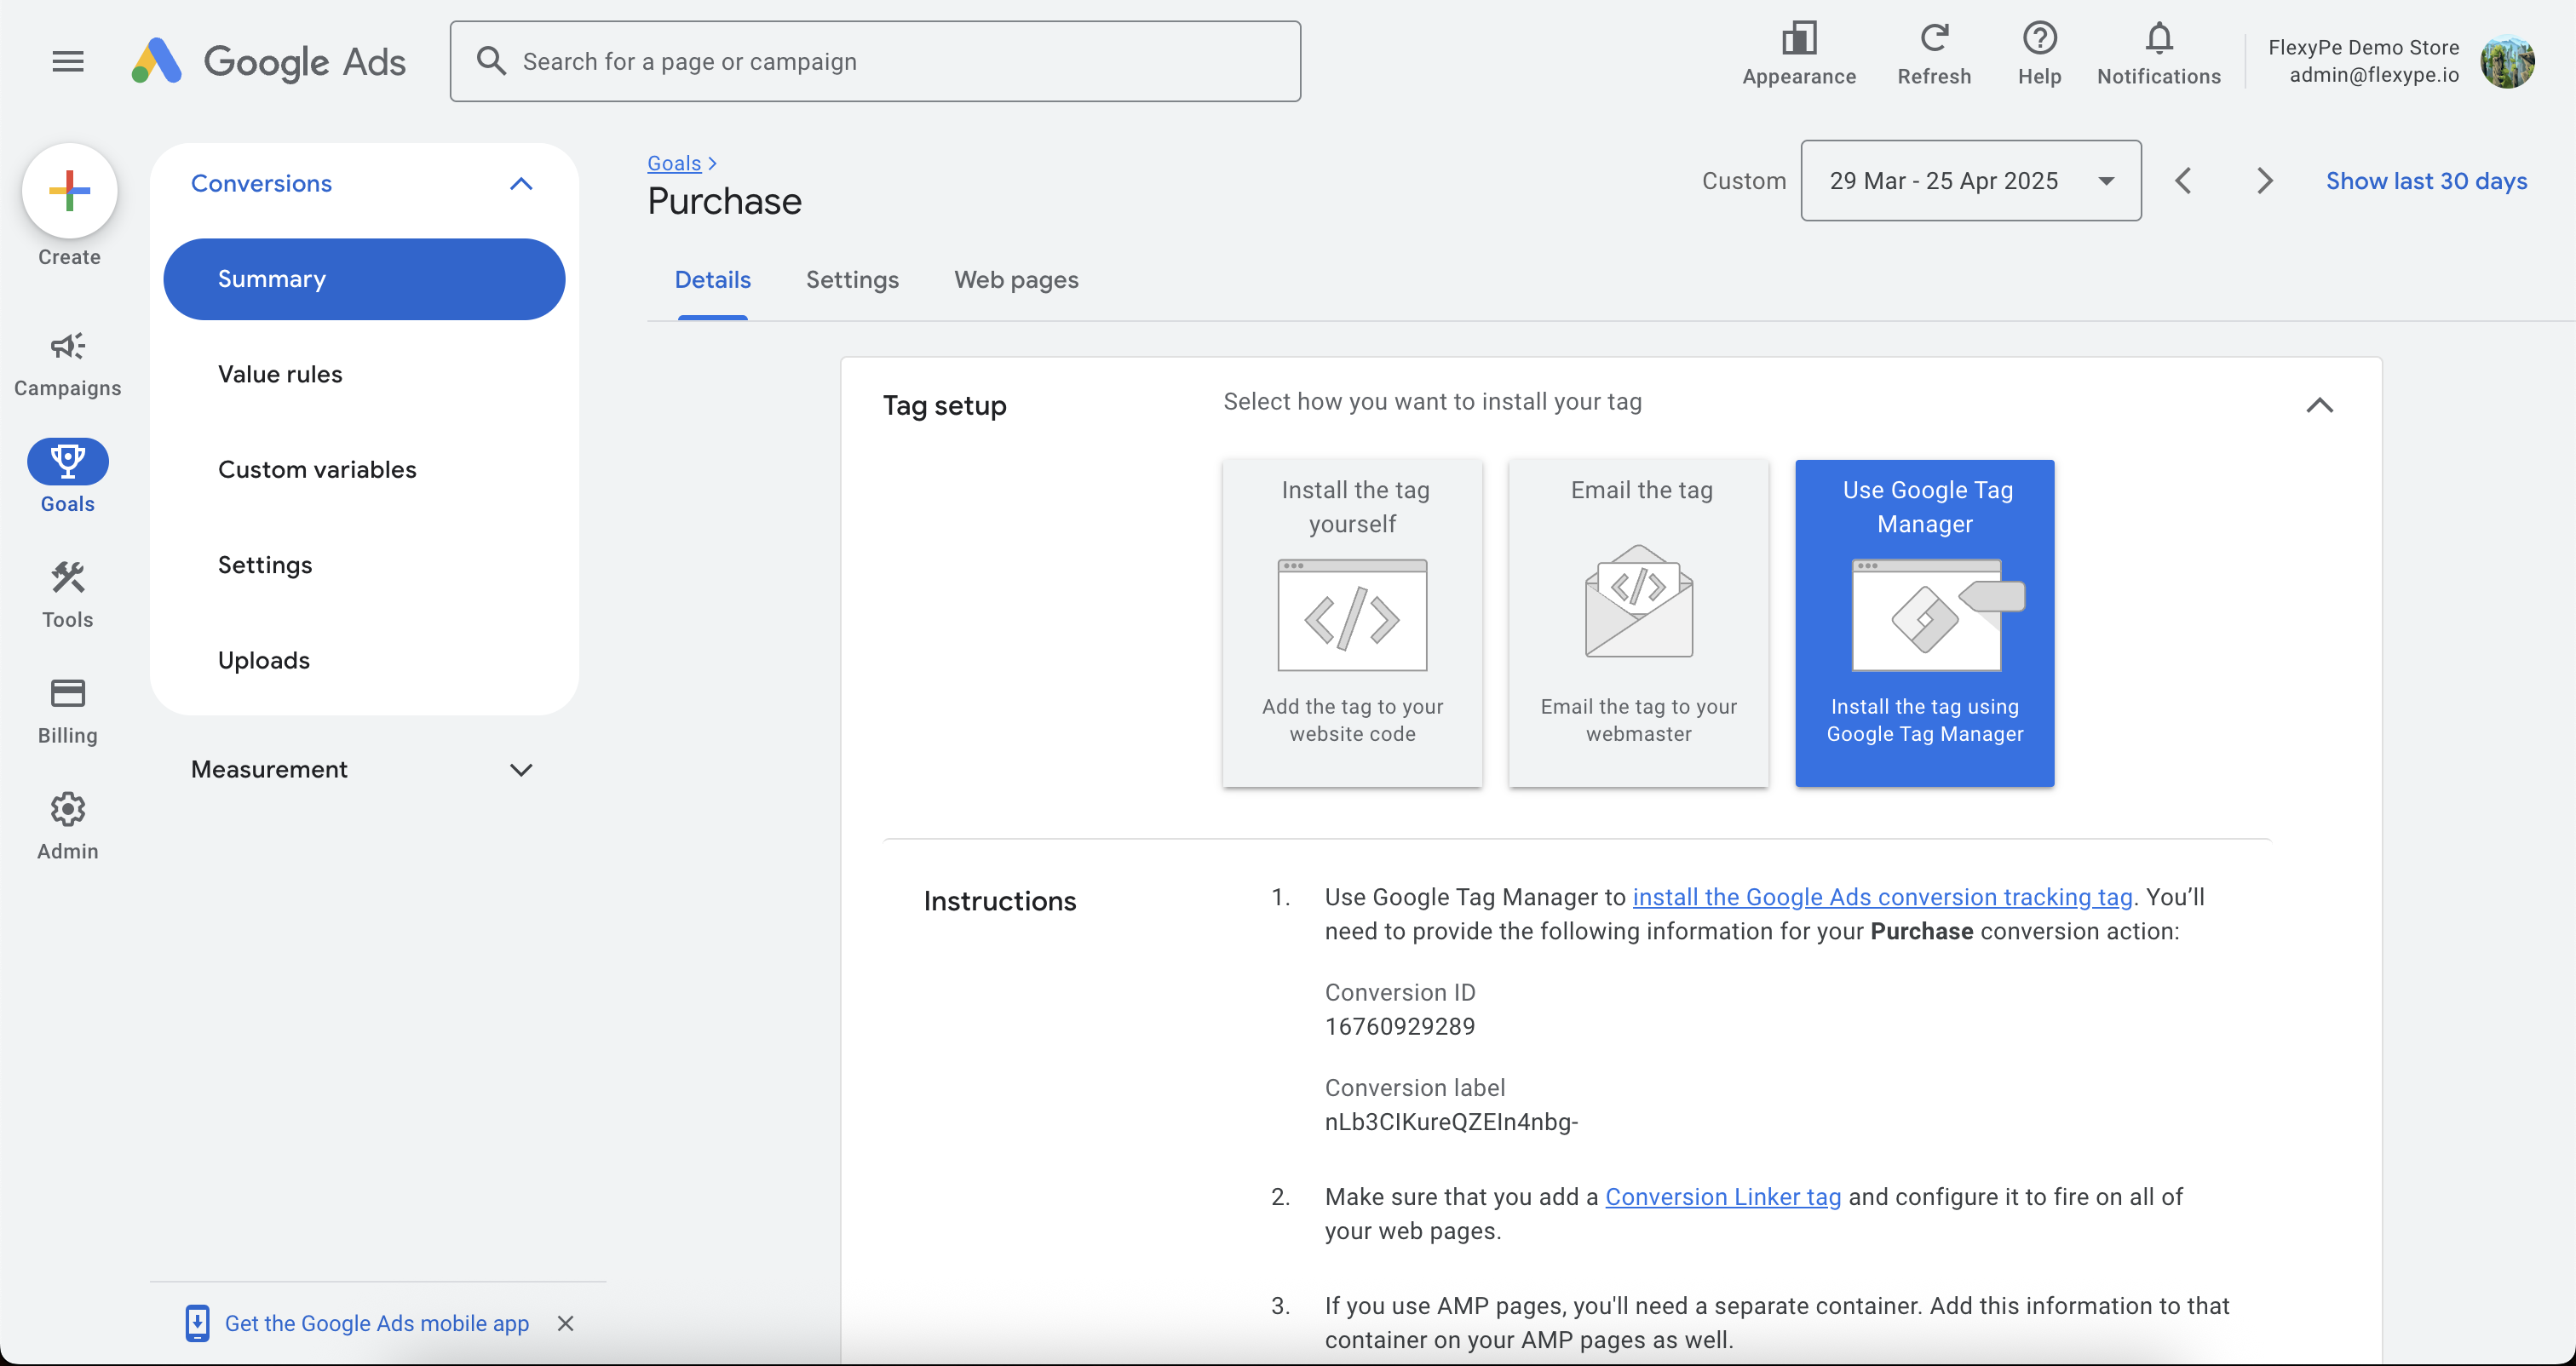
- On the Details tab scroll down to Tag Setup.
Integrate Google Ads with FlexyPe
Access Google Ads in FlexyPe Dashboard.
- Log in to your FlexyPe Dashboard.
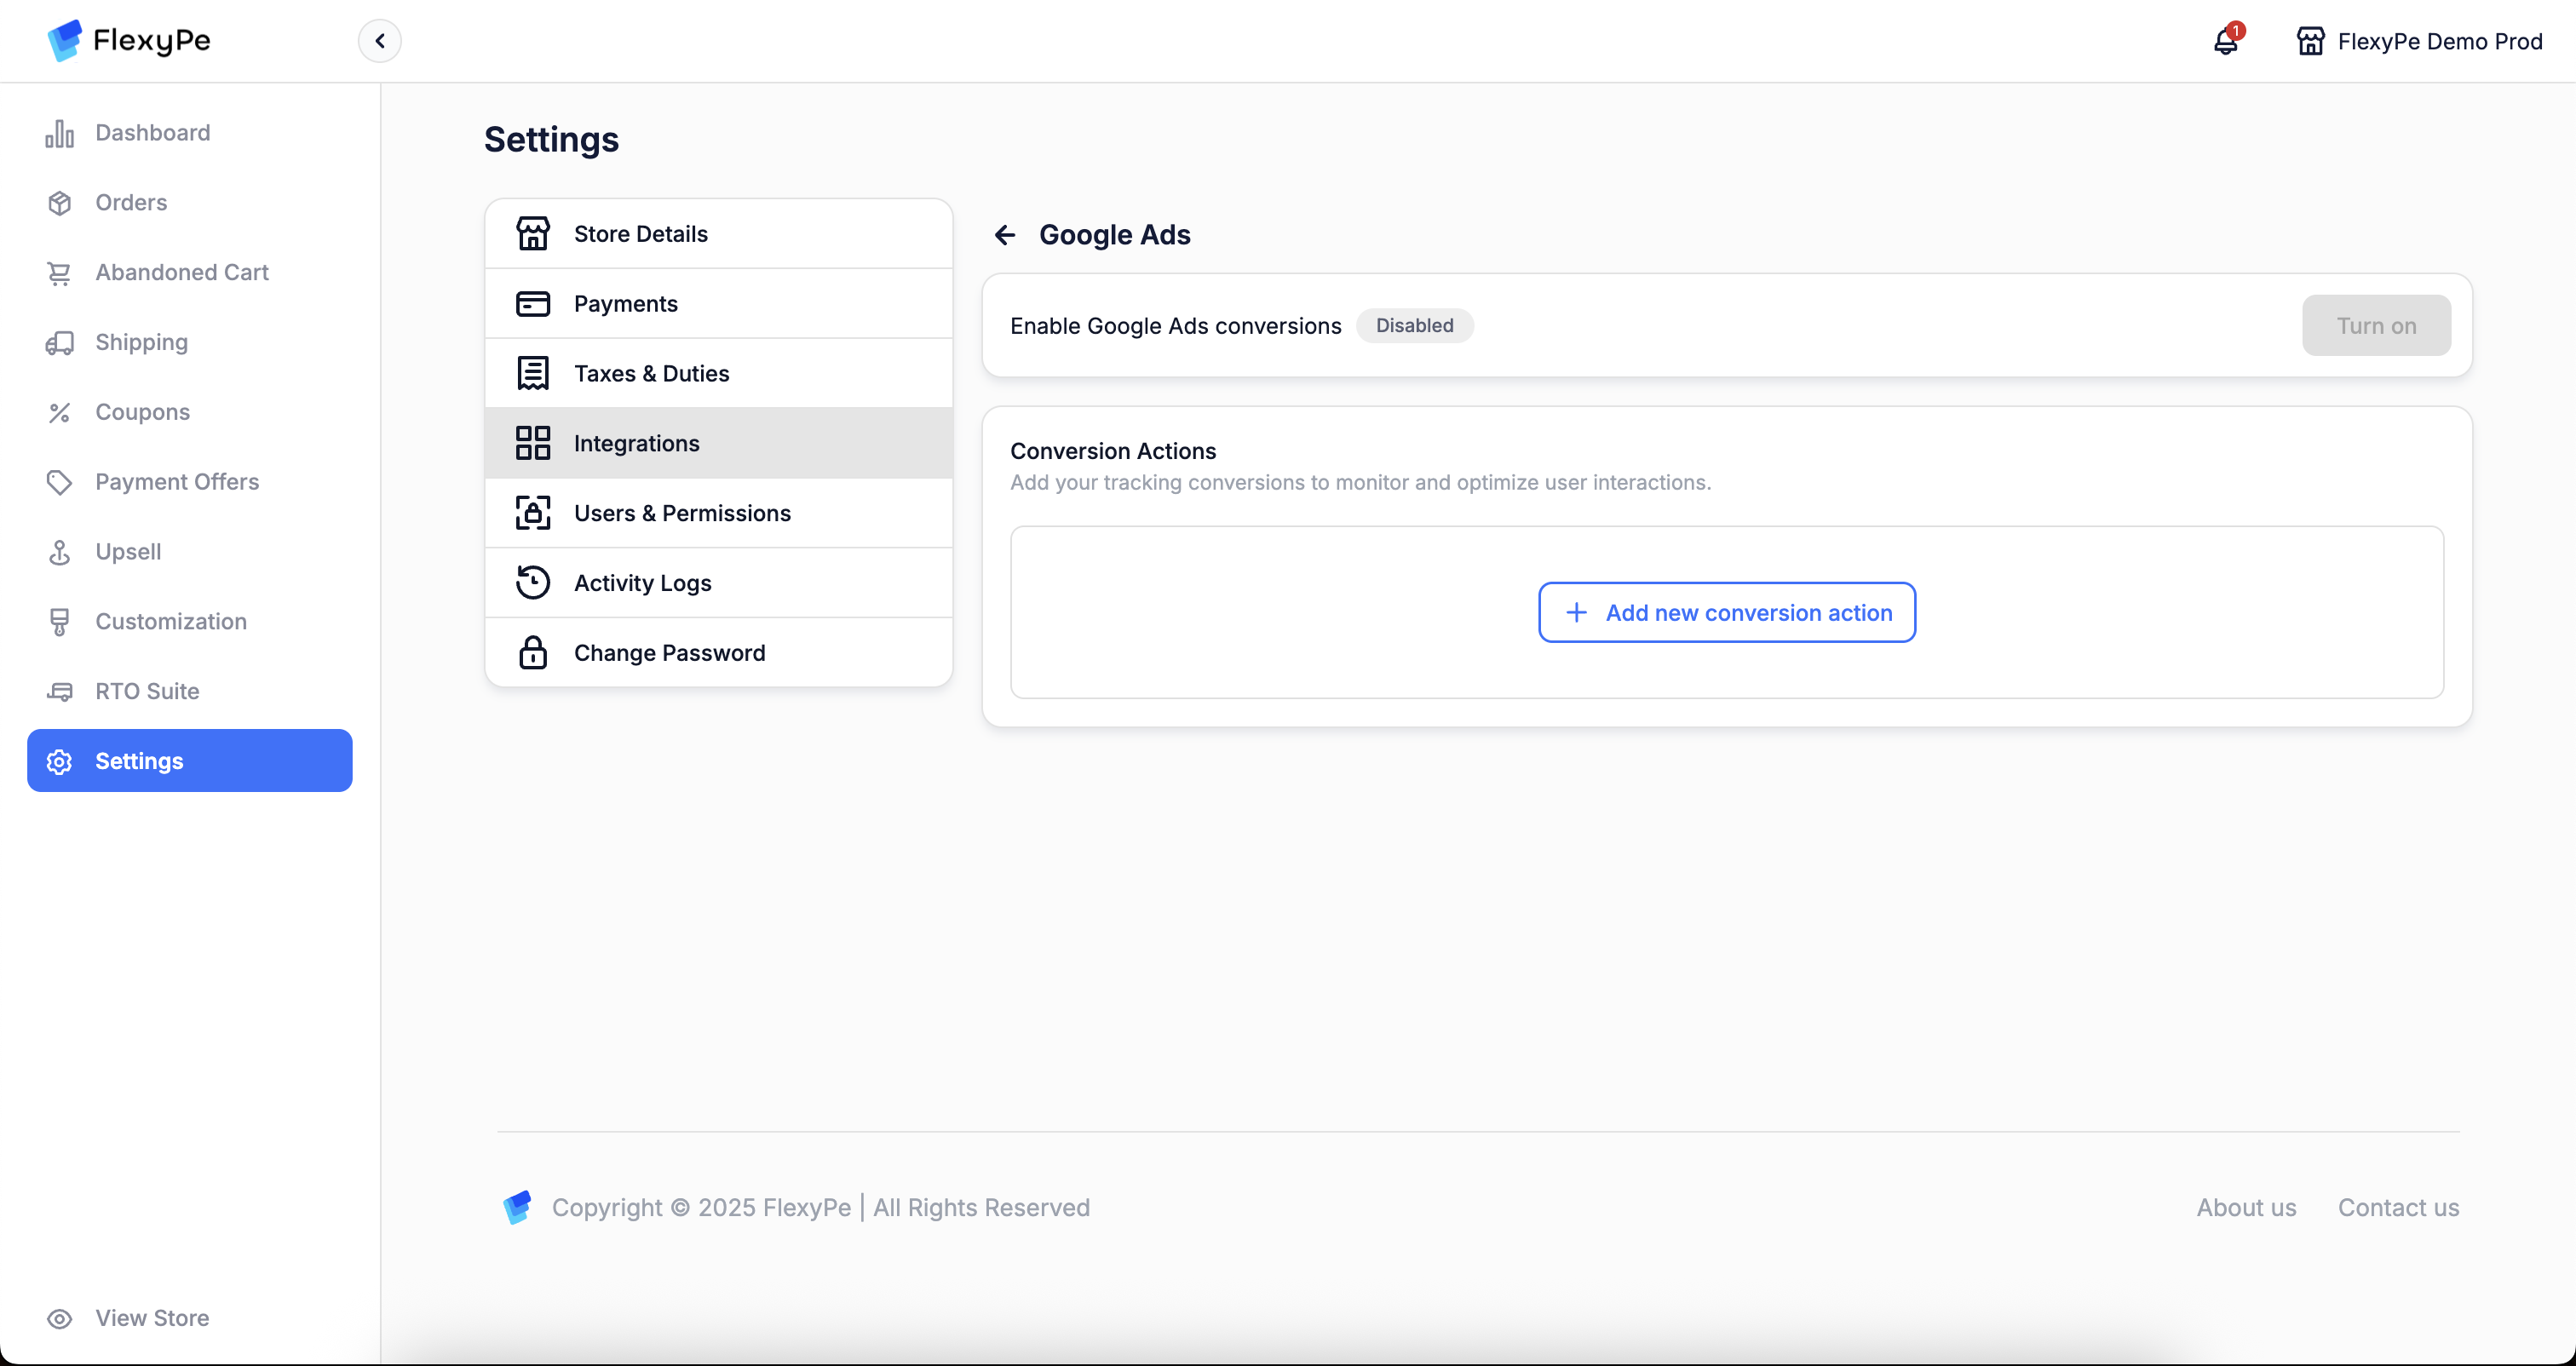
- Click on the Settings menu and select Integrations.
- Navigate to Google Ads.
Configure a new conversion action
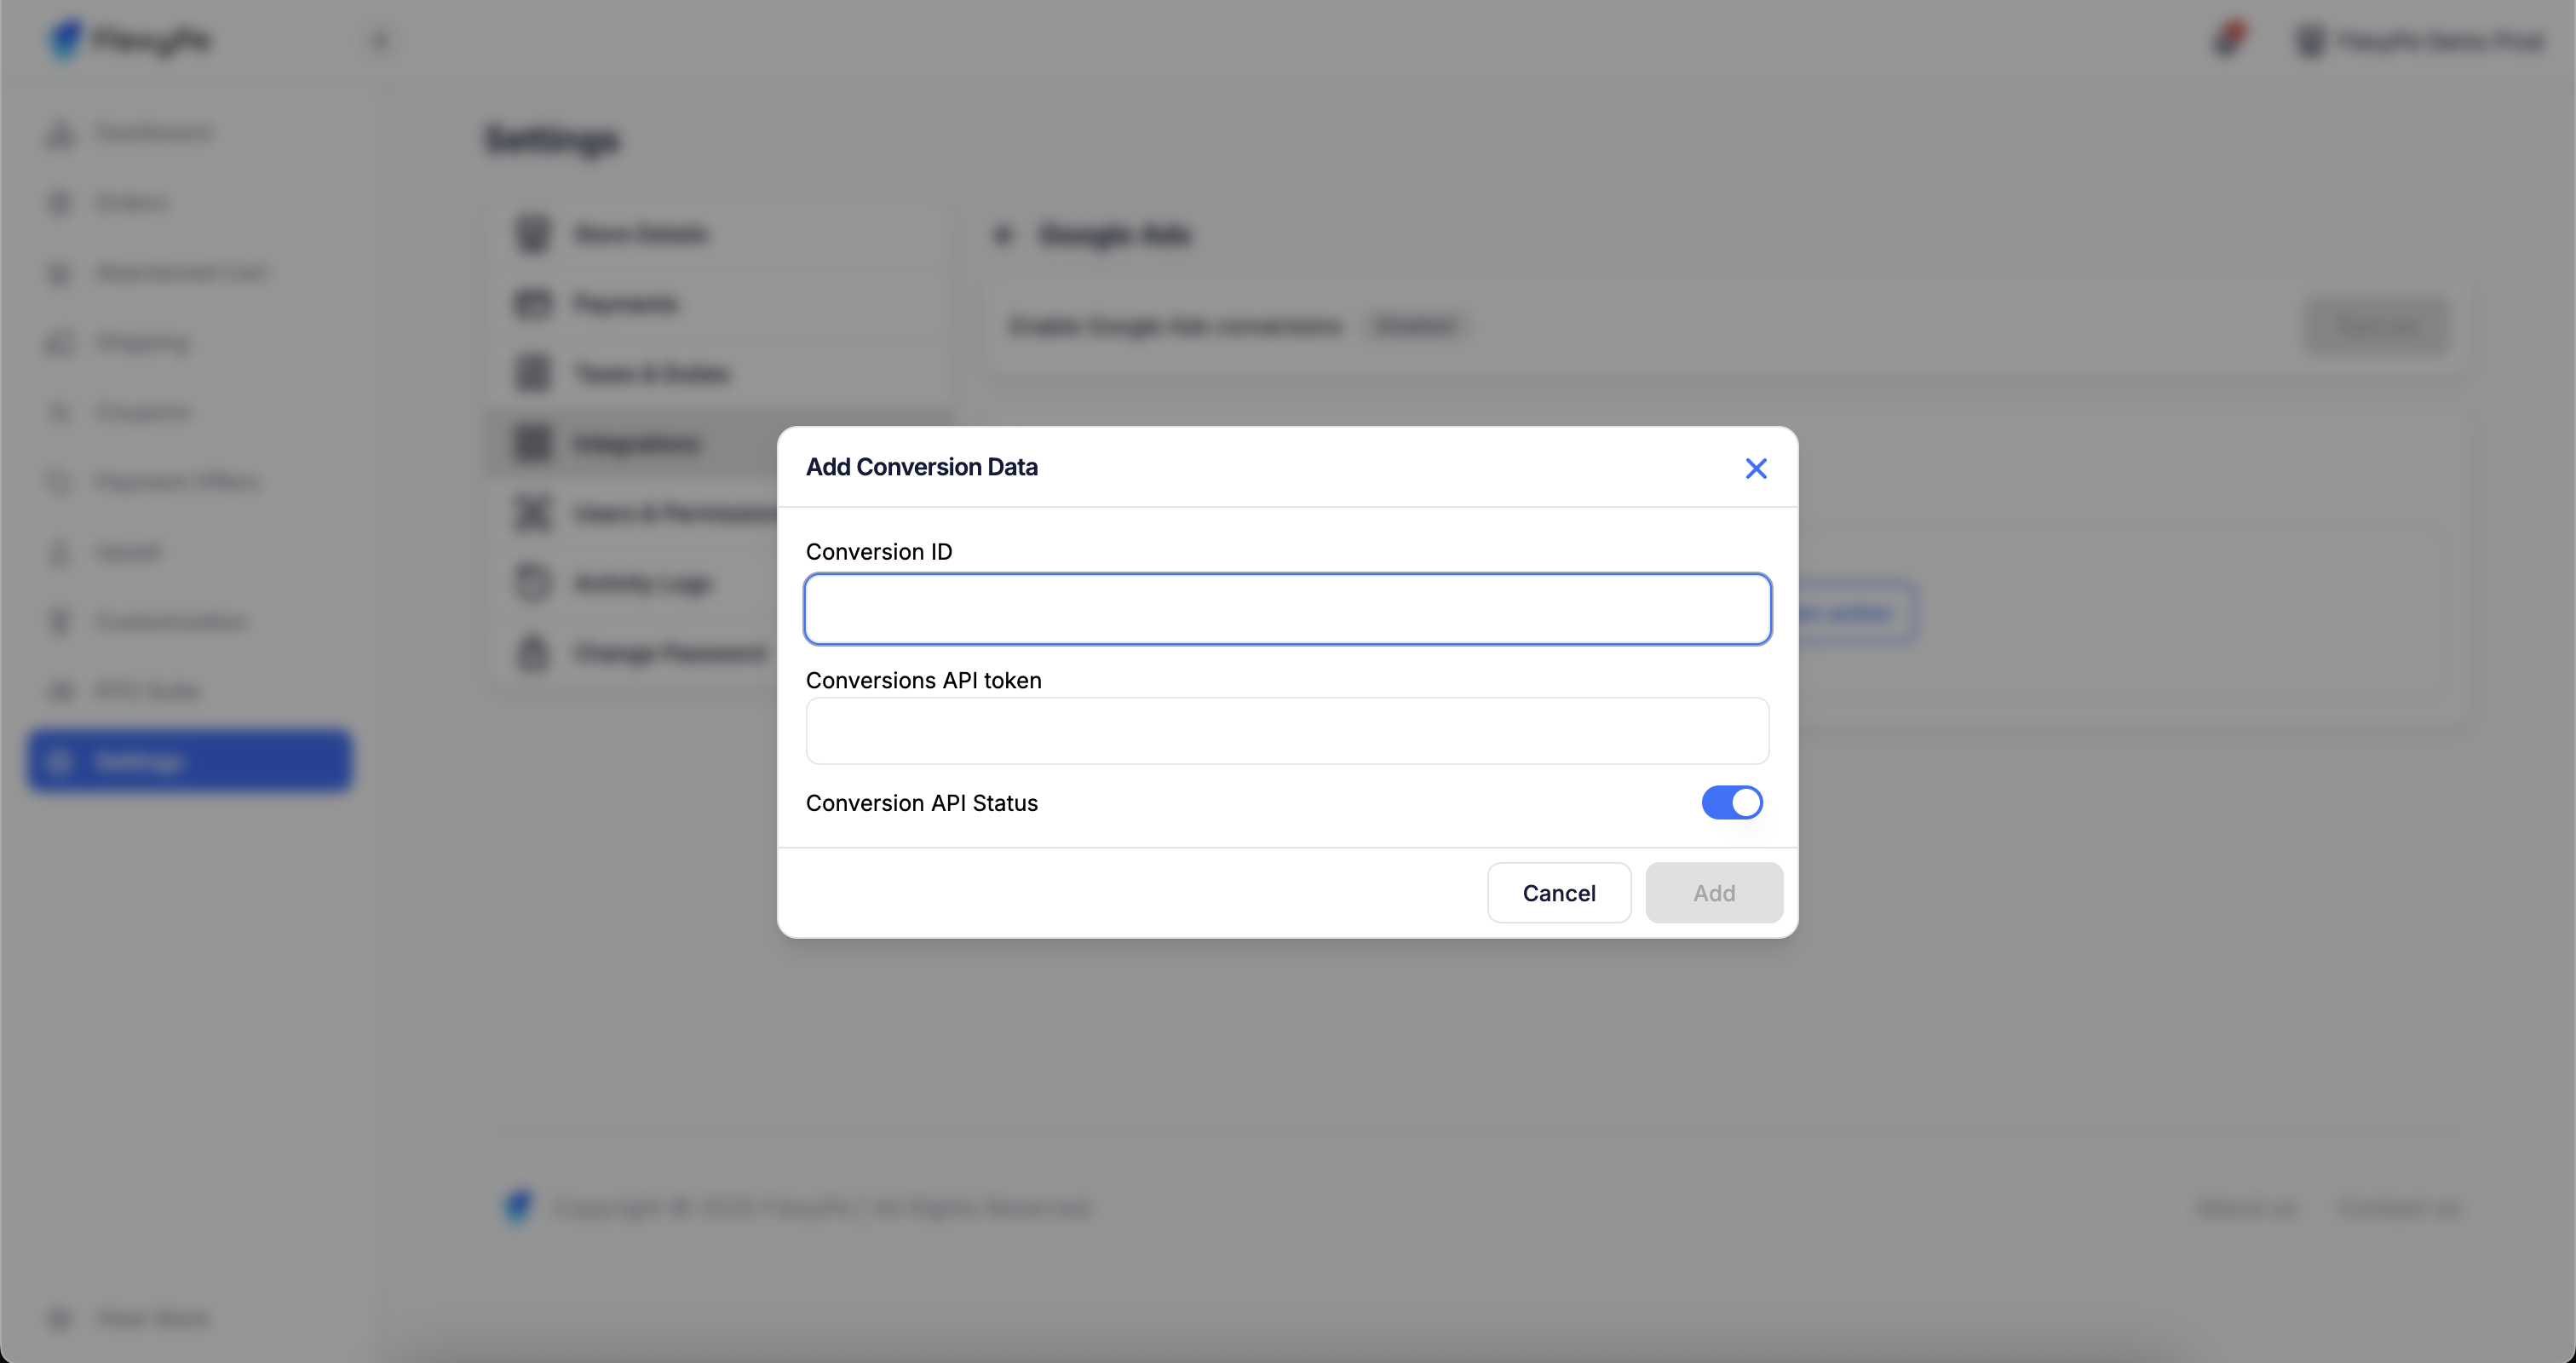
- Click on the Add new conversion action.
- Paste the copied Conversion ID into the designated field.
Conversion ID must include the
AW- prefix (e.g., AW-16760929279).- Paste the copied Conversion Label into the designated field and turn on the API Status.
- Click Save to finalize the conversion action.
