> ## Documentation Index
> Fetch the complete documentation index at: https://docs.flexype.io/llms.txt
> Use this file to discover all available pages before exploring further.
# Meta Pixels
Integrating Meta with FlexyPe is just as straightforward. Follow a few steps to track key conversion events like purchases on your website. This allows you to accurately measure campaign performance and optimize your ads, audiences, and strategies using data-driven insights.
## Getting the API keys and Pixel ID
 * Log in to your [Meta Business Suite](https://business.facebook.com).
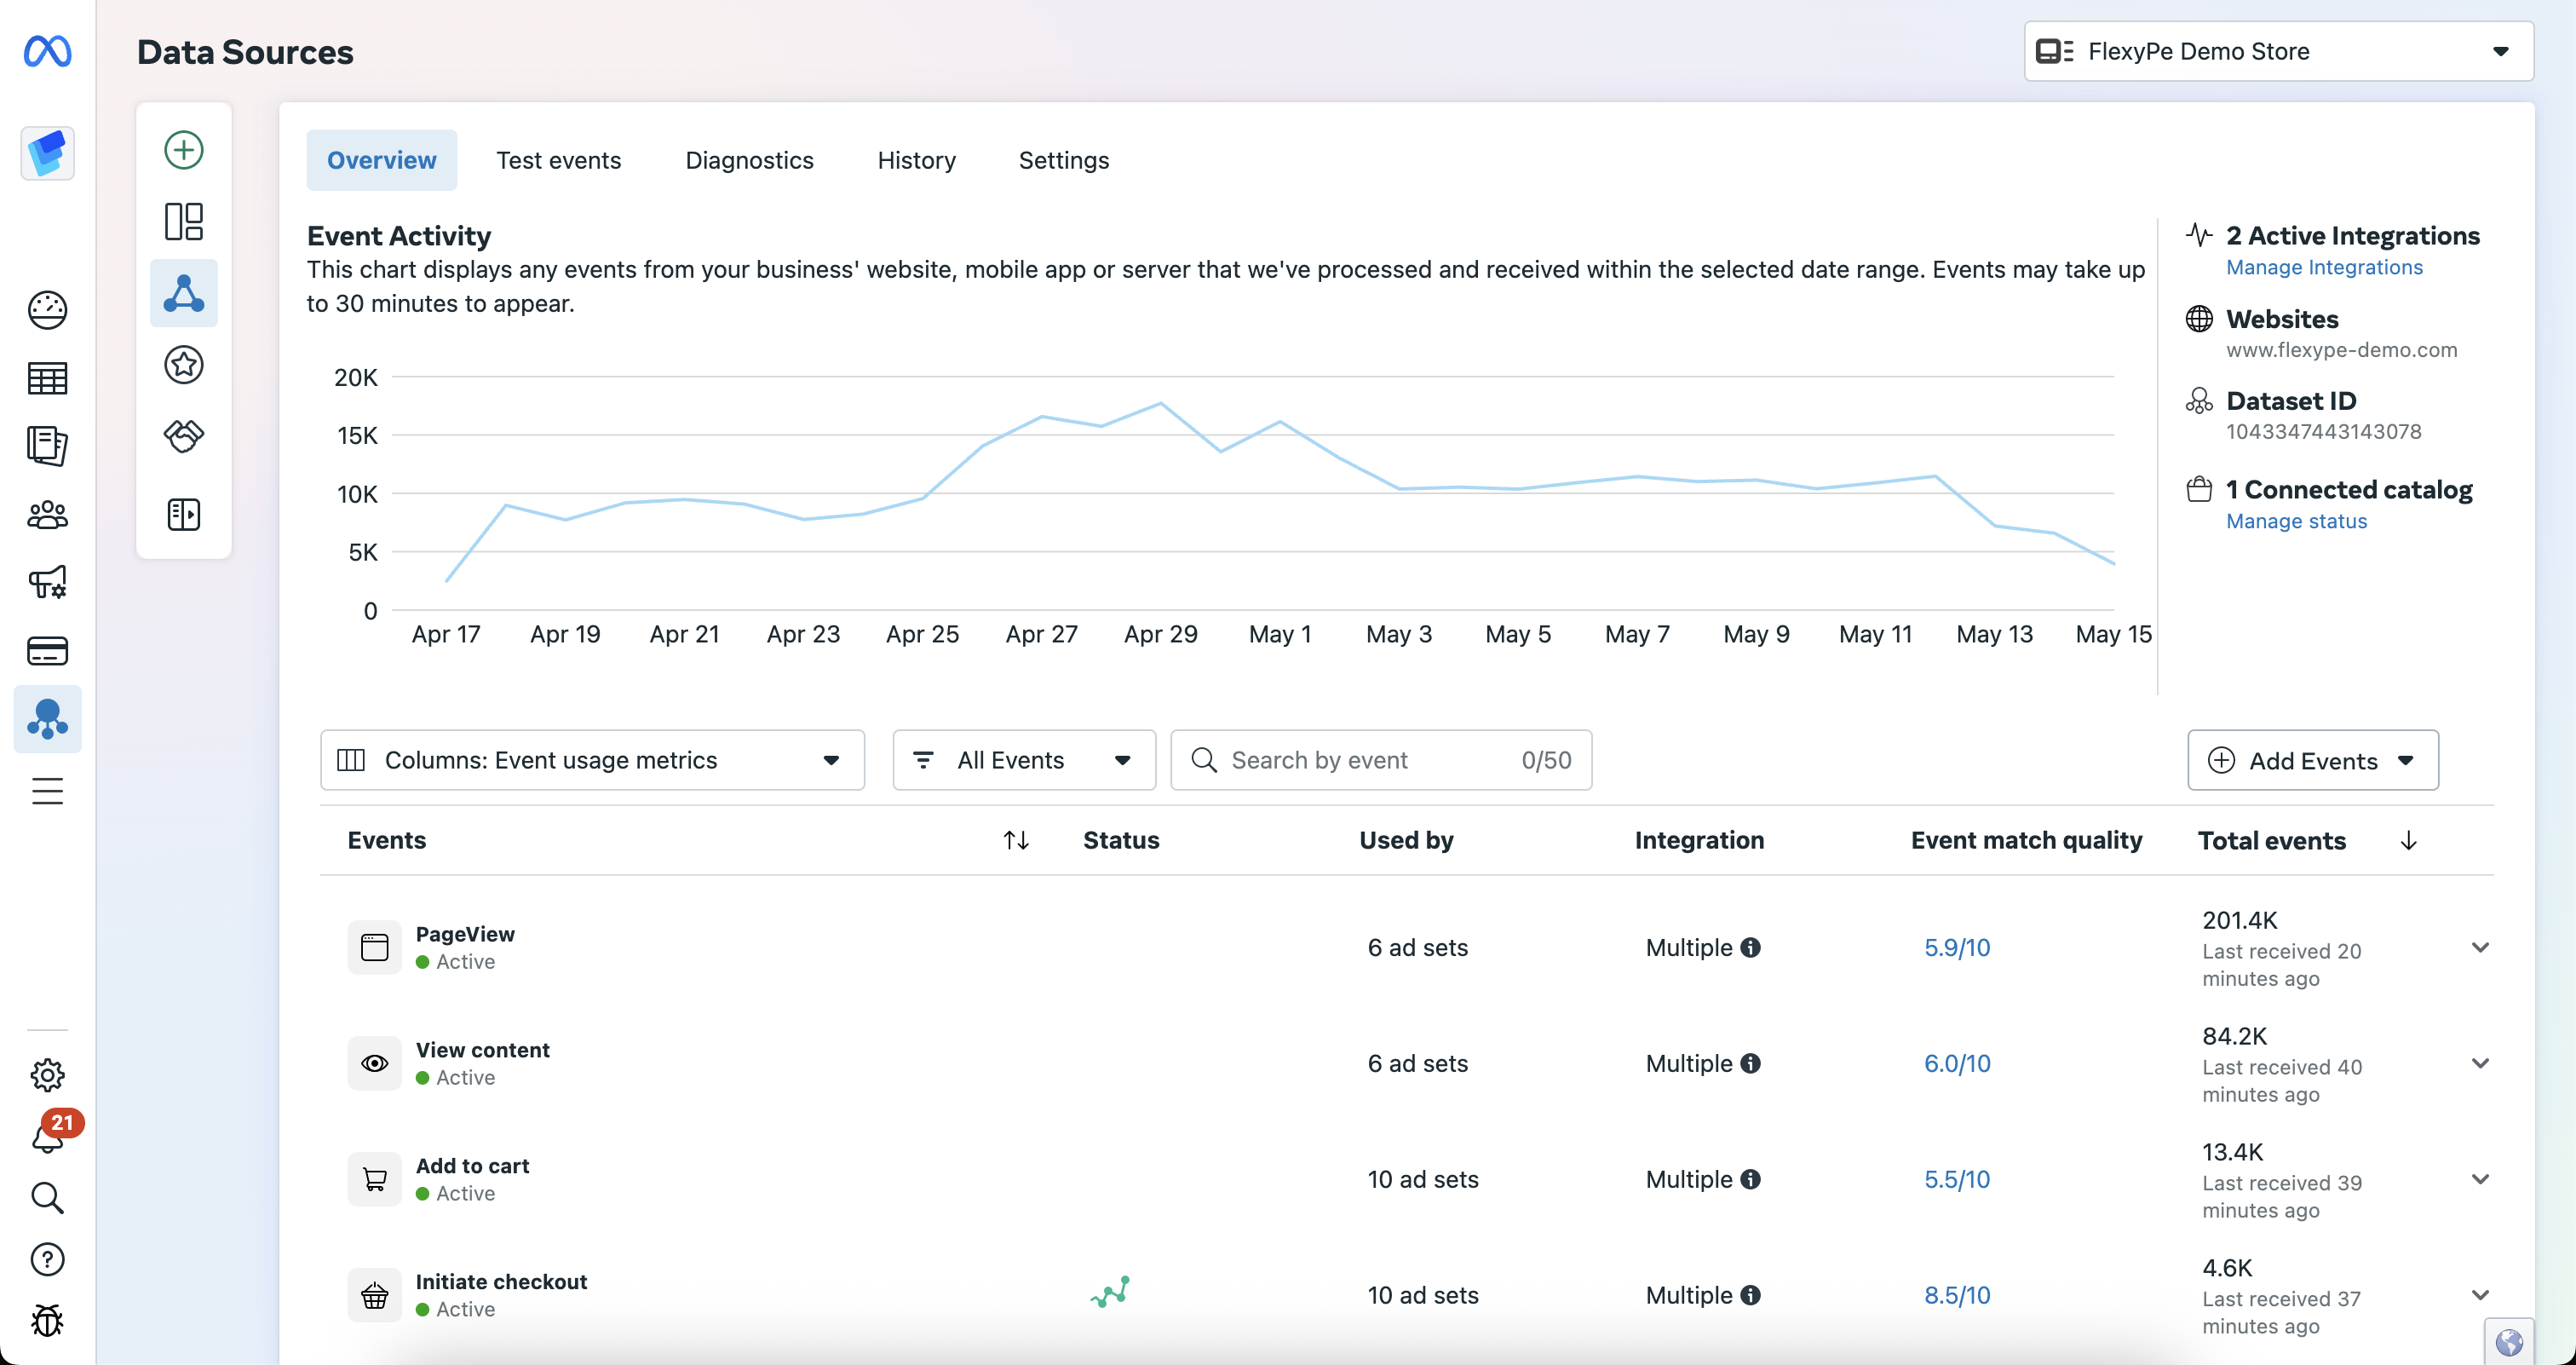
* Click on the All Tools menu and select Events Manager.
* Navigate to Data Sources.
* Log in to your [Meta Business Suite](https://business.facebook.com).
* Click on the All Tools menu and select Events Manager.
* Navigate to Data Sources.
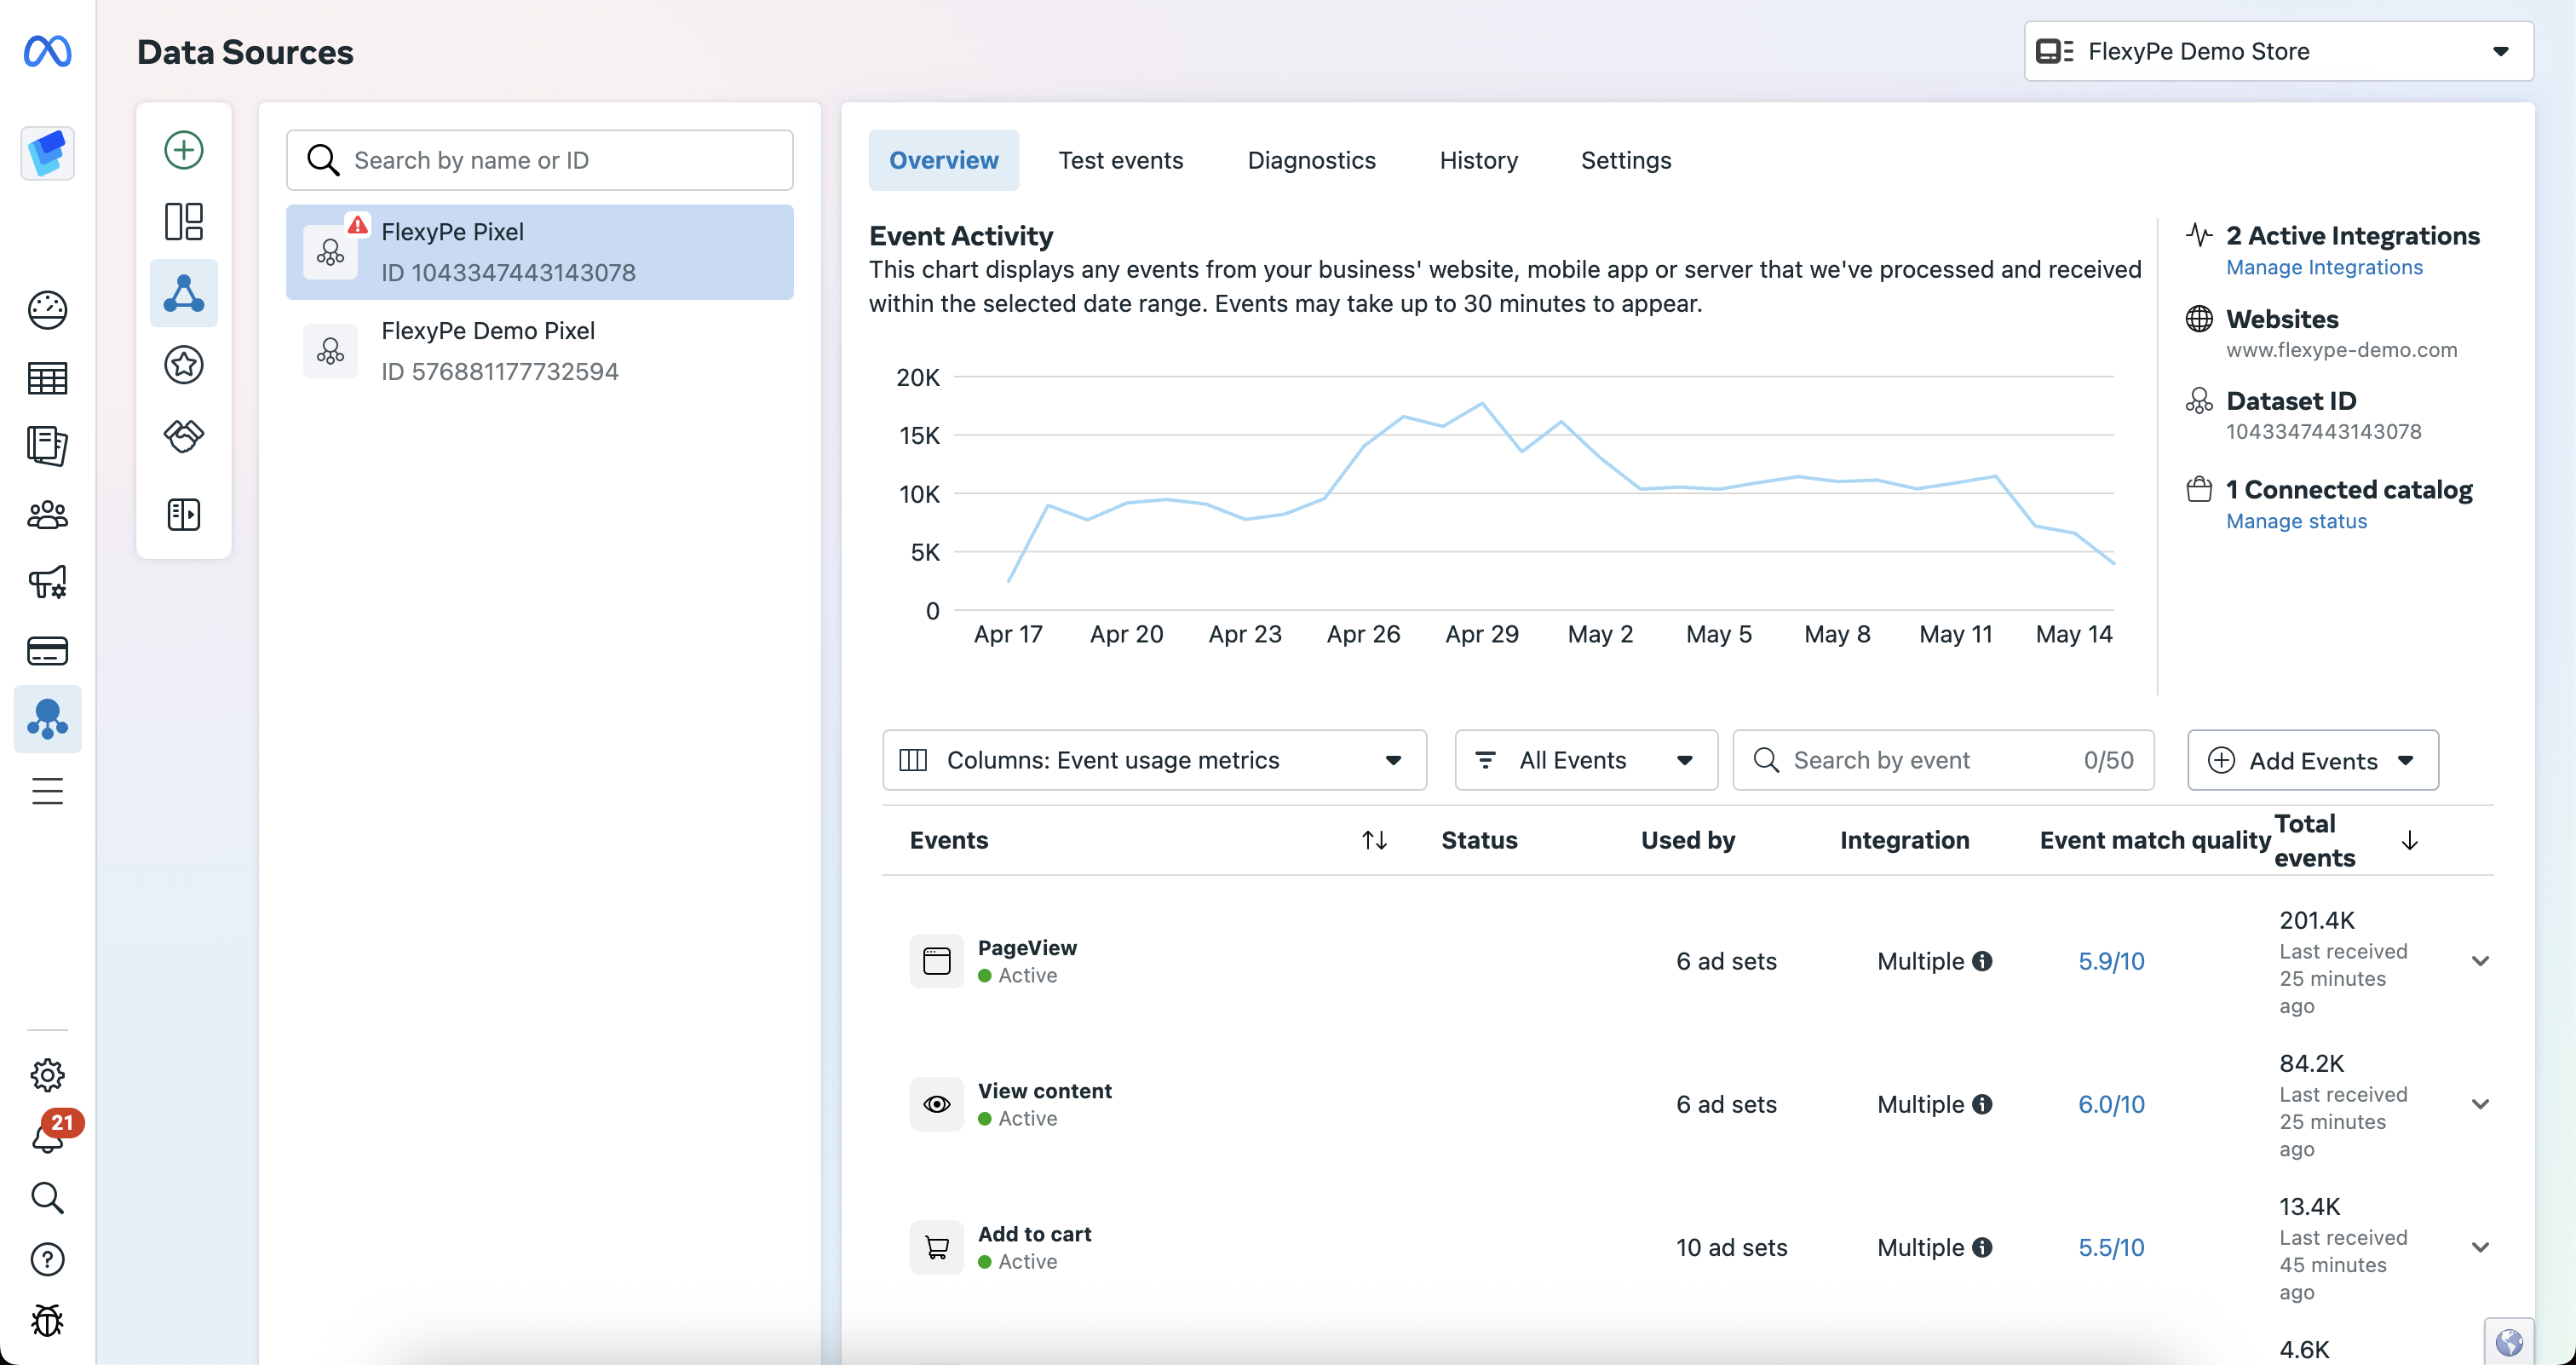 * From the list of available pixels, locate the one linked to your Shopify store.
* Select the pixel to connect it with your conversion tracking.
* From the list of available pixels, locate the one linked to your Shopify store.
* Select the pixel to connect it with your conversion tracking.
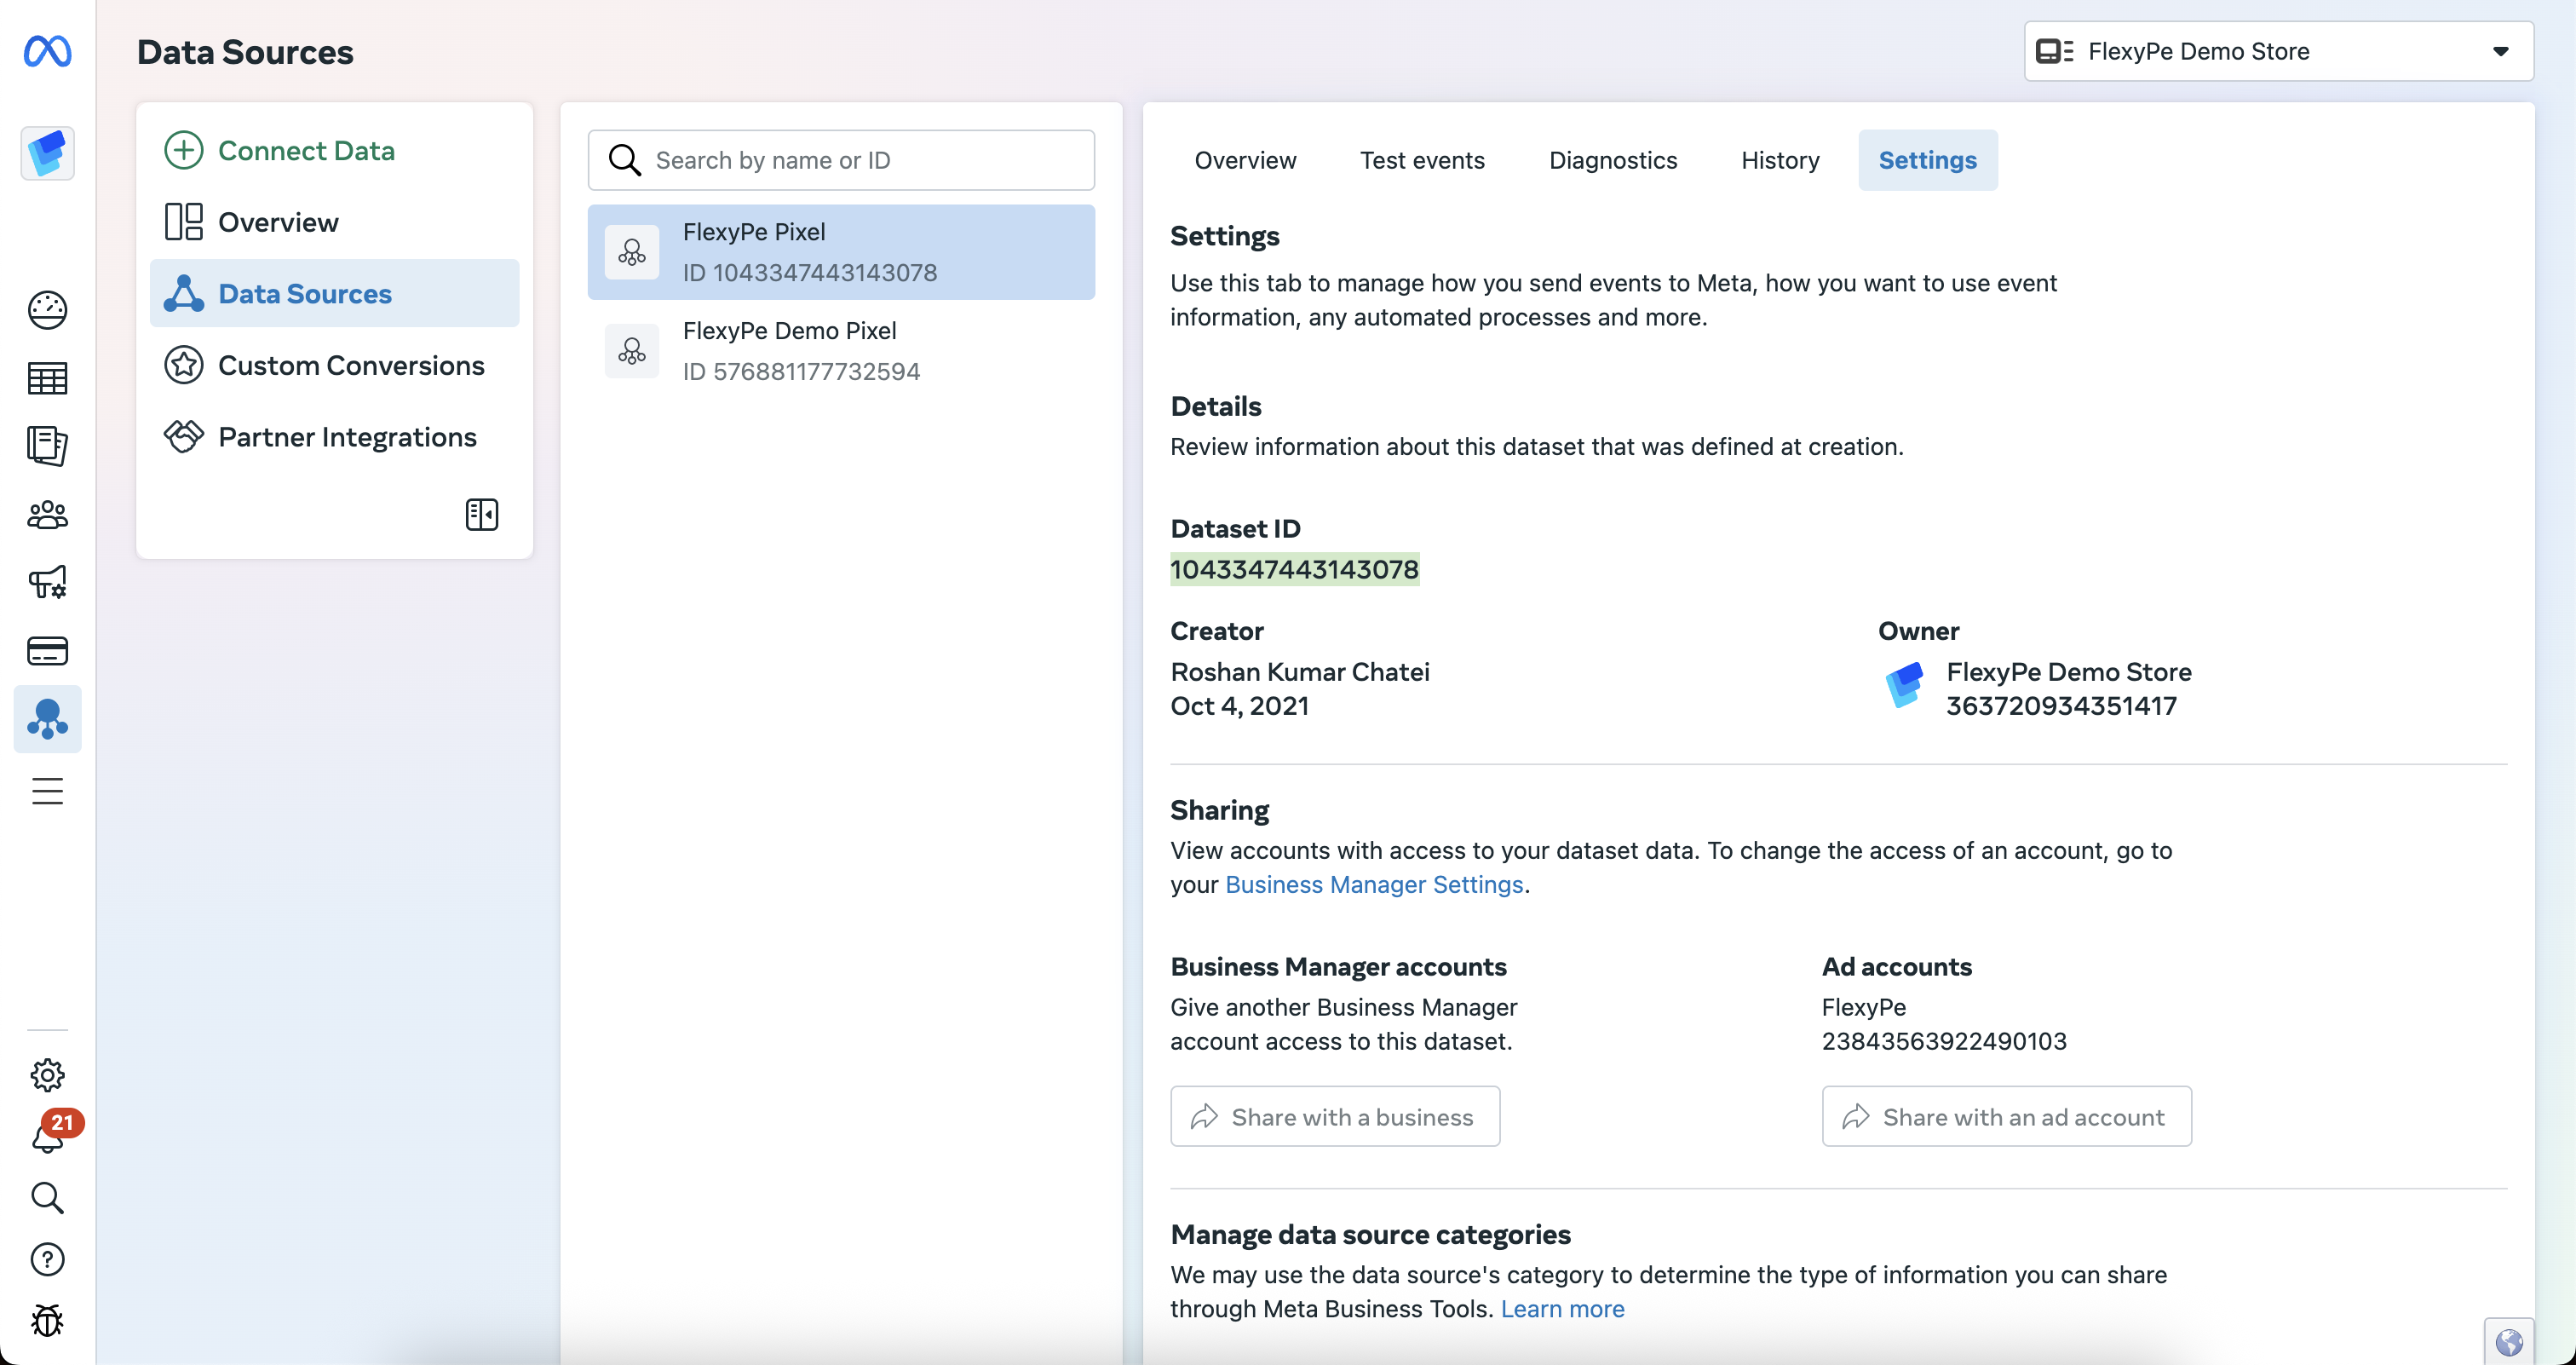 * Navigate to the Settings tab for the selected Shopify pixel.
* Copy the **Dataset ID** and keep it handy for configuration.
* Navigate to the Settings tab for the selected Shopify pixel.
* Copy the **Dataset ID** and keep it handy for configuration.
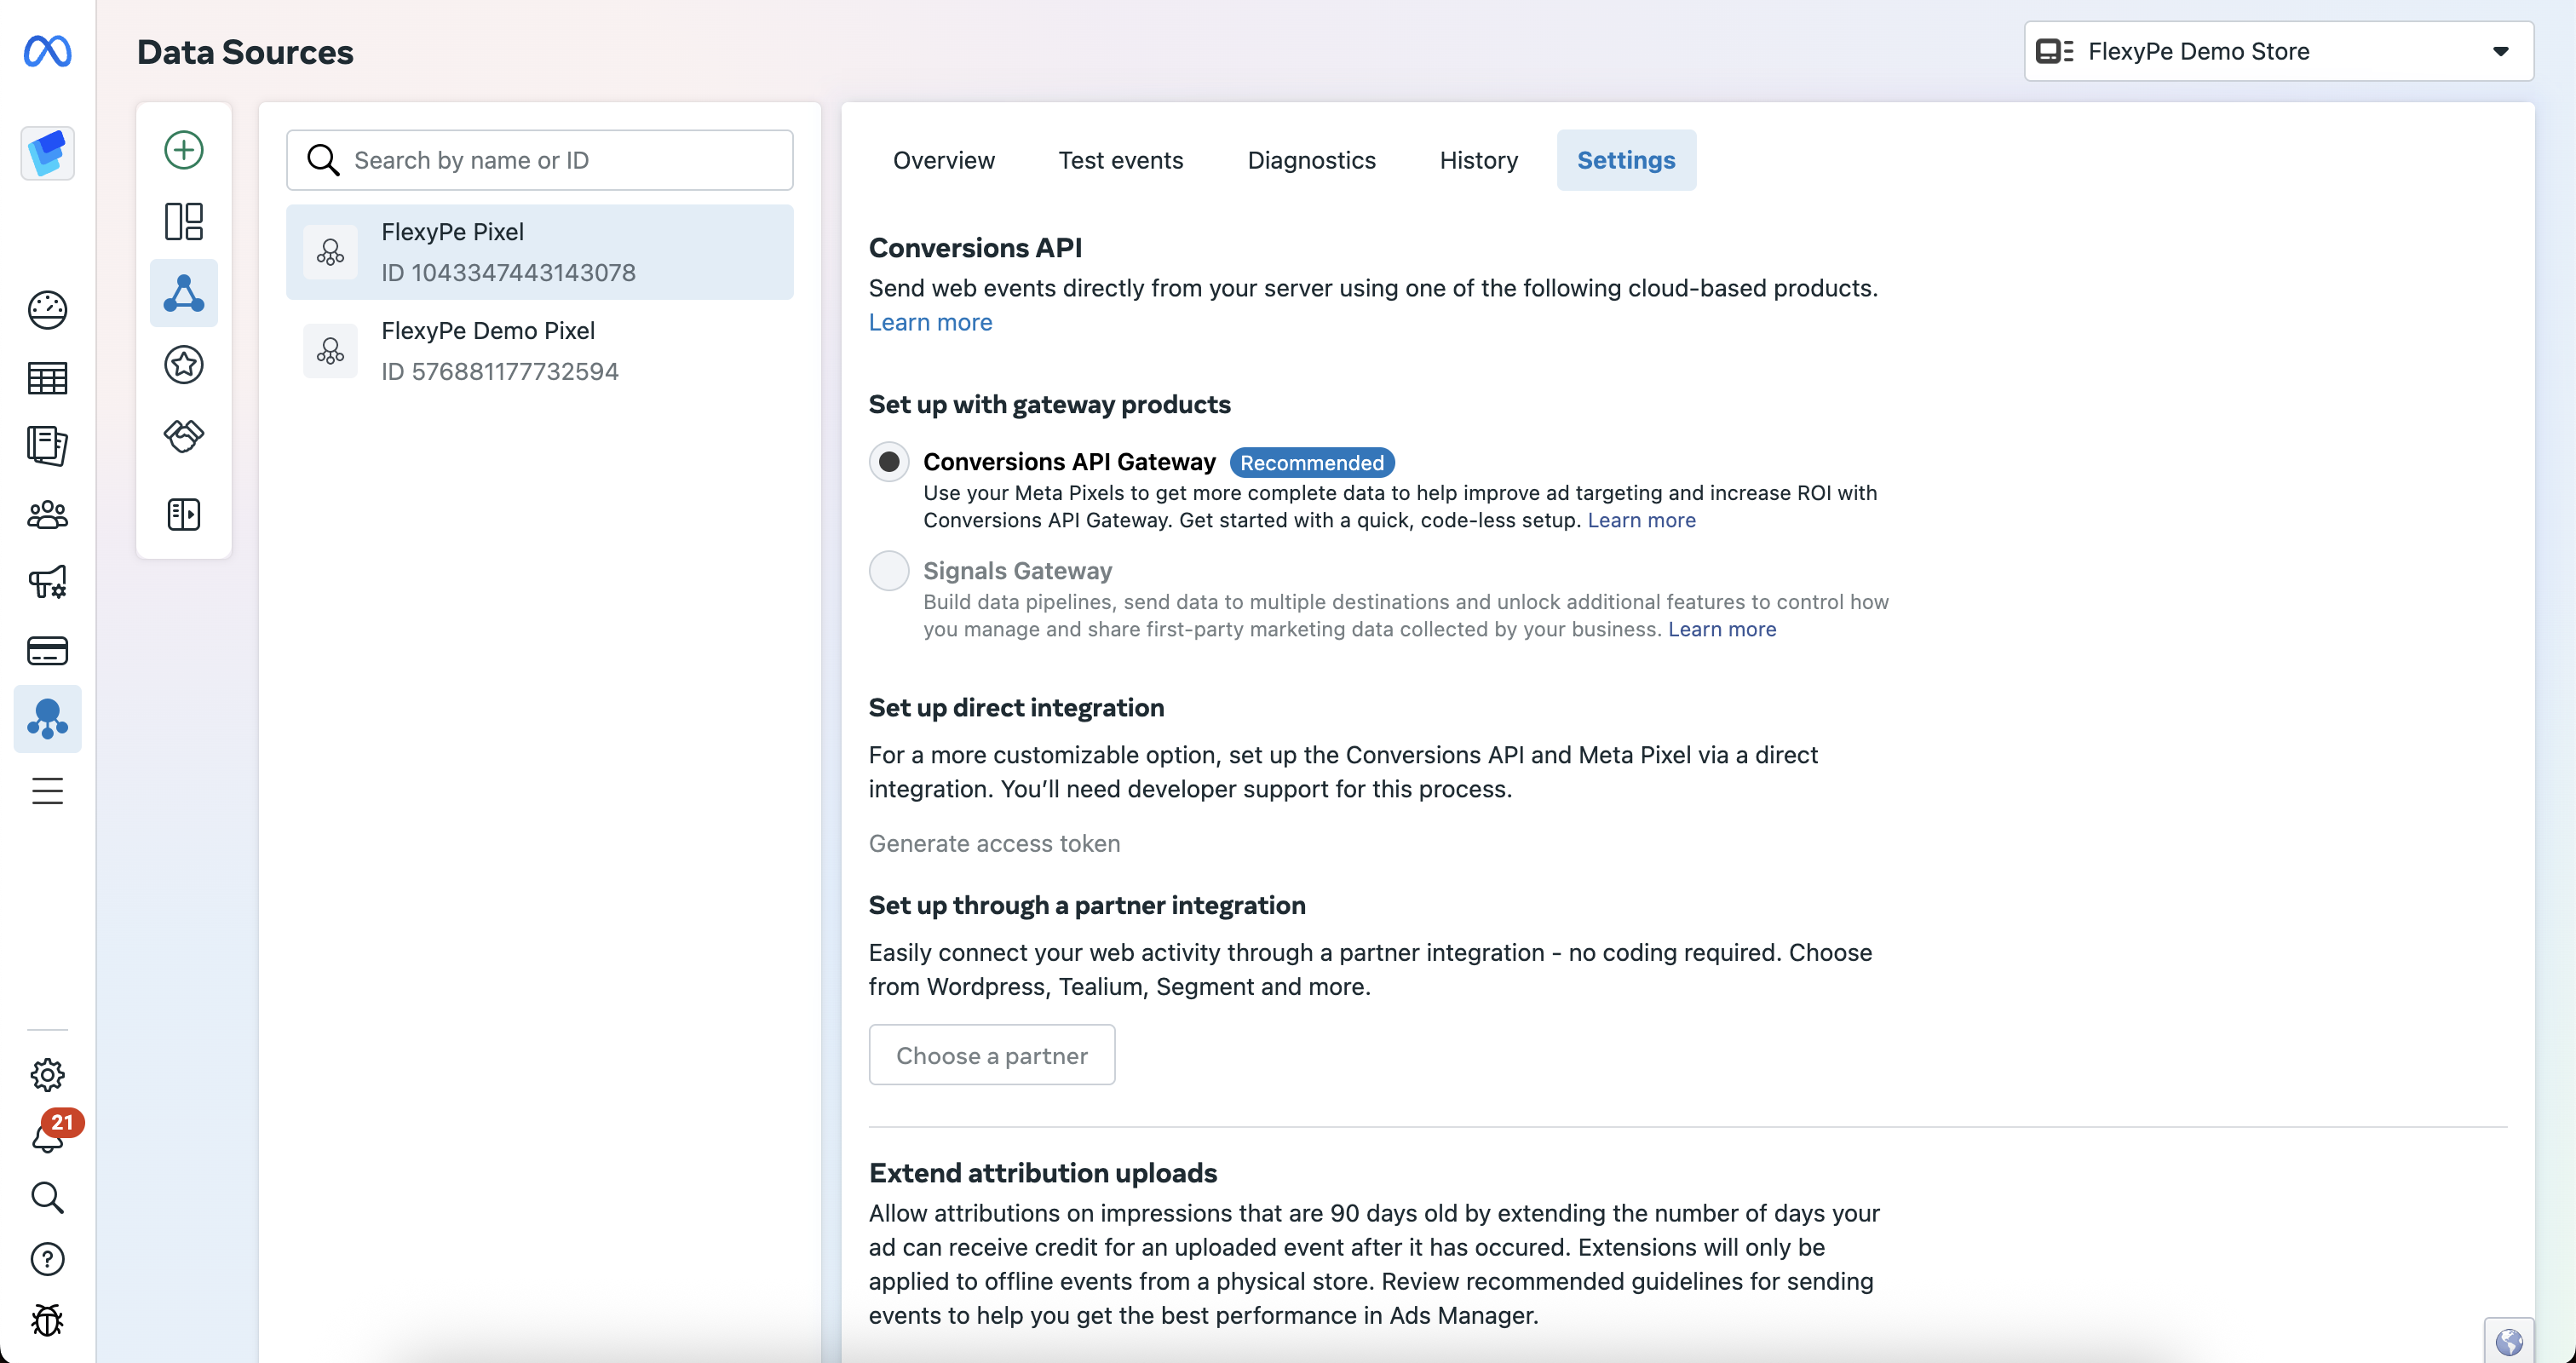 * On the same Settings tab scroll down to Conversions API.
* Select **Conversion API Gateway**.
* Click on Generate Access Token if it hasn't been generated yet.
* Copy the generated token and save it securely, as you’ll need it for configuration.
Do not share this token — it provides access to your conversion data
## Integrate Meta Pixel with FlexyPe
* On the same Settings tab scroll down to Conversions API.
* Select **Conversion API Gateway**.
* Click on Generate Access Token if it hasn't been generated yet.
* Copy the generated token and save it securely, as you’ll need it for configuration.
Do not share this token — it provides access to your conversion data
## Integrate Meta Pixel with FlexyPe
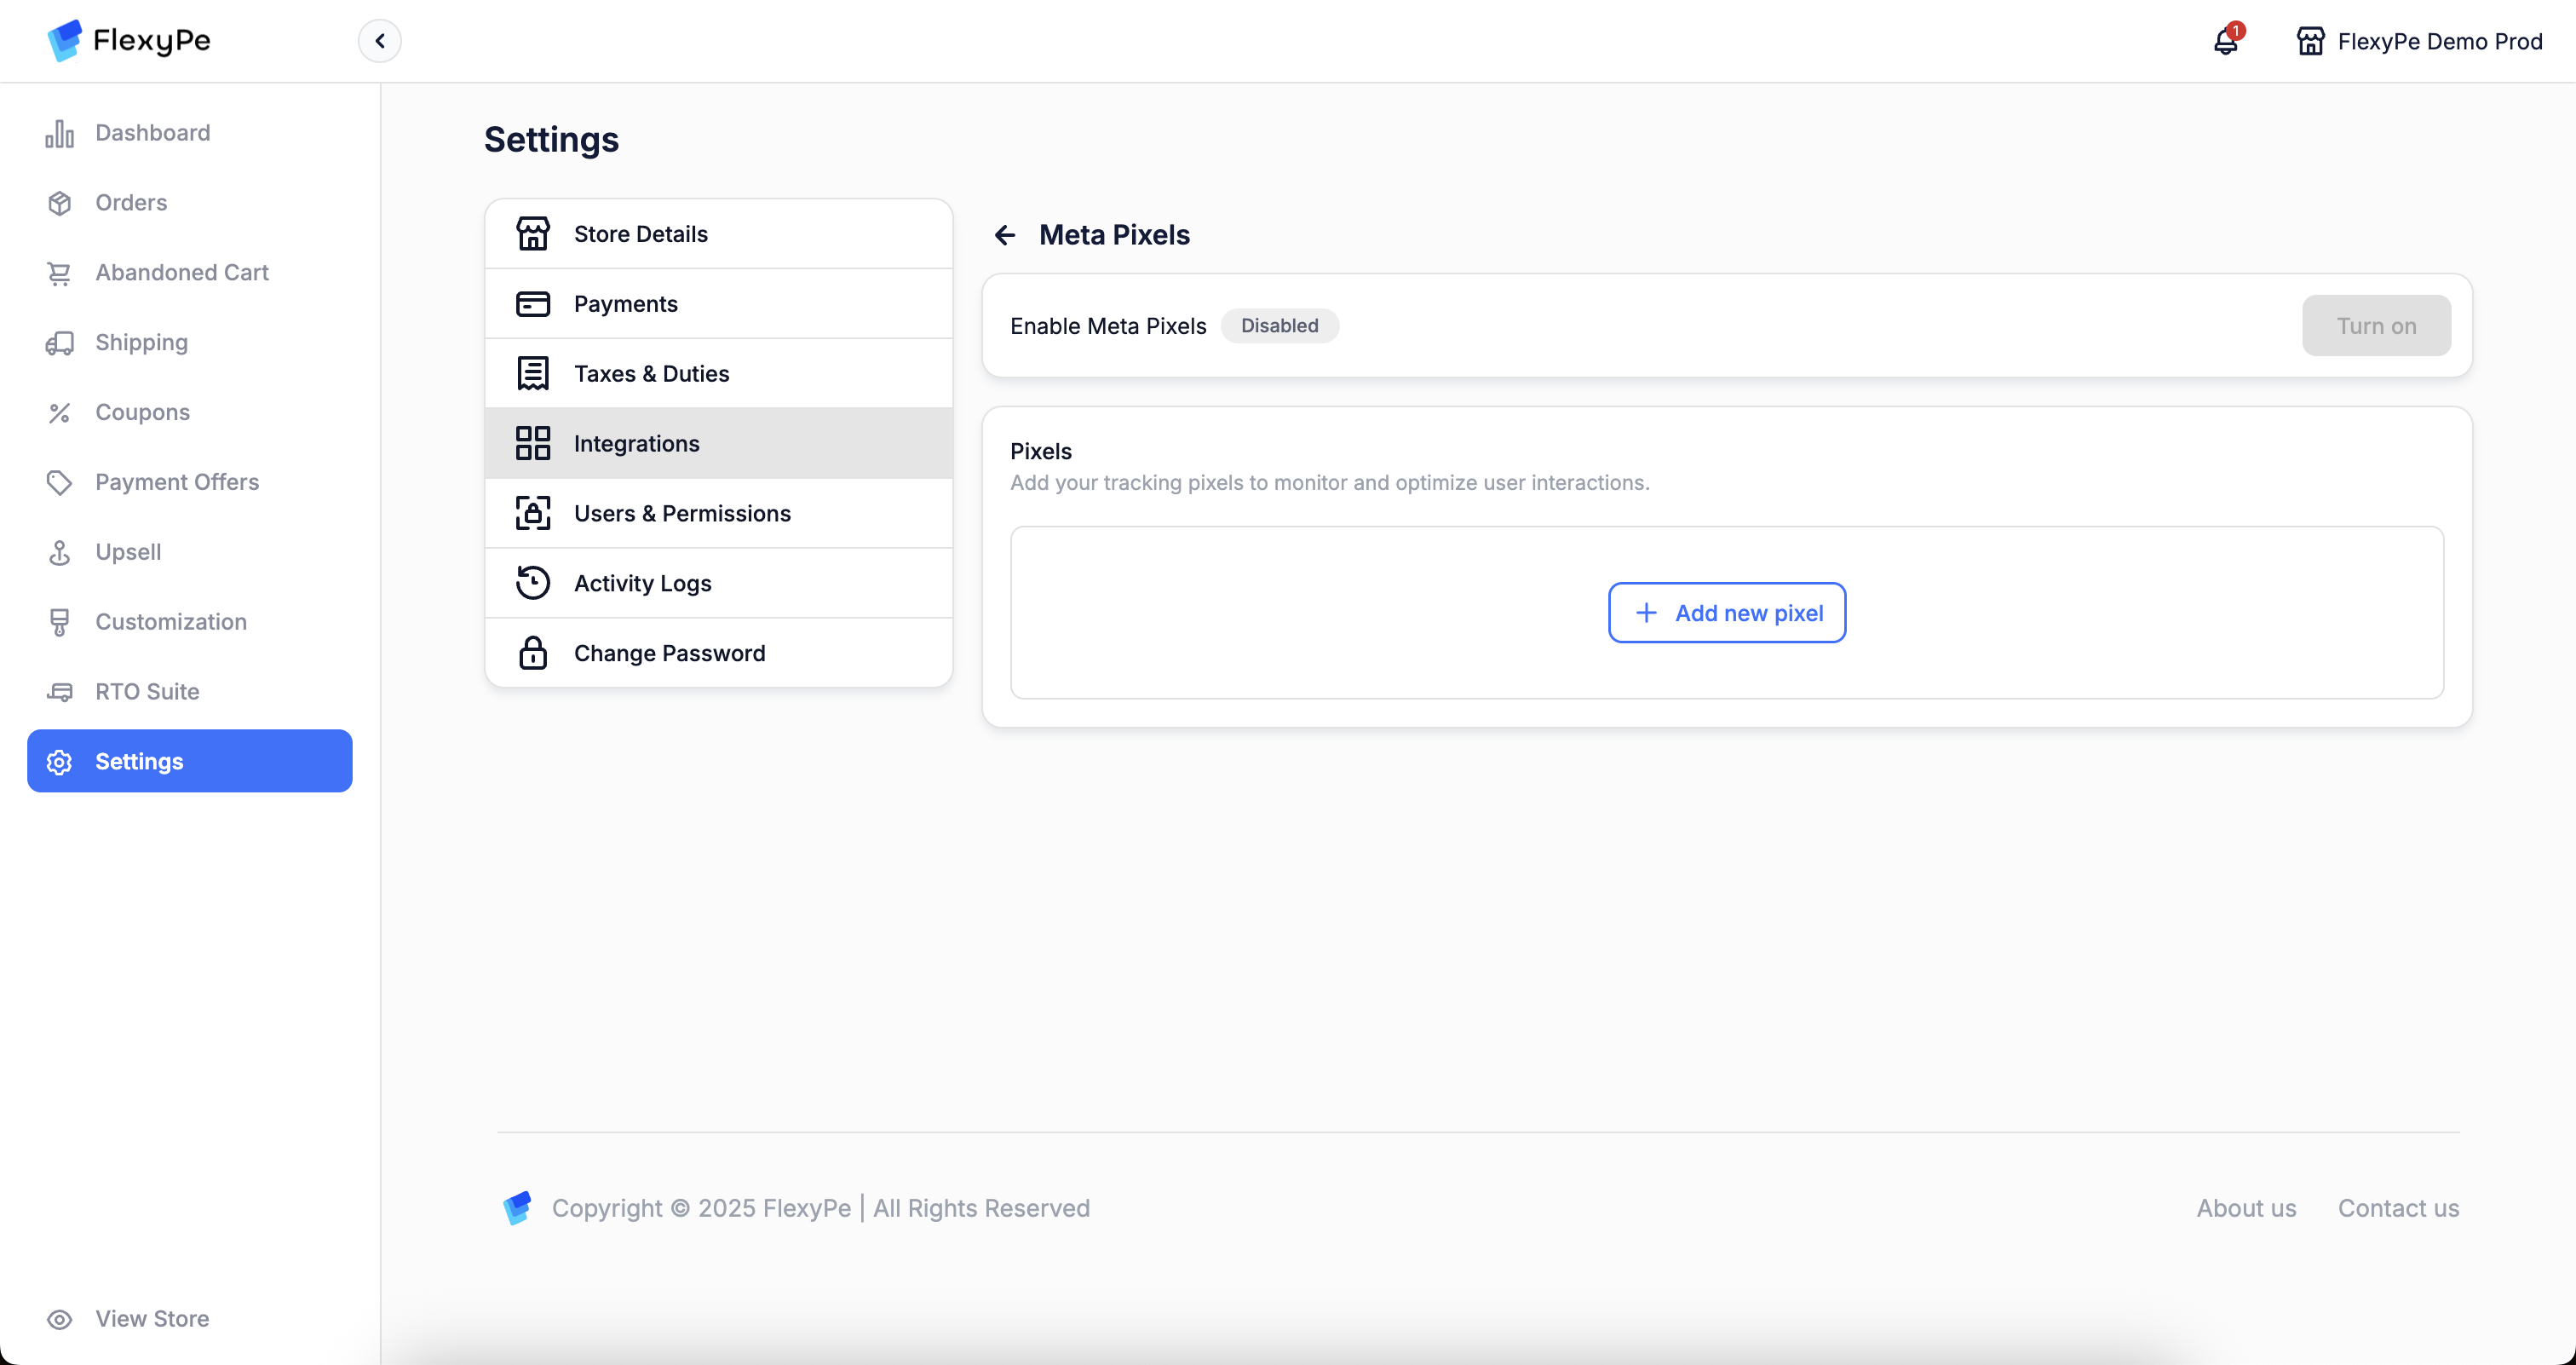 * Log in to your [FlexyPe Dashboard](https://dashboard.flexype.io).
* Click on the Settings menu and select Integrations.
* Navigate to Meta Pixels.
* Log in to your [FlexyPe Dashboard](https://dashboard.flexype.io).
* Click on the Settings menu and select Integrations.
* Navigate to Meta Pixels.
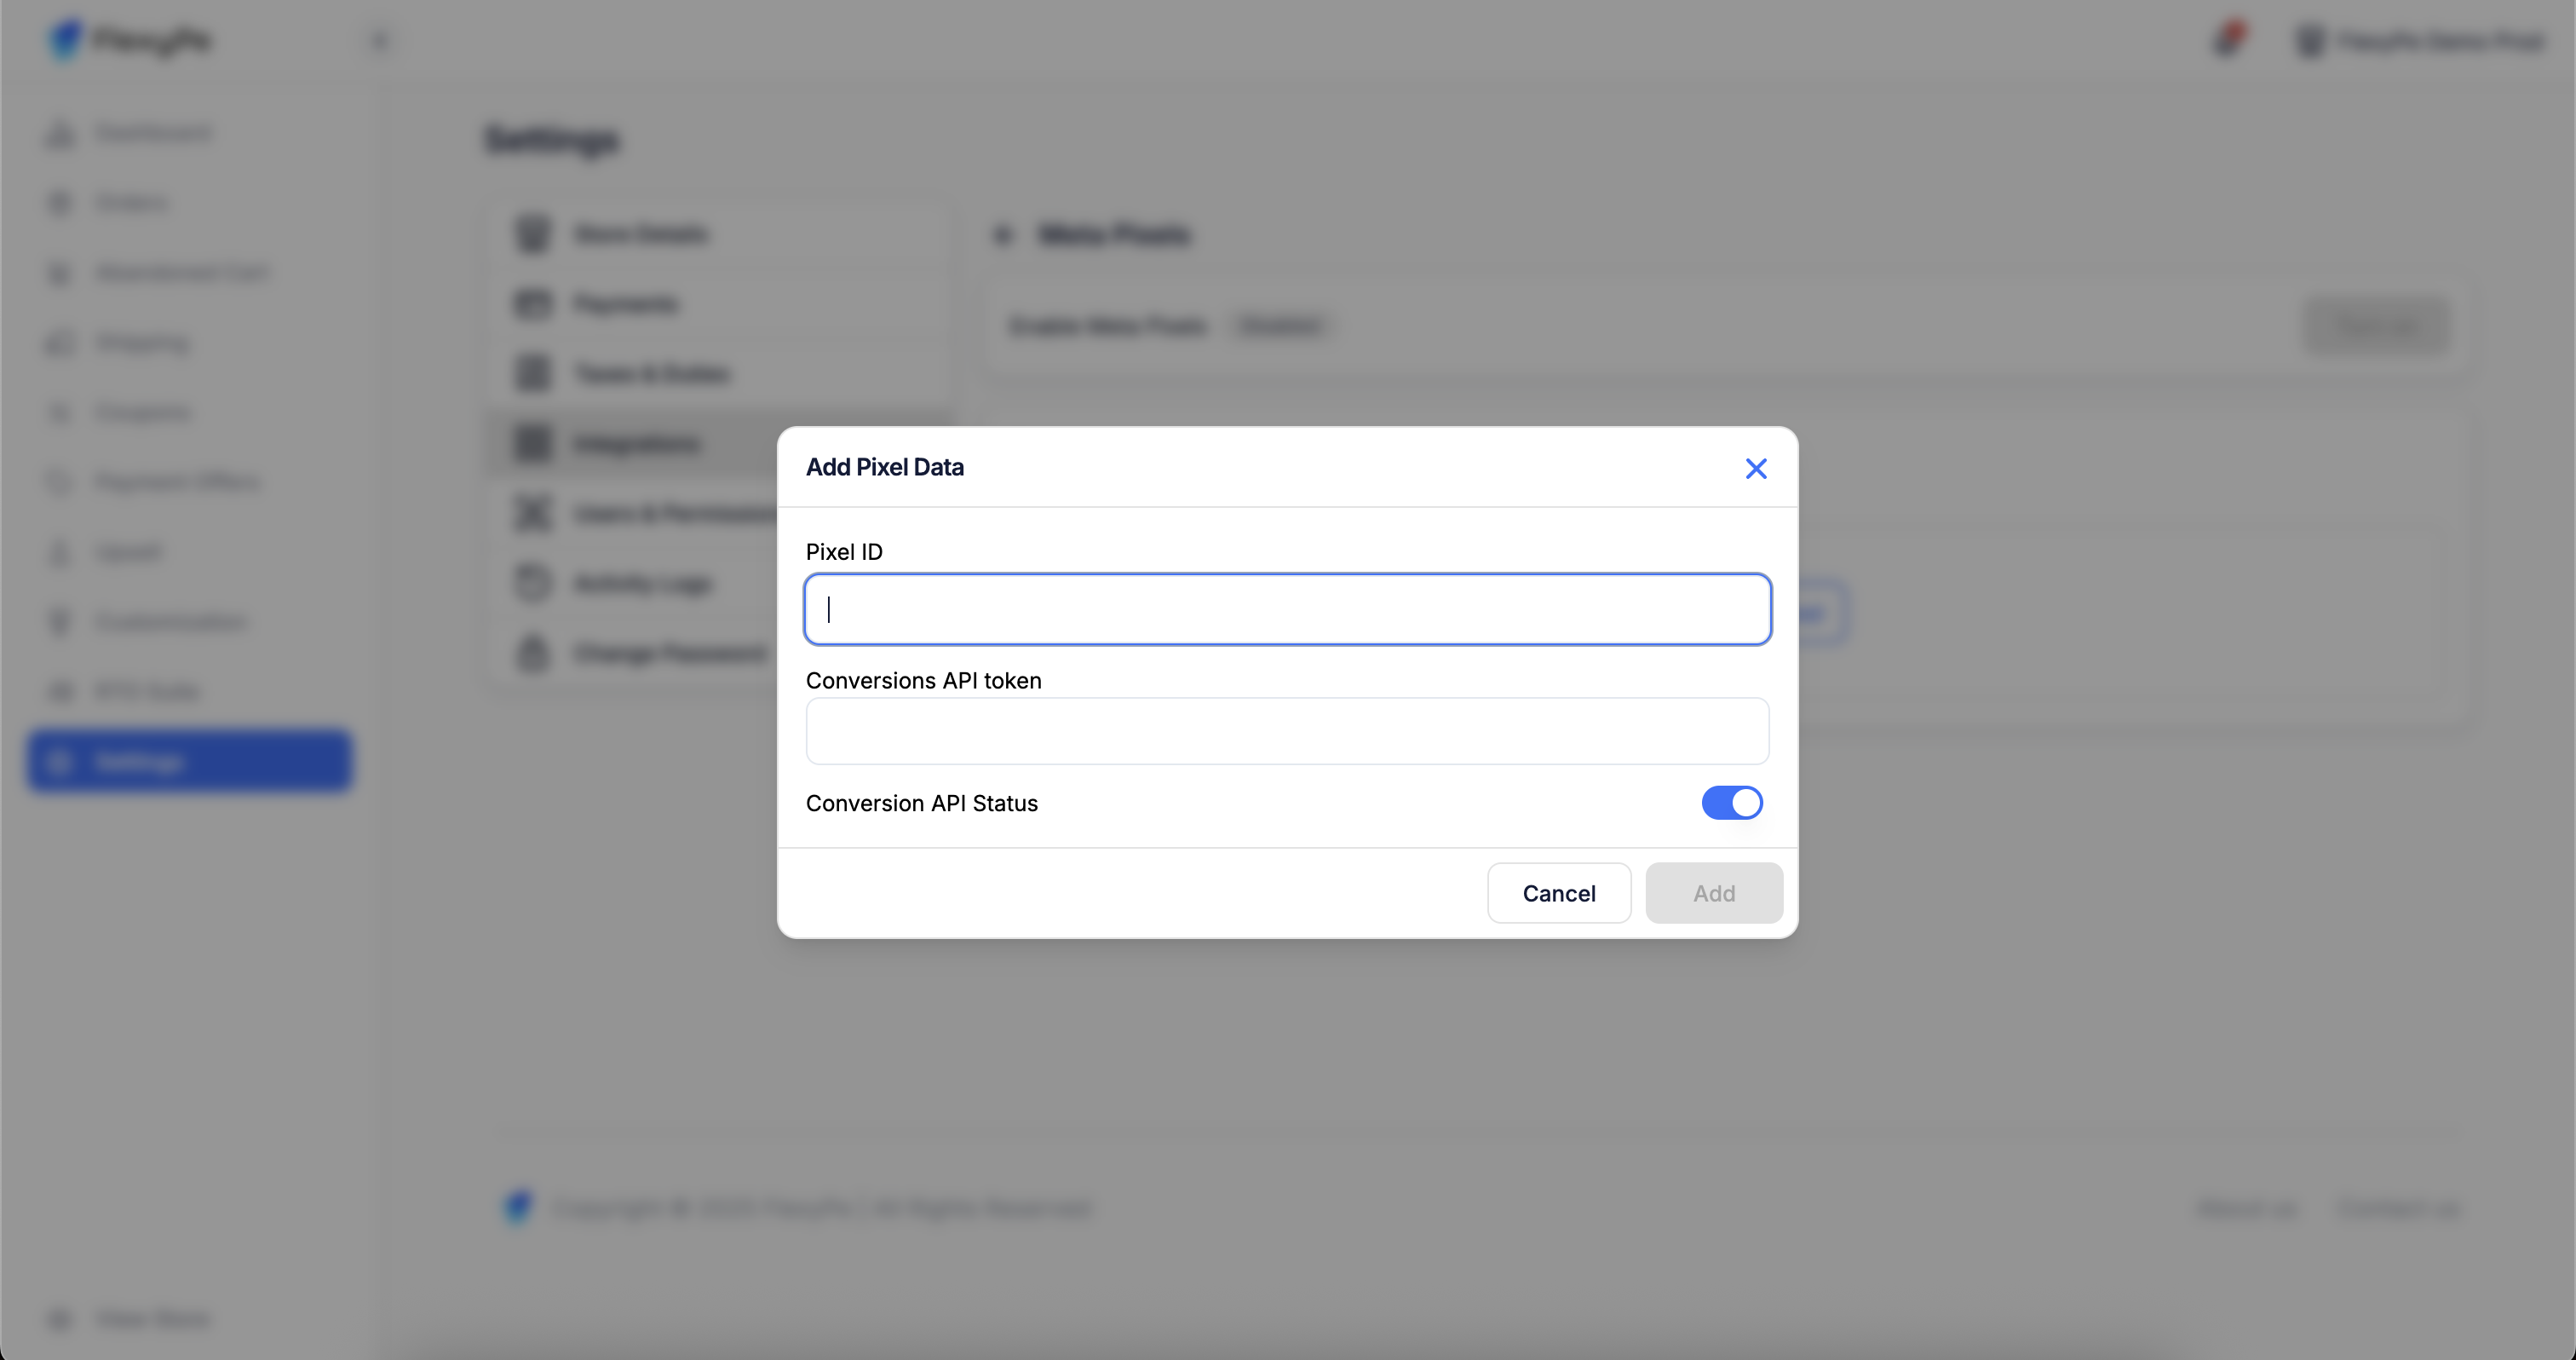 * Click on the Add pixel button.
* Paste the copied **Dataset ID** into the pixel id field.
* Paste the copied **Conversion API** into the designated field and turn on the API Status.
* Click Save to finalize the Pixel.
* Click on the Add pixel button.
* Paste the copied **Dataset ID** into the pixel id field.
* Paste the copied **Conversion API** into the designated field and turn on the API Status.
* Click Save to finalize the Pixel.
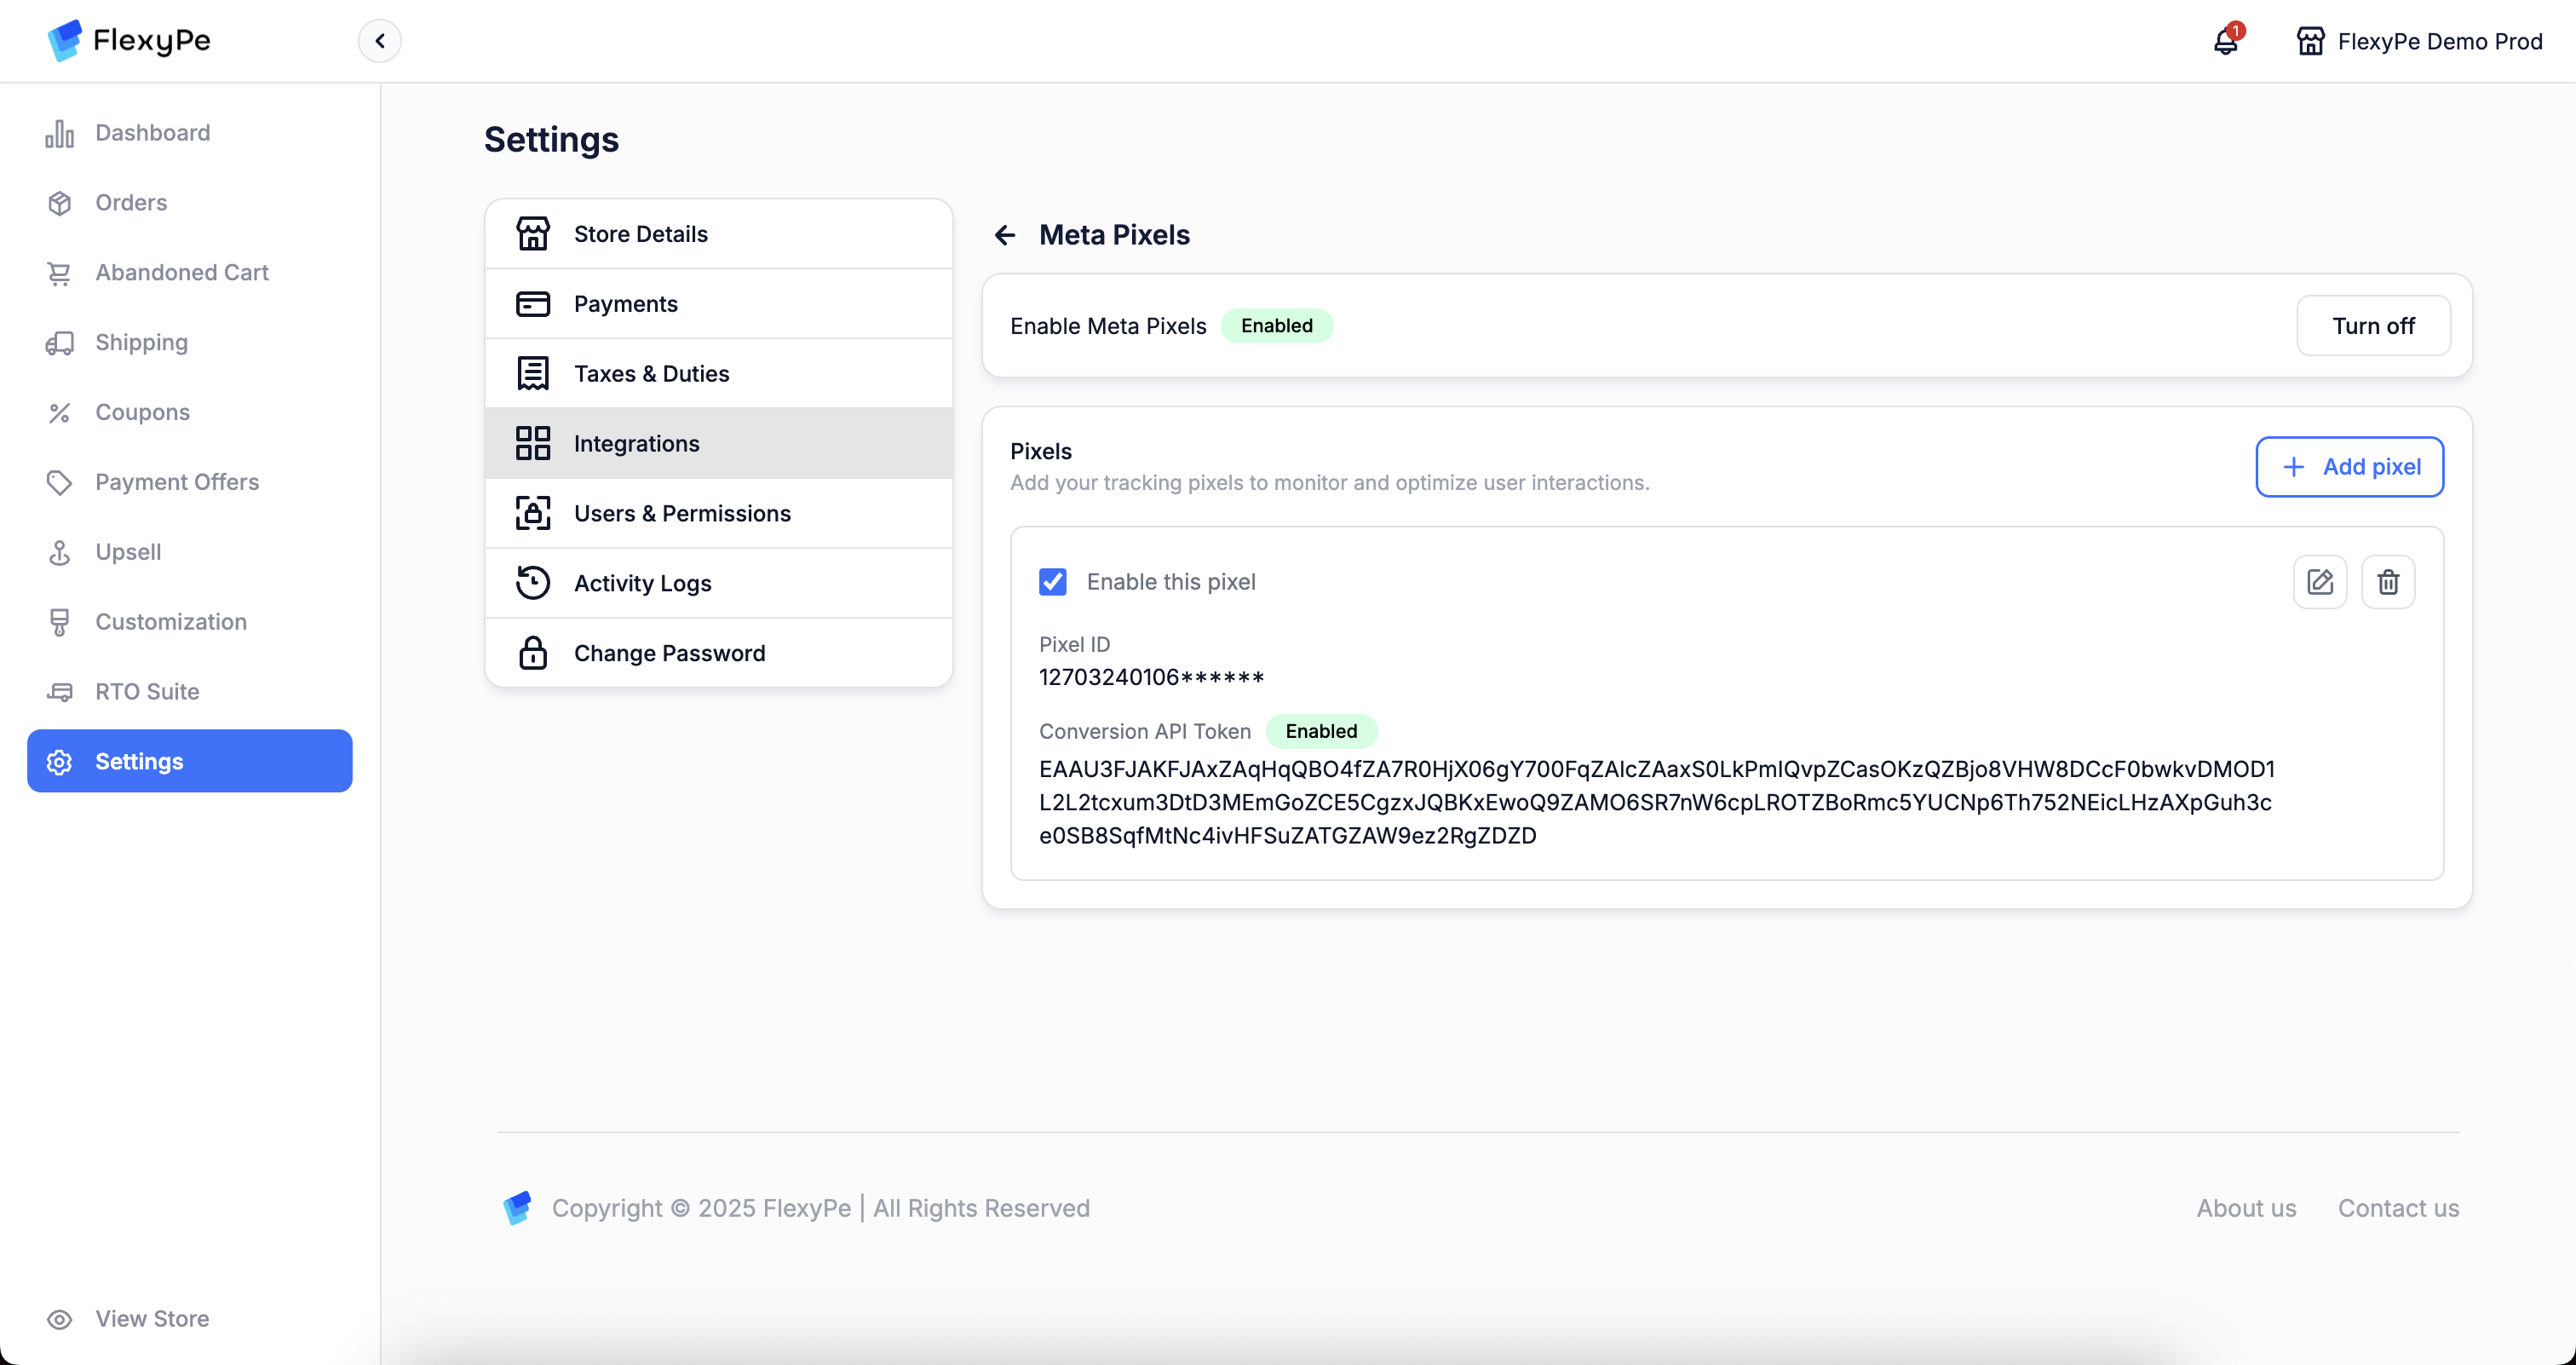 * Once you've added the Pixel, your setup is complete.
* FlexyPe is now connected to your Shopify store and ready to track conversions from Meta Pixel.
By following these steps, you’ll successfully integrate Meta with FlexyPe, enabling seamless conversion tracking and enhanced campaign optimization.
* Once you've added the Pixel, your setup is complete.
* FlexyPe is now connected to your Shopify store and ready to track conversions from Meta Pixel.
By following these steps, you’ll successfully integrate Meta with FlexyPe, enabling seamless conversion tracking and enhanced campaign optimization.